Category Archives: Solar

New solar panels for Island Bound

2/13/2019
Boot Key Harbor, Marathon FL
Posted by Bill

In March of 2015, we installed 4 – 100 watt flex solar panels on our bimini canvas. We were staying at a private marina with access to a really nice work area, and Tricia did the sewing on the canvas. 2 of the panels had zippers attached to the sides, and the other 2 were plain. She sewed zippers into the canvas along with a protective flap, as we were not sure if the panels would chafe through the bimini due to wind movement and/or vibration. She also sewed Velcro and a protective flap for the other 2 panels and we attached Velcro to the underside of those panels. The design of the installation worked very well, and when the panels had to be removed for hurricane prep or maintenance on the bimini, it was really hard to get the Velcro ones off! The surface of the panels crazed and degraded after 3 years and so we needed to replace them. We bought them in Marathon FL from a reputable dealer and we had a 5 year warranty, and even though the manufacturer had gone out of business, the dealer honored the warranty and ordered us new panels from a different manufacturer. We could not get zippered panels, and the size of the new ones was slightly bigger, which made the existing bimini modifications unusable, so we needed to change the way the panels were attached.

Our bimini and dodger canvas is on it’s last leg. Tricia has been making repairs for the last 5 years and the canvas is not holding new thread. It will be replaced at the end of this cruising season. We feared that if we had to remove the bimini and do a bunch of sewing, we would have bigger issues than just the failed solar panels, so we needed to some up with a solution that did not involve removing the bimini, and something that could be done on the boat in the mooring field we are staying at. Tricia had been looking at some fasteners called Loxx that she saw in a Sailrite catalogue. They have a top and bottom component, and you pull the top to lock or unlock the connection of the two. Both the base and the top have a ring that screws on to them, which sandwiches the component to whatever material you are working with. They also have little spikes on the components to hold them in place when you screw the ring on. So we thought this would make a great solution given our restrictions. Here is a picture of a top component:
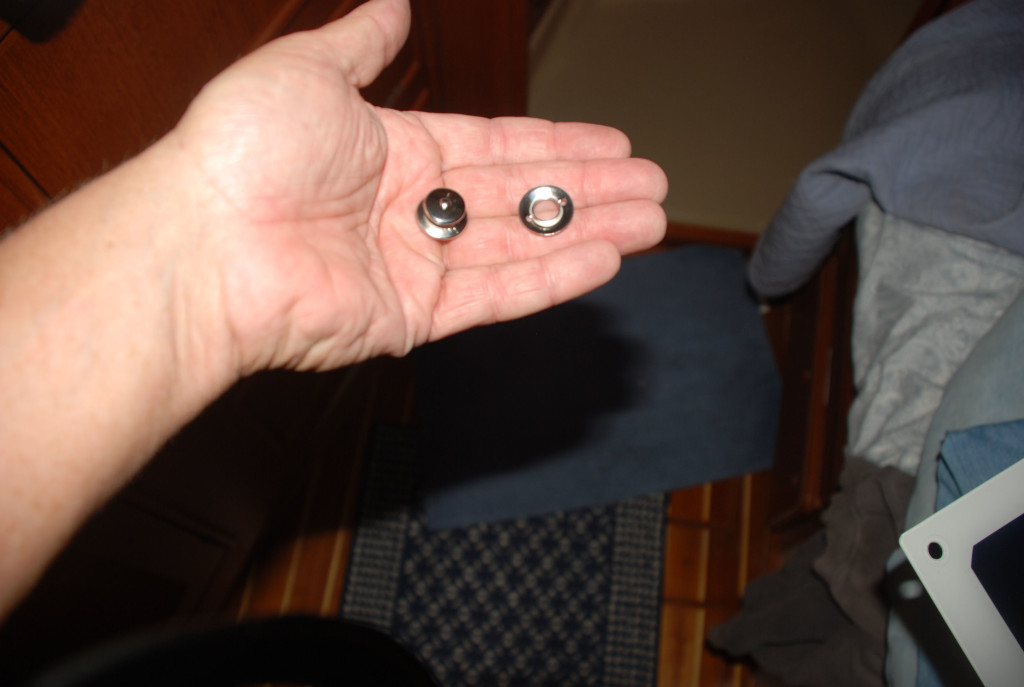
DSC_0513cmp

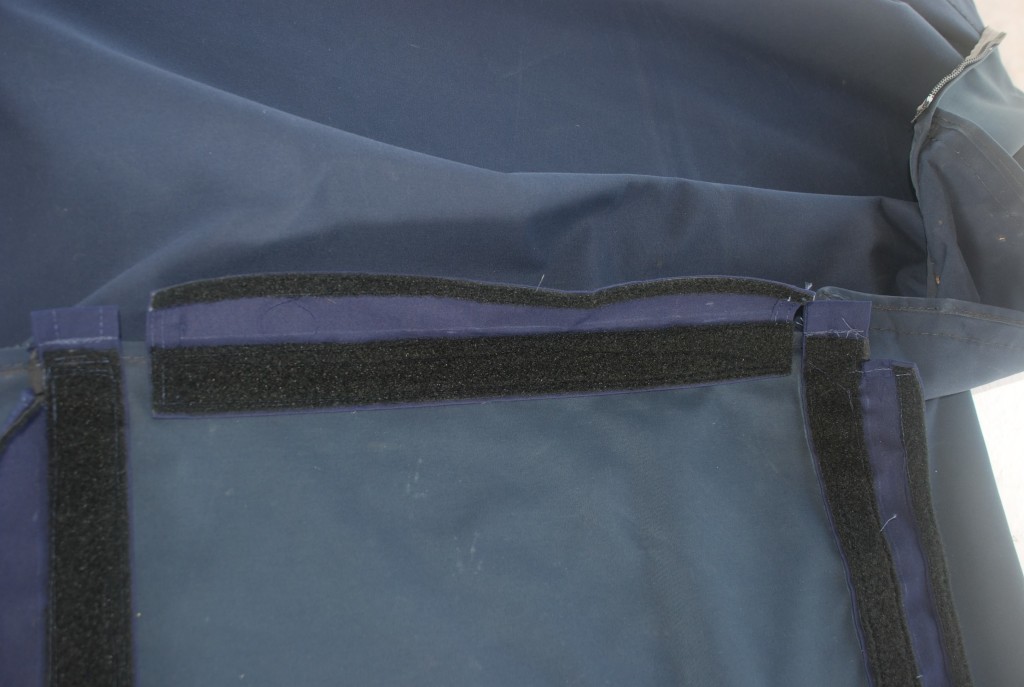
We first confirmed that they could be attached to the new panels and then we placed the panels on the bimini to determine the best strategy to use in attaching them. As it turned out, the protective flaps from the old installation still protected the bimini, except for the outer ends of the panels, which were longer than the old ones. Here is what remains after removing the old panels:
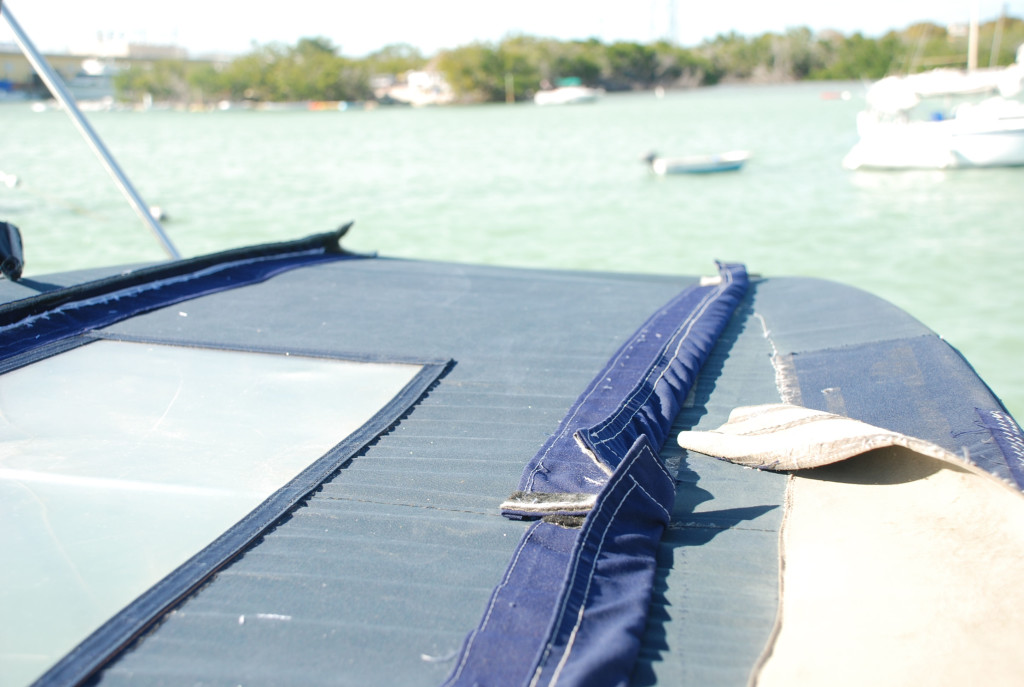
DSC_0509cmp

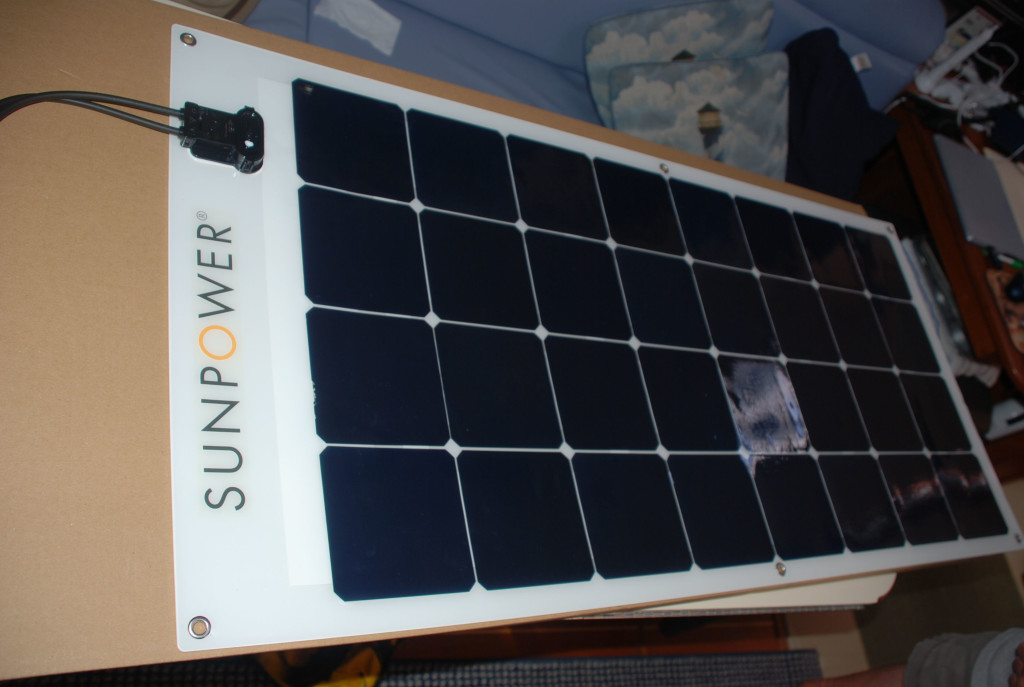
Tricia used squares of Velcro for the outer ends to remedy that and provide chafe protection for the outside edges. As you can see in this picture the panels have 6 holes to use for mounting:
DSC_0503cmp
We did one panel at a time and one or two holes at a time, installing the panel before determining the location of the next hole.

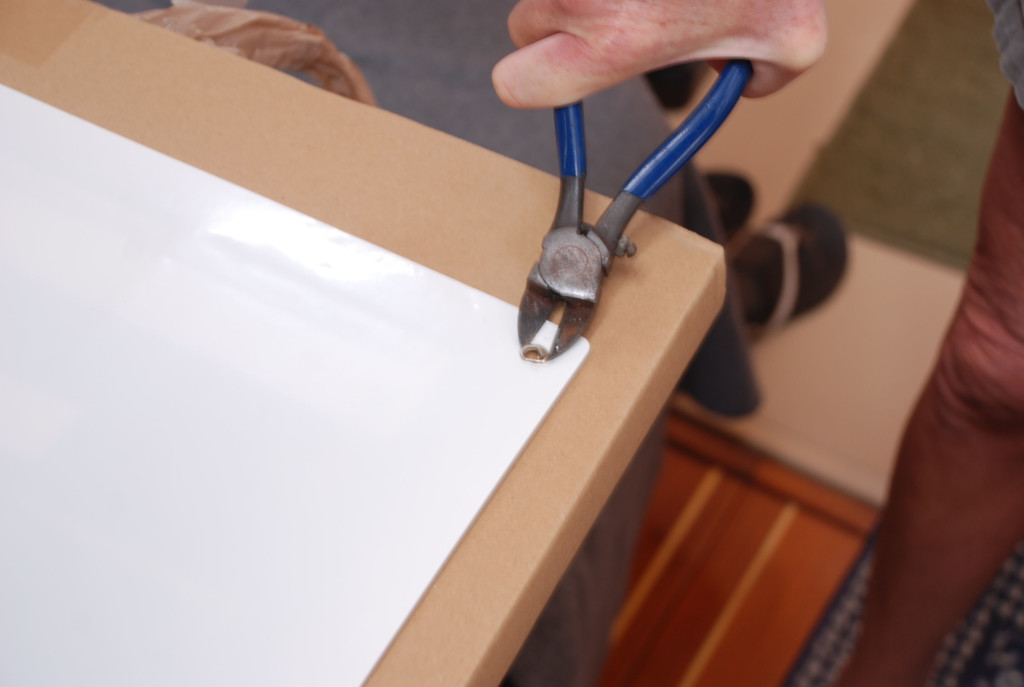
Step 1 – Remove the grommets on the panel. The Loxx would not fit on the panel with the grommets on. We used a wire cutter tool, flipped the panel over, and worked the cutter tool under the grommet. Working all the way around the grommet and squeezing the grommet allowed us to form it to a size smaller than the hole, and then just pull it out the other side.
DSC_0499cmp
DSC_0501cmp
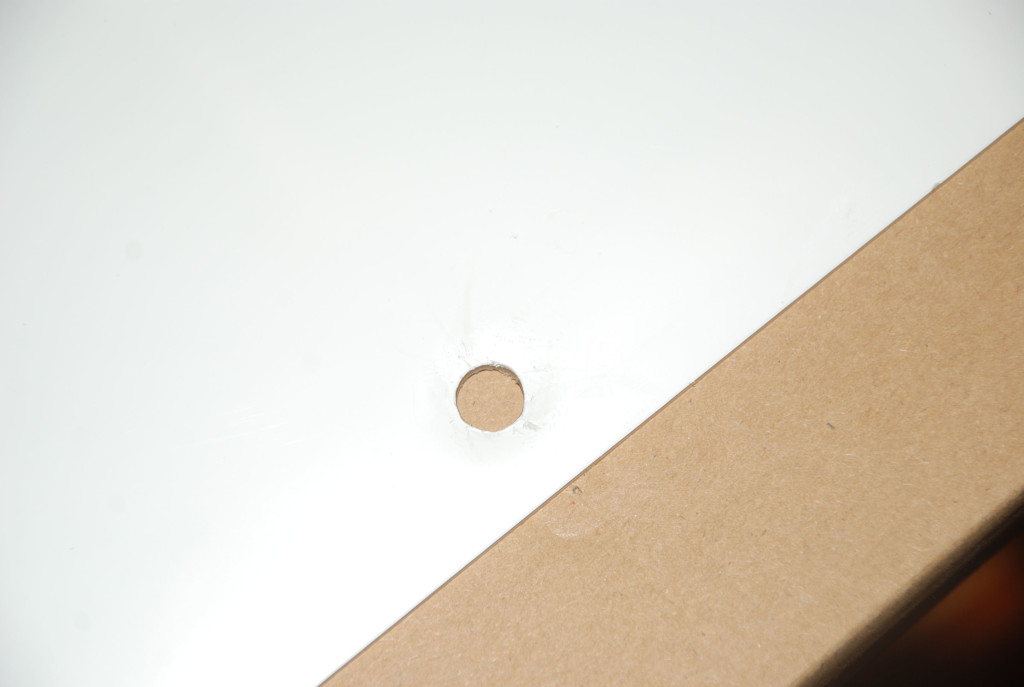
Step 2 – The holes were still about 1/16th of an inch smaller than the Loxx components, so I used a dremel grinding cone to widen them.
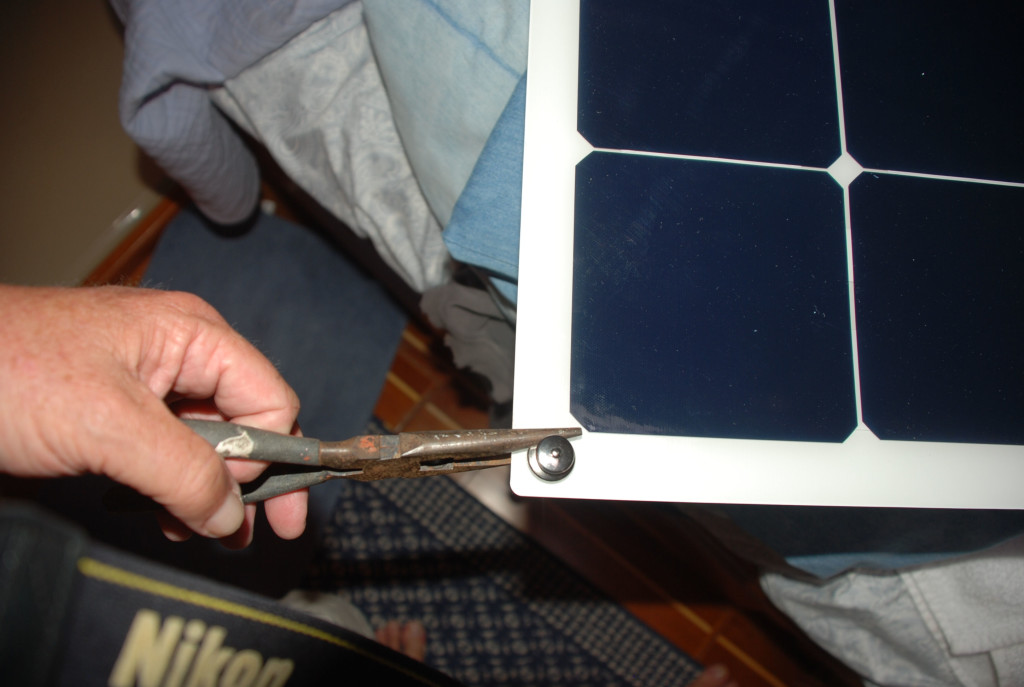
Step 3 – Press the Loxx top component into the hole and use a pair of needle nose pliers to work around the component, pressing the teeth into the panel.
DSC_0514cmp
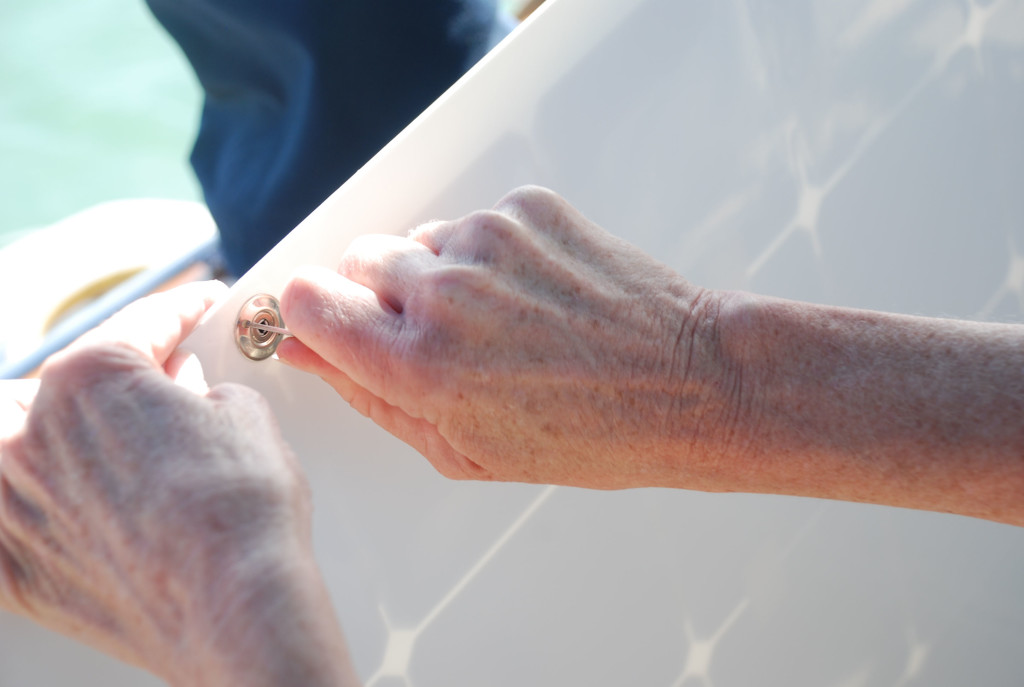
Step 4 – Install the Loxx ring and use their special tool to tighten the ring snuggly.
DSC_0518cmp
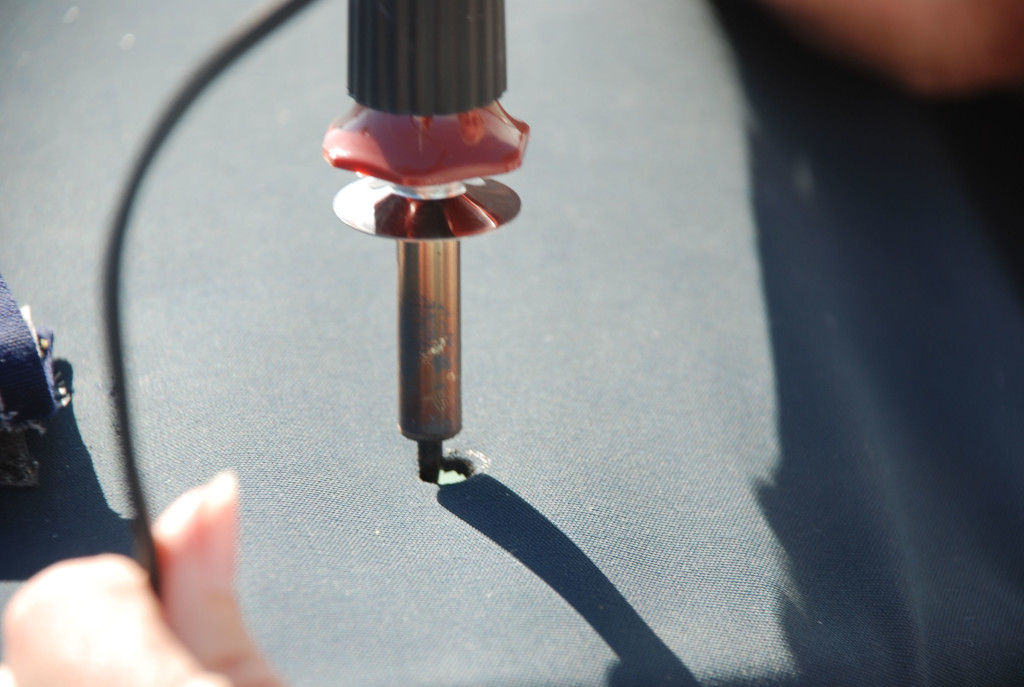
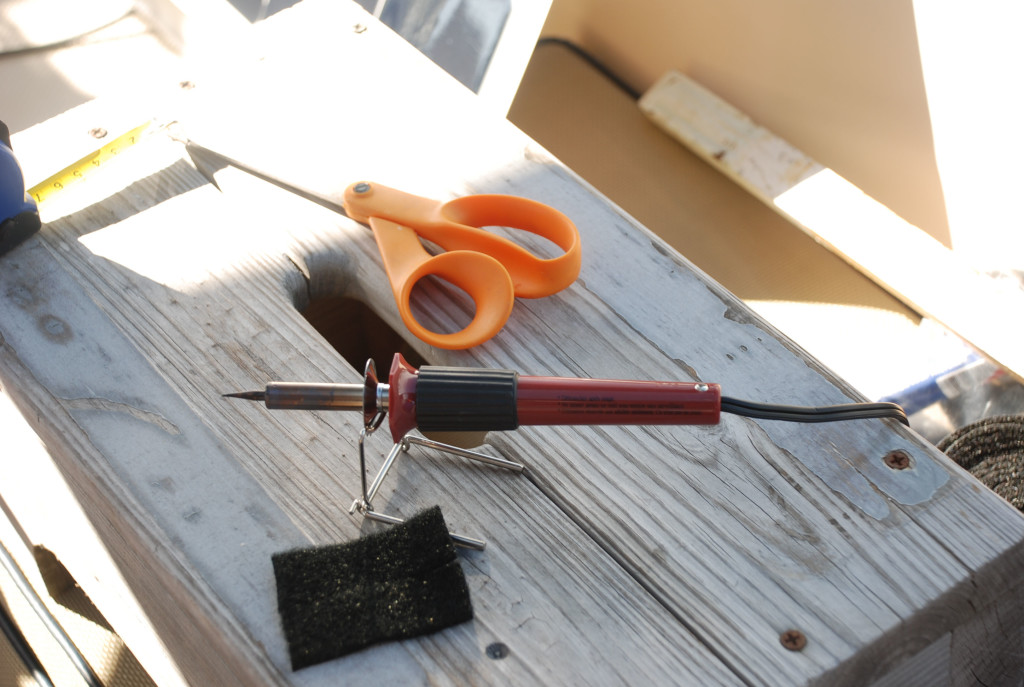
Step 5 – Create a hole in the bimini to put the Loxx base component. We used a hot knife tool to cut the holes. It turned out that the barrel of the hot knife was the perfect size for the Loxx component.
DSC_0504cmp
DSC_0506cmp
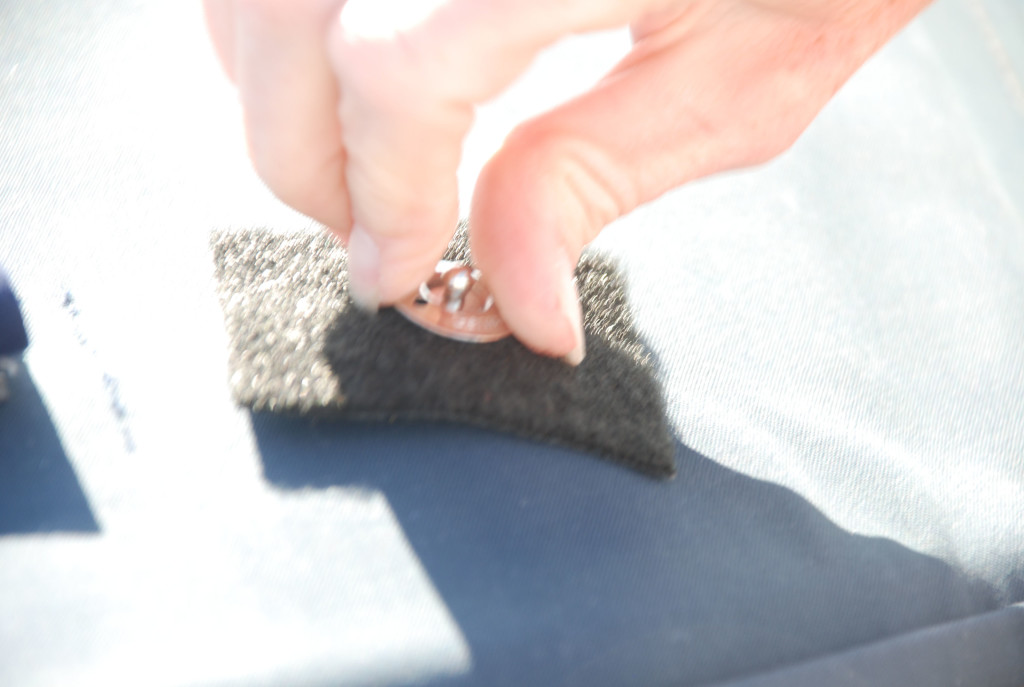
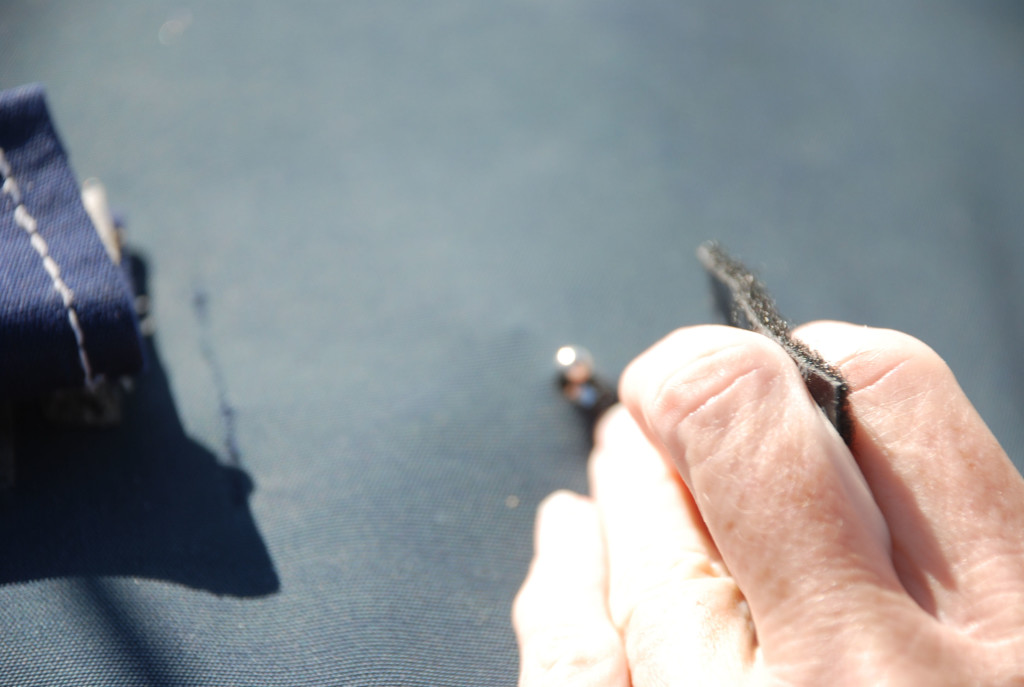
Step 6 – Insert the base component into the canvas and screw on the ring on the top side of the canvas, using the special tool to tighten.
DSC_0505cmp
DSC_0507cmp
Step 7 – Install the panel on to the base and measure for the next hole.
Step 8 through X – Repeat the process for all six holes and for the other panels.

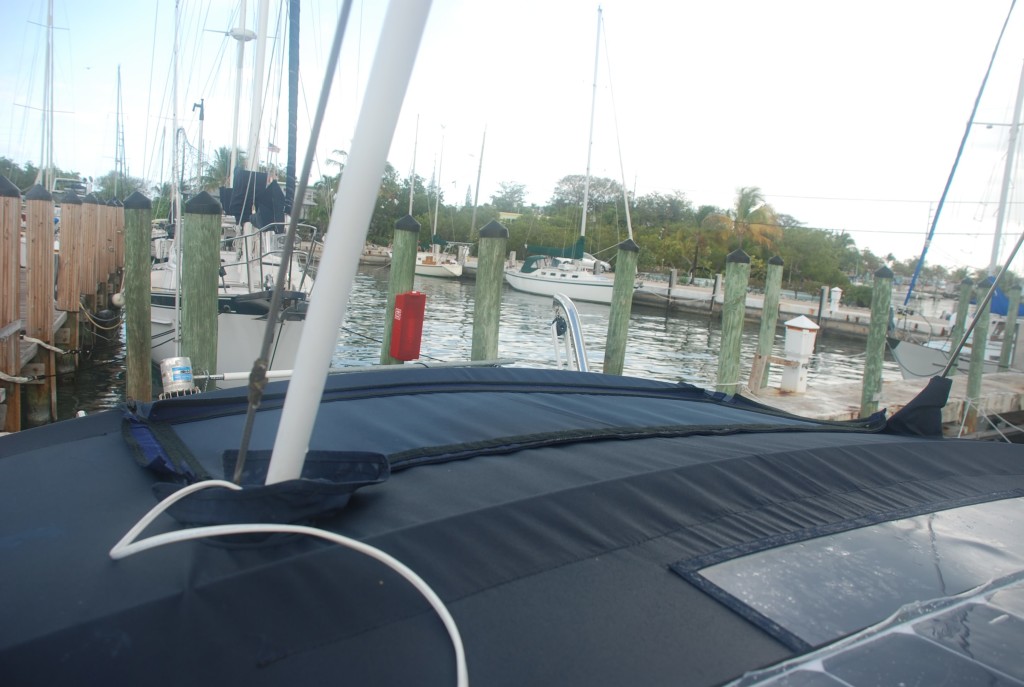
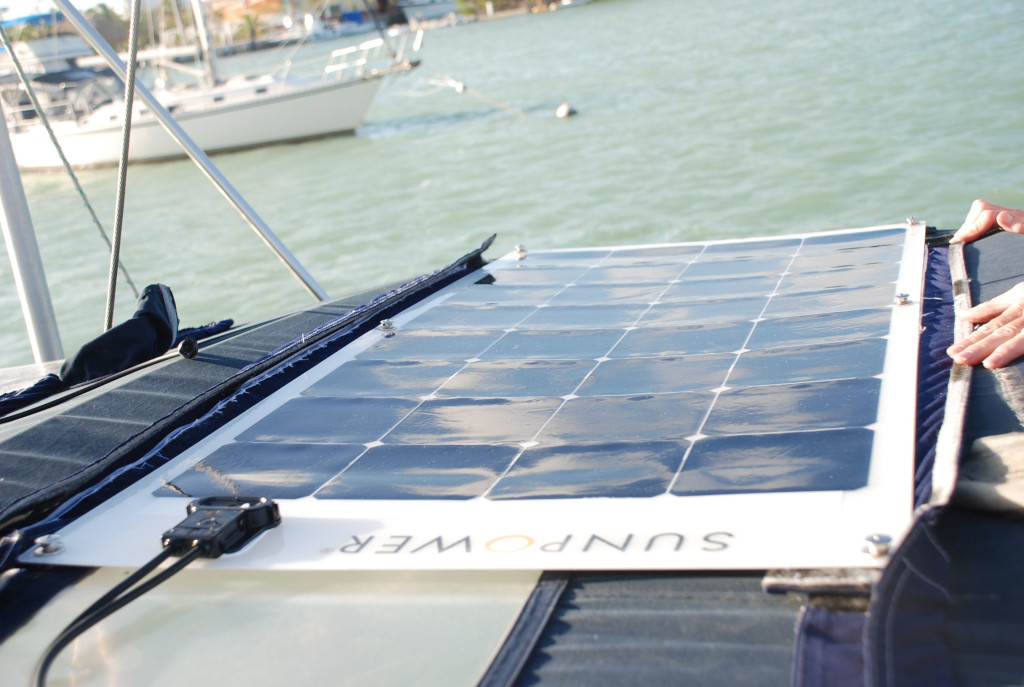
Here is the top view of the installed panel:
DSC_0523cmp

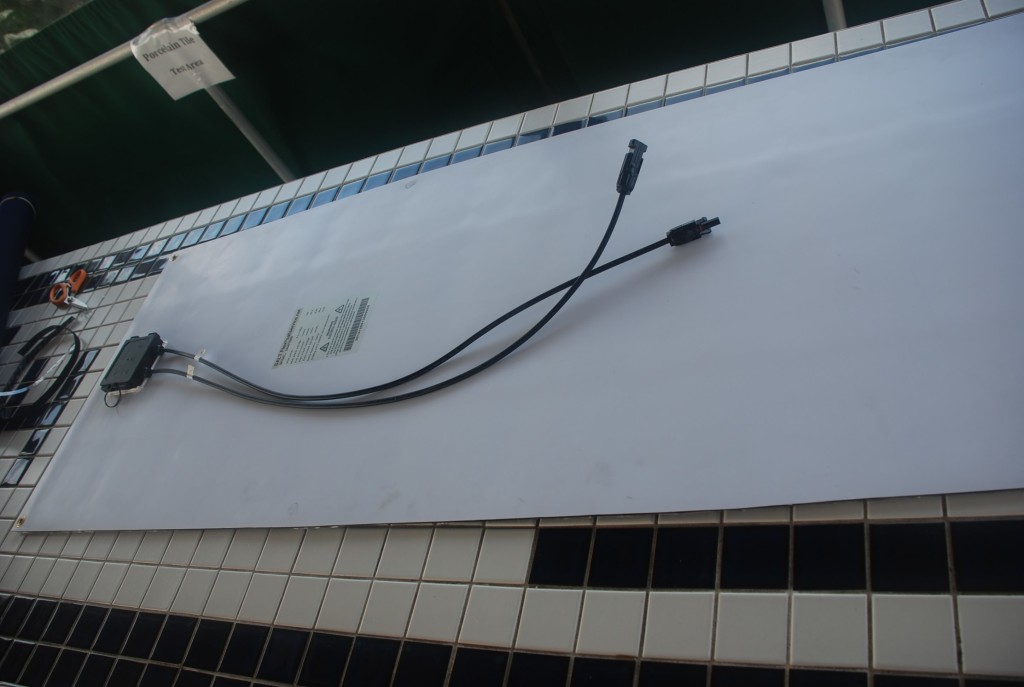
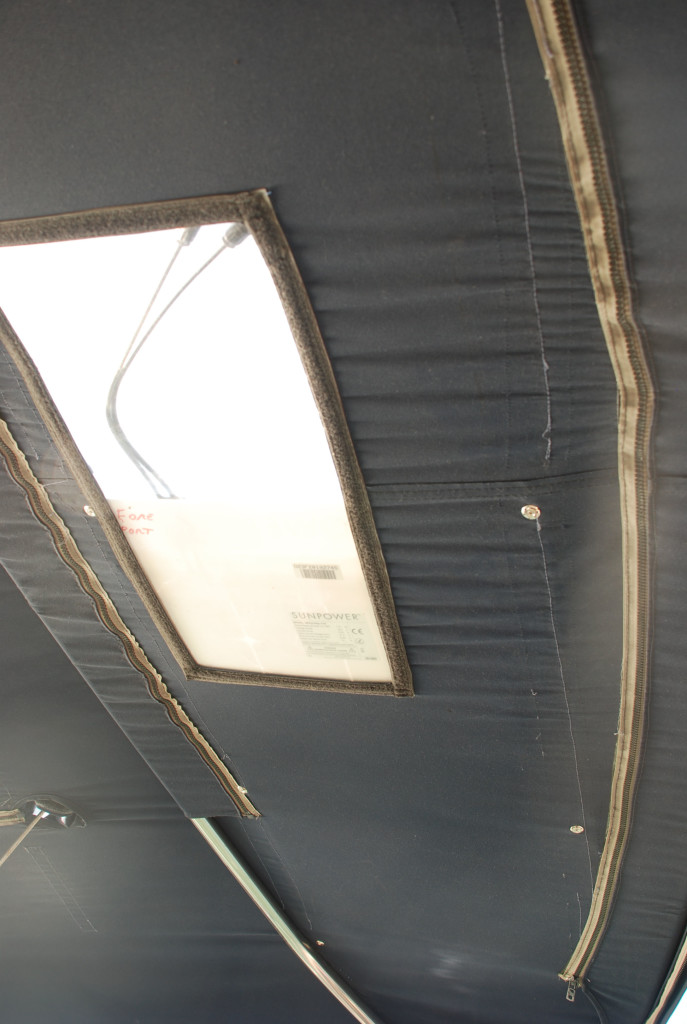
And the underside:
DSC_0524cmp

We connected the wires in series and found that we needed an extension cable for one of the connections. The wires on the new panels were shorter than the old ones. We had the company we bought the panels from make us a 2 foot extension and we are making power with wild abandon.

We thought the Loxx base would leak water, but they have not. If we weren’t getting new canvas this summer, we would have opted to install the bases on a patch of canvas that would then be sewn into the bimini, which would not create holes and would provide support for the bimini canvas. We highly recommend the Loxx fasteners!

Solar panel upgrade, and waiting for a window

2/18/16
Harbour Cay Club, Marathon, Florida Keys
Posted by Bill

I haven’t had much time to blog lately…too many things going on. We have started the watch routine for the big window, a window of good weather to cross to the Bahamas. We usually like to have at least 2 days of decent weather to cross the Gulf Stream. This winter has brought the worst weather in a long, long time to south Florida. Lots of north winds, strong winds, and rain. Typically, these come in short spurts and maybe once a week, but this year it has been almost constant except for the rain, which has been much more frequent than normal. Everyone here and in the Bahamas is pretty much weathered in. A couple of days ago we saw a window for next Tuesday so we have been working like crazy to get everything done that we need to get done to depart. The forecast has been changing drastically every day, and the window has opened, closed, opened again, closed again, and opened again. In the last day, the forecast for next week went from 45-50 knot winds to less than 10 knots…who knows! At any rate, we need to be ready to go, so we can take advantage of a possible window. Every day, we need to ride our bikes to the grocery store to haul back what we can carry to provision the boat, and we need to get our projects completed.

In the last week we knocked a few projects off the list. One of them was putting on new solar panels. Last year we ordered 3, 135 watt panels, 2 on back order, installing 1. The ability to get the other 2 fell through, so the company we bought them from took back the 1 panel and got us 4, 100 watt panels. We figured out the best way to sew them into the bimini canvas and Tricia did her magic. 2 of them had zippers sewed into the panel, so she had to devise a way to sew the other half of the zippers into the bimini, and the other 2 we decided to do velcro since it worked so well with the one we did last year. First, Tricia made pieces of backing canvas to sew the zippers and velcro on, which would then be sewed to the bimini.
DSC_0022
DSC_0019
DSC_0025
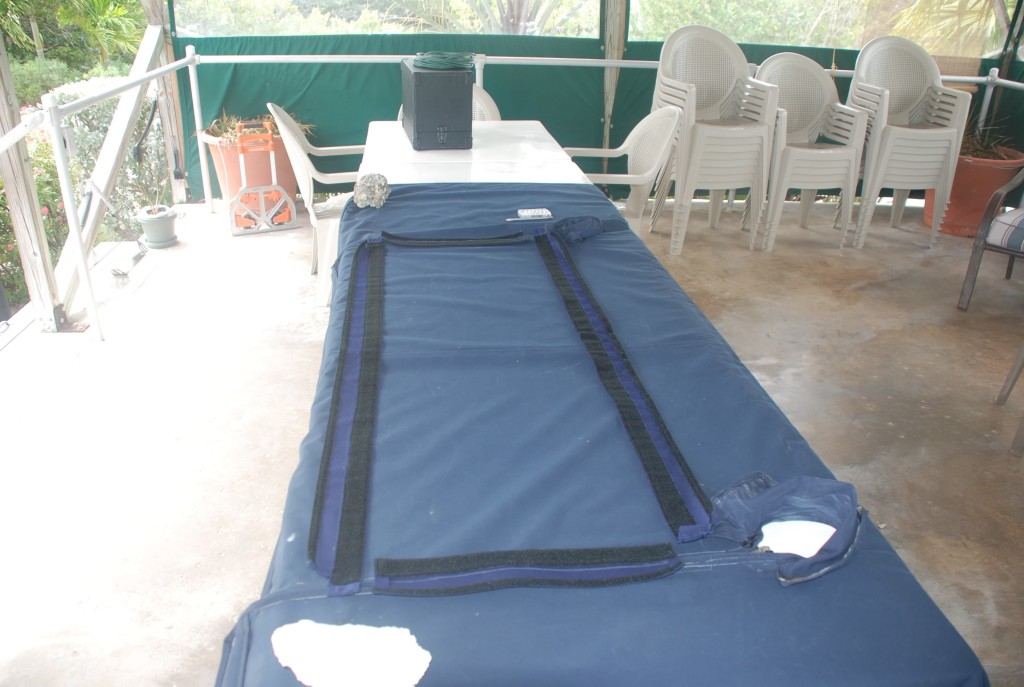
At least we had a good work area in the lanai at Harbour Cay Club! The zippers took a couple of attempts to get the alignment just right, as it changed when the bimini was installed on the boat frame, but she nailed it! It was a very tedious job because there were a lot of zippers that were part of the bimini that were in the way, and it has a lot of material to wrestle with while sewing. After 3 days of work we installed the panels:
DSC_0029
DSC_0030

In the mean time, I set out to get the Honda generator running again. It would only run if the choke was fully open, so I knew it was not getting the proper amount of fuel. I overhauled the carb, finding the jets plugged:
DSC_0013
I put it back together and it wasn’t any better. Next I tore open the end of the case to get at the fuel filter…no problems there…so I broke down the carb again, finding it was plugged again! The second overhaul solved the problem and it runs great again! It only took one bike ride to Home Depot to get some carb cleaner. It took the better part of a day, but I had this view while I was working:
DSC_0015
DSC_0016
Not so bad!

This week I also tested the macerator plumbing for leaks. The first check was opening the under water overboard discharge valve that leads to outside the boat, and I’ll be damned if the new diverter valve that I installed leaked like a sieve…not good! It was late in the day, and I just closed the overboard discharge valve, thinking it would stop leaking as soon as the water ran out of the hose. It leaked all night, meaning the overboard valve was leaking too! Really not good!! To fix the discharge valve we would need to haul the boat out. Asking our friend Mark to double check my logic, we decided to pull the hose off of it and put things back the way they were before the macerator work, and we discovered that the overboard valve did not seal completely, but it was a very small drip…something that could be contained if the diverter valve was fixed. We could then fix the overboard valve the next time we hauled the boat for a bottom paint job. I took the diverter valve apart and found that an O-ring was not seated properly and pinched, then spent the better part of a day riding around looking for a new one to no avail. The next day, I figured I could try to seat the existing O-ring properly, reassemble the valve, and try it again…no leak…yay! I let it sit for a day to make sure it didn’t leak and reinstalled the hoses, and today I will check out the rest of the plumbing.

We spent some time with Matt, Shirley, Kurt, Sharon, and the moms over the week; but Matt and Shirley left today to head back home. So sad! It was great getting together. We also had breakfast with our friends from Columbus, Dave and Cindi, and Cindi’s parents. Dave and Cindi are here for a week, then back to Arizona until the weather improves in Columbus. Now back to our rush to get ready to leave. As it looks now, we will be leaving next week.

Adding solar power

3/10/15
Marathon FL
Posted by Bill

We debated back and forth about adding solar to our boat. We have a Honda 2000i companion generator that we use to charge our battery bank when we aren’t tied to a dock and shore power, but with our current battery bank, we need to charge at least once a day and can’t leave the boat for longer than one day. There is much debate as to the economics for solar, but after dealing with battery issues for 5 months, anything that keeps the batteries happy is worth consideration. We opted with flex panels rated at 135 watts. We purchased 3 panels, which generate 8-10 amps per hour each at optimum condition, and normally will give us a total of around 120 amp hours per day. This is close to what we use each day, so at best, we will only have to charge the batteries a few times per week when we are not attached to shore power. We got the one panel in stock and backordered the other 2.

We worked with a company called SALT – Solar, Air and Land Technologies, here in Marathon. They have a great reputation in the cruising community, and one of the owners keeps his boat here in Harbour Cay Club where we are staying. Double bonus. We looked at fixed panel solutions and flex panel solutions, both using Sun Power cells. Sun Power has a 23% efficiency rating and will work at better angles to the sun than most other panels which have an average 18% efficiency rating. They cost more but the price per kilowatt hour per square inch of panel is better than anything else out there. The fixed frame panels were going to require major modification of our bimini frame with substantial cost involved just to mount them. Flex panels can be mounted directly to the canvas bimini cover and can be bent to a moderate curve radius. We chose to sew industrial grade Velcro to the bimini with a wrap around flap to velcro to the top of the panel. The panel is attached with velcro to the top and bottom of the panel. In addition, we installed grommets to the corners of the panel and anchored them to the bimini, if for some reason the velcro doesn’t hold (overkill in retrospect). Here are pictures of the process…..

First Tricia sewed strips of canvas for the base velcro and velcro flaps:
DSC_0001
At each corner, she sewed a tab where shock cord can be run through to anchor the panel to the canvas:
DSC_0016
This is how it looks installed on the bimini frame:
DSC_0020
Here is the back of the panel:
DSC_0014
And the final installation:
IMG_1378
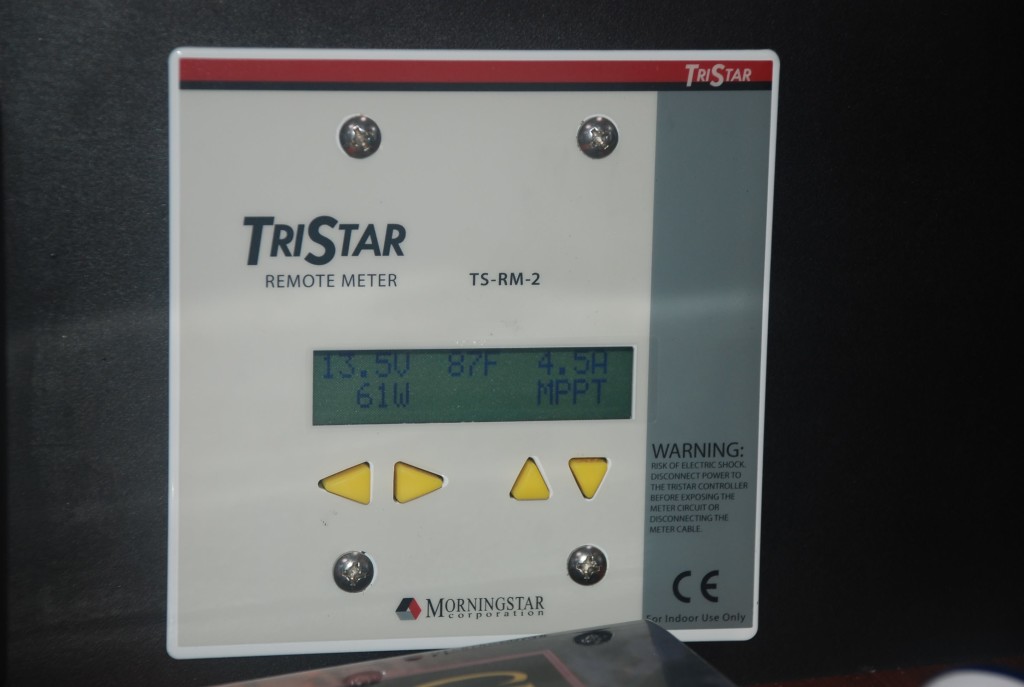
There is a Morningstar Tristar 30 MPPT controller that controls the charge power to the batteries. This is the remote meter that shows how much amperage is being generated:
DSC_0024

The total cost of the system is around $2,600. I’ll report later on how much power we are seeing on average. If you want more information or detail, just leave a comment or email me.