
2/13/2019
Boot Key Harbor, Marathon FL
Posted by Bill
In March of 2015, we installed 4 – 100 watt flex solar panels on our bimini canvas. We were staying at a private marina with access to a really nice work area, and Tricia did the sewing on the canvas. 2 of the panels had zippers attached to the sides, and the other 2 were plain. She sewed zippers into the canvas along with a protective flap, as we were not sure if the panels would chafe through the bimini due to wind movement and/or vibration. She also sewed Velcro and a protective flap for the other 2 panels and we attached Velcro to the underside of those panels. The design of the installation worked very well, and when the panels had to be removed for hurricane prep or maintenance on the bimini, it was really hard to get the Velcro ones off! The surface of the panels crazed and degraded after 3 years and so we needed to replace them. We bought them in Marathon FL from a reputable dealer and we had a 5 year warranty, and even though the manufacturer had gone out of business, the dealer honored the warranty and ordered us new panels from a different manufacturer. We could not get zippered panels, and the size of the new ones was slightly bigger, which made the existing bimini modifications unusable, so we needed to change the way the panels were attached.
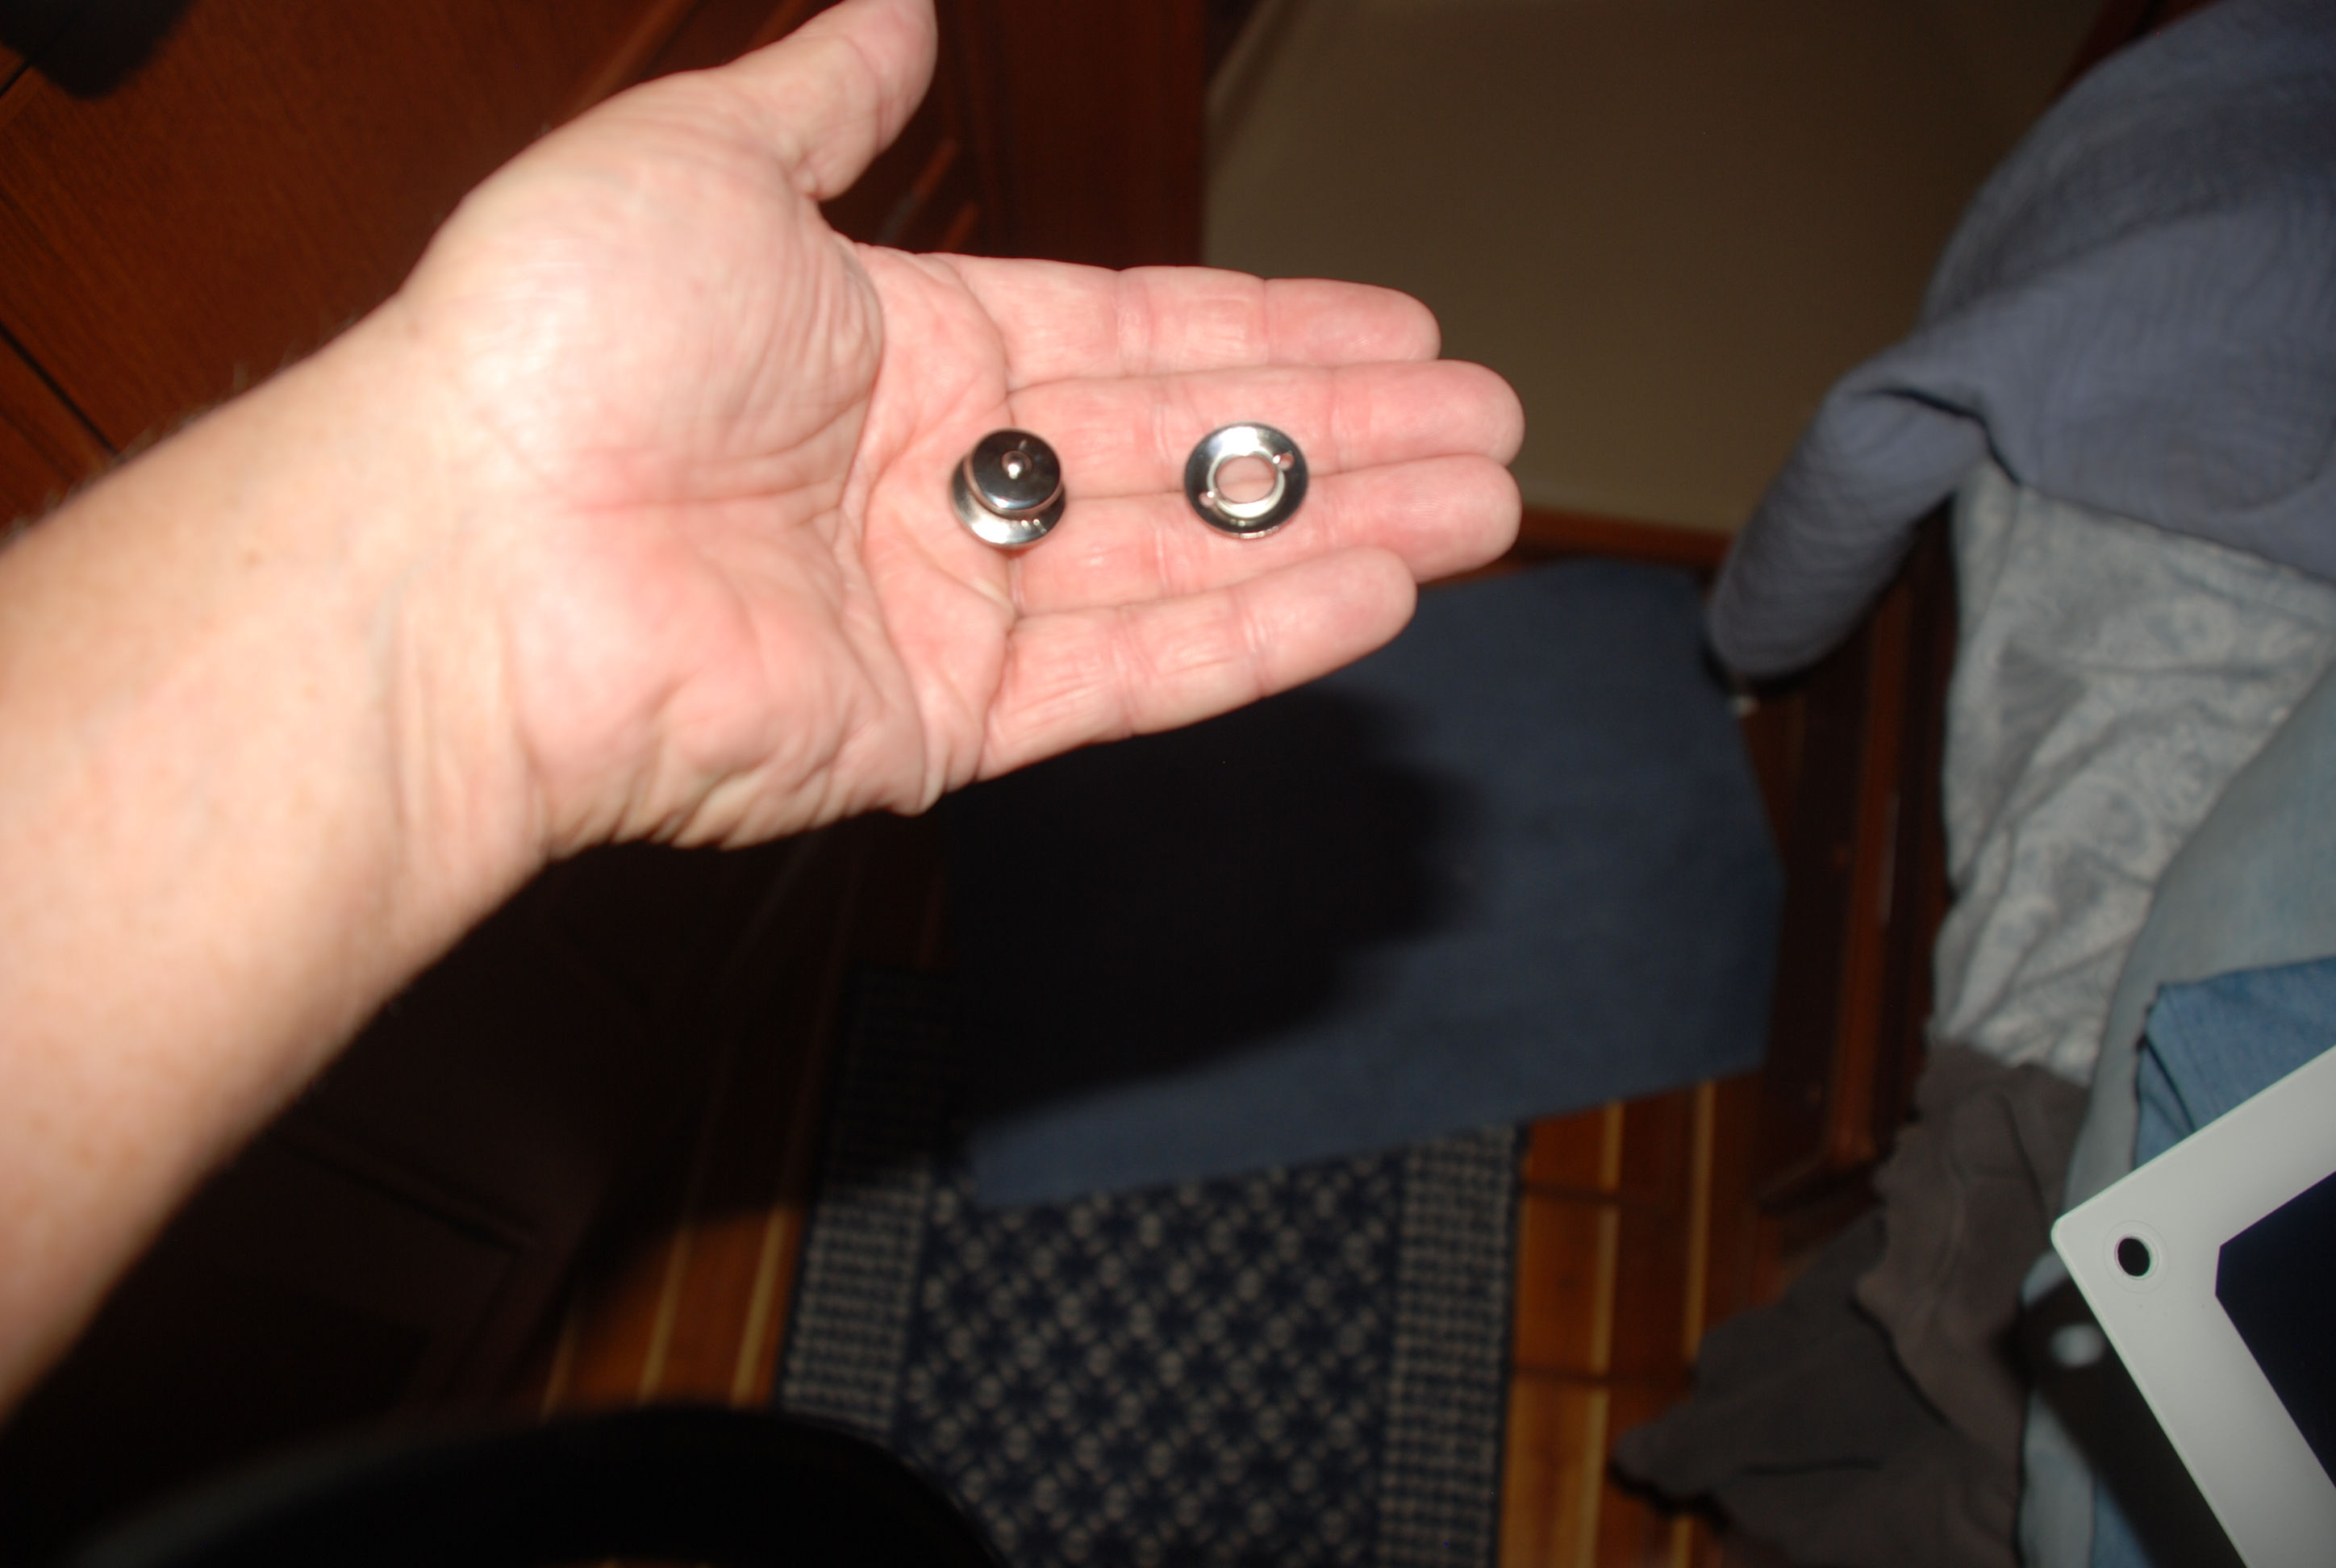
Our bimini and dodger canvas is on it’s last leg. Tricia has been making repairs for the last 5 years and the canvas is not holding new thread. It will be replaced at the end of this cruising season. We feared that if we had to remove the bimini and do a bunch of sewing, we would have bigger issues than just the failed solar panels, so we needed to some up with a solution that did not involve removing the bimini, and something that could be done on the boat in the mooring field we are staying at. Tricia had been looking at some fasteners called Loxx that she saw in a Sailrite catalogue. They have a top and bottom component, and you pull the top to lock or unlock the connection of the two. Both the base and the top have a ring that screws on to them, which sandwiches the component to whatever material you are working with. They also have little spikes on the components to hold them in place when you screw the ring on. So we thought this would make a great solution given our restrictions. Here is a picture of a top component:
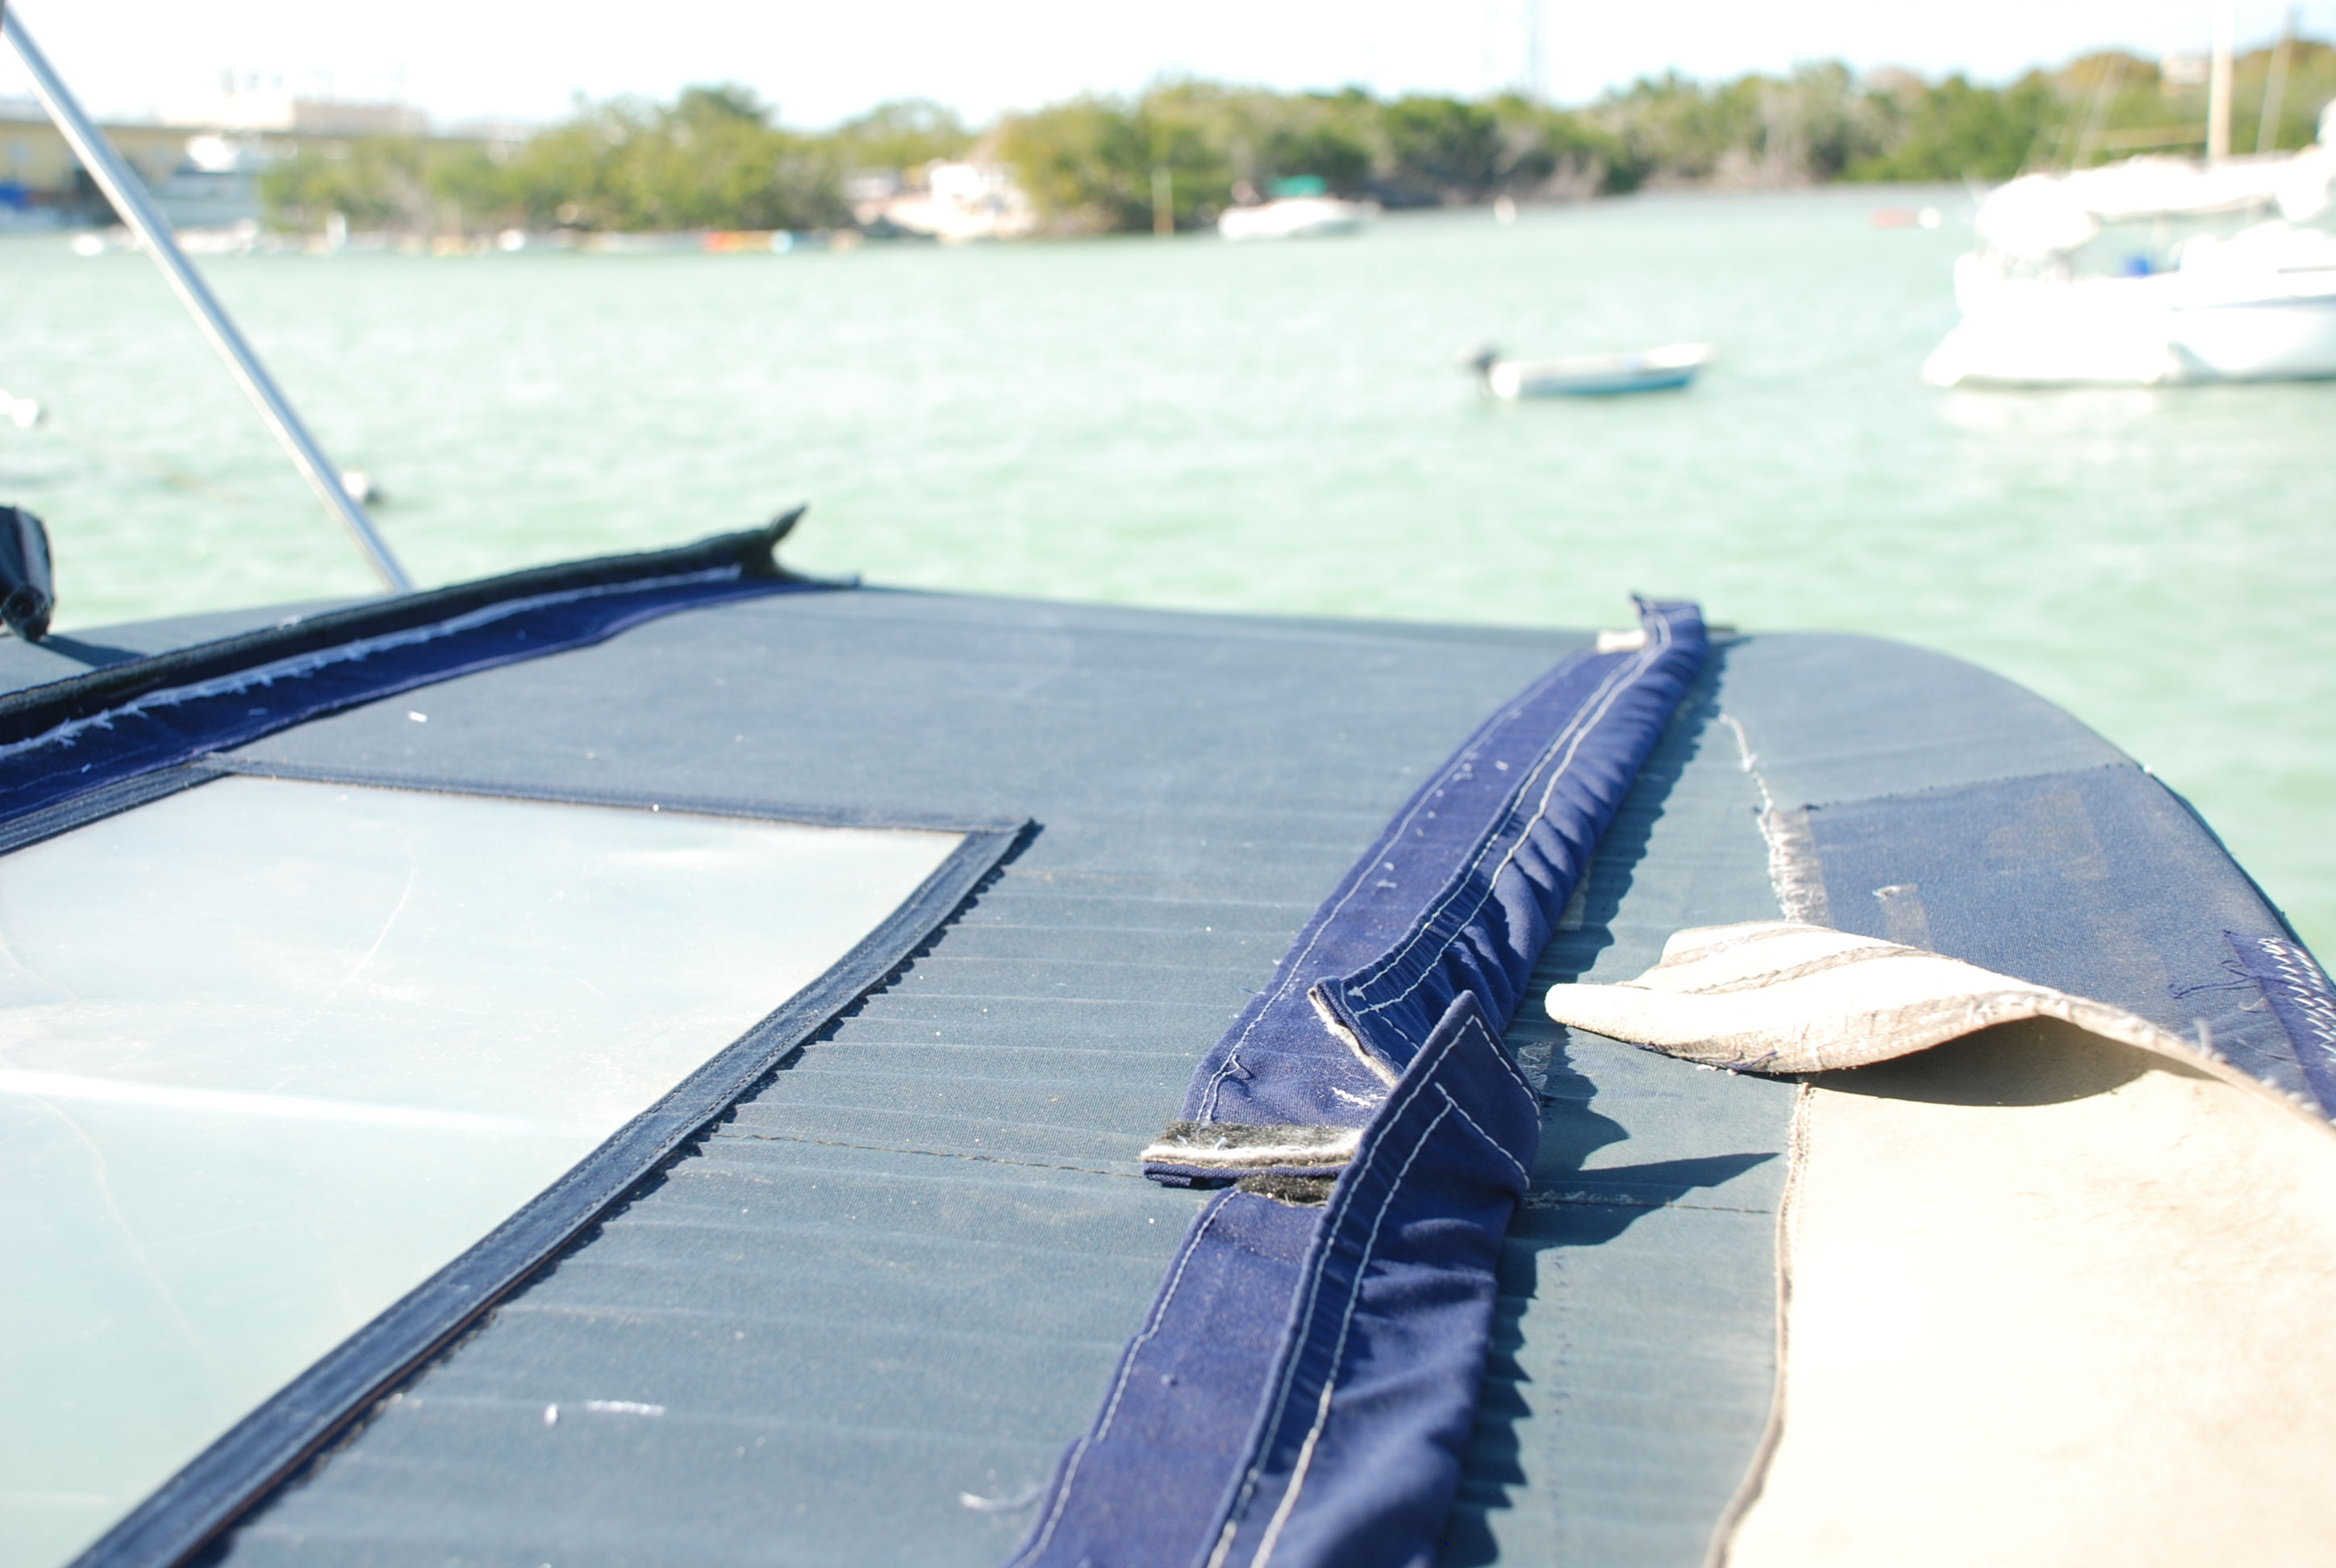
We first confirmed that they could be attached to the new panels and then we placed the panels on the bimini to determine the best strategy to use in attaching them. As it turned out, the protective flaps from the old installation still protected the bimini, except for the outer ends of the panels, which were longer than the old ones. Here is what remains after removing the old panels:
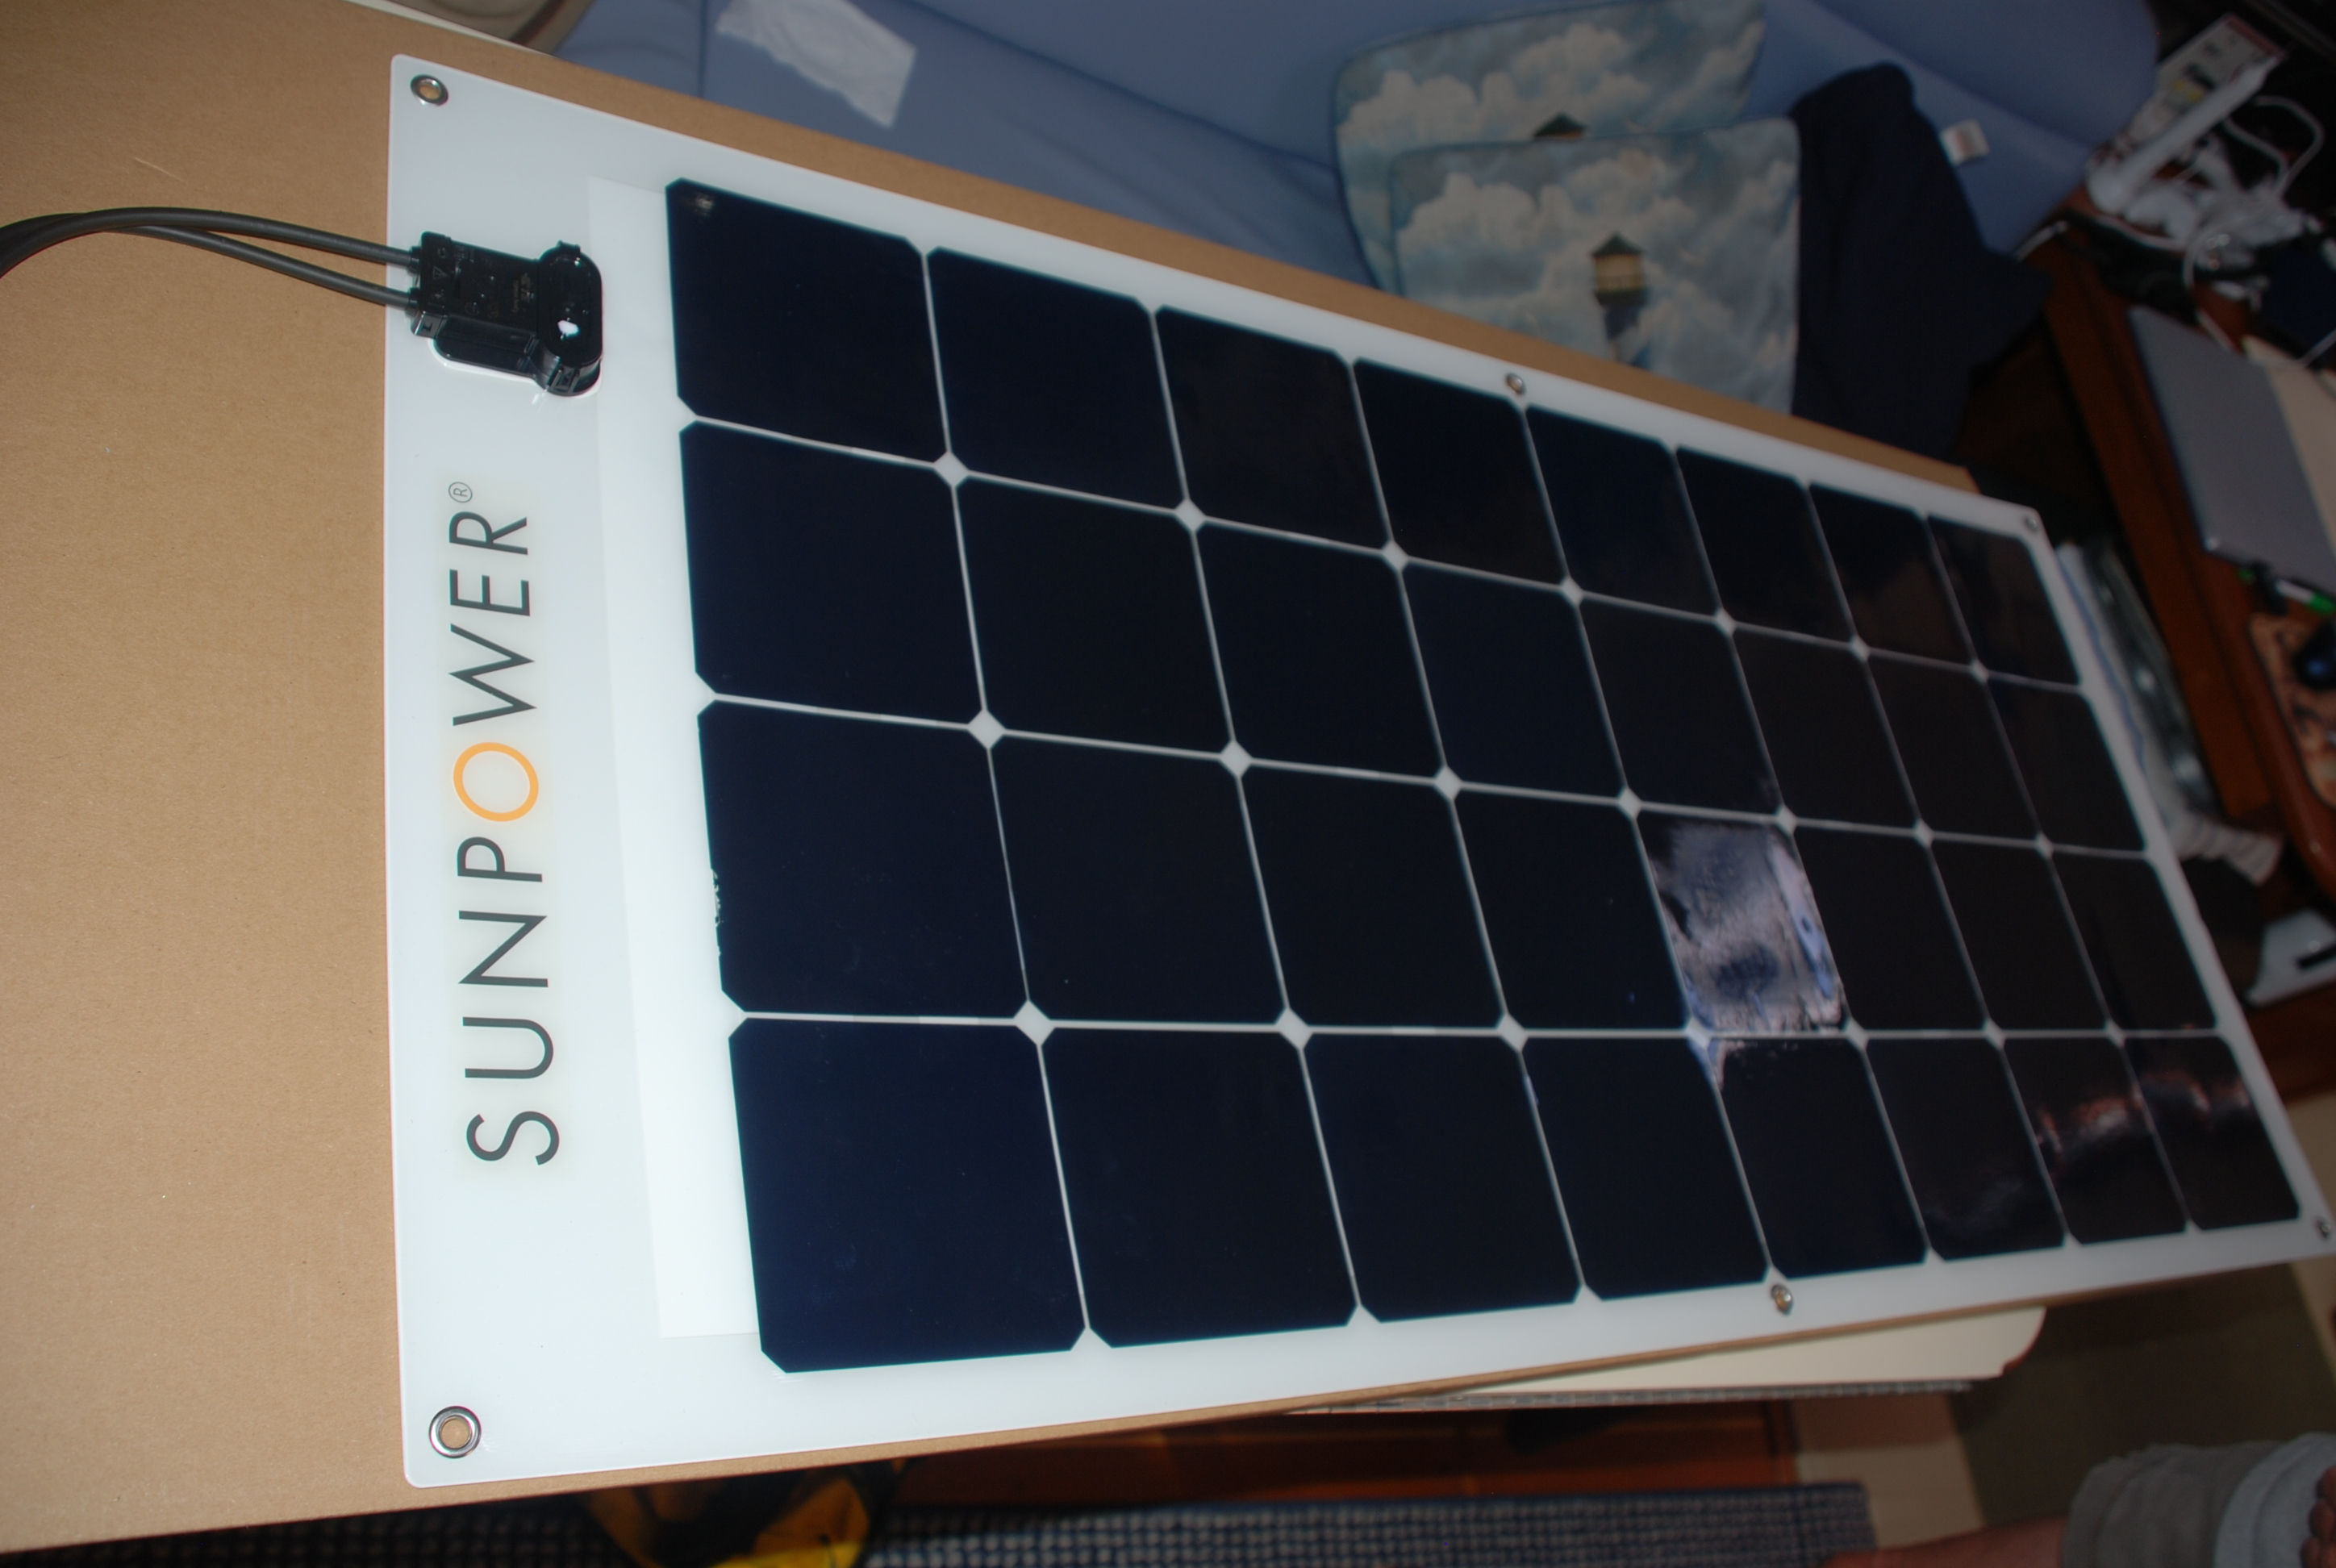
Tricia used squares of Velcro for the outer ends to remedy that and provide chafe protection for the outside edges. As you can see in this picture the panels have 6 holes to use for mounting:
We did one panel at a time and one or two holes at a time, installing the panel before determining the location of the next hole.
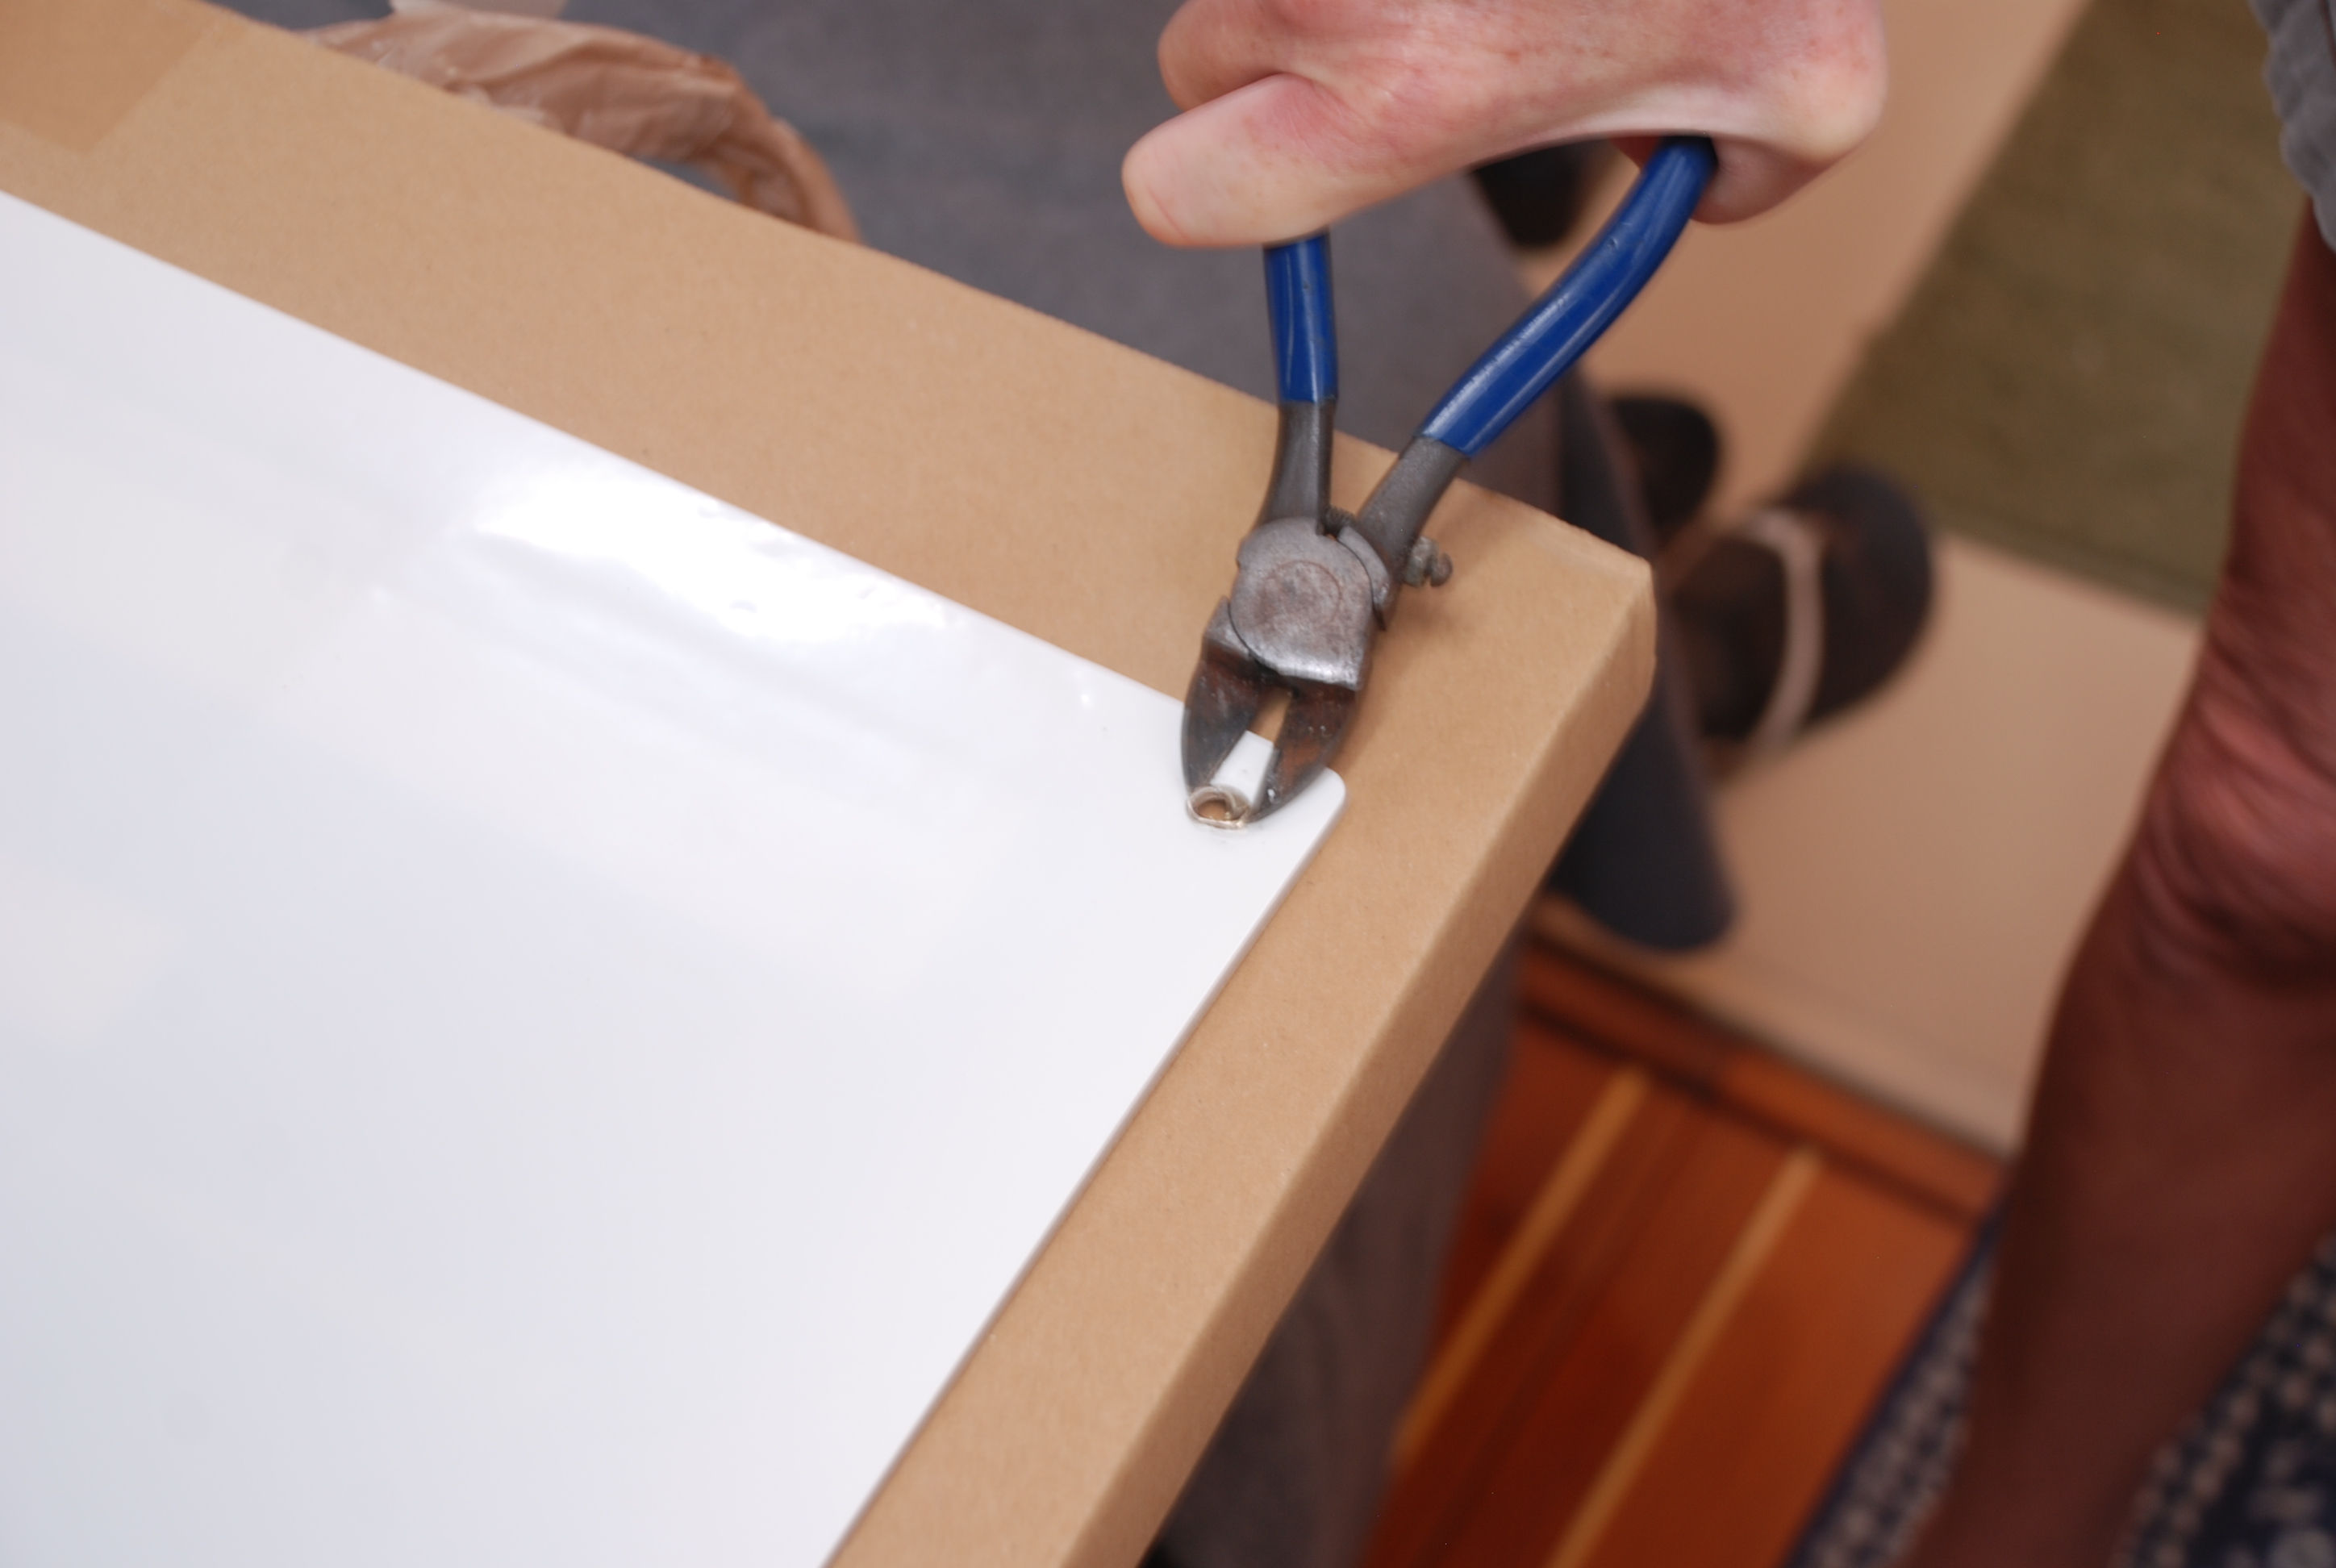
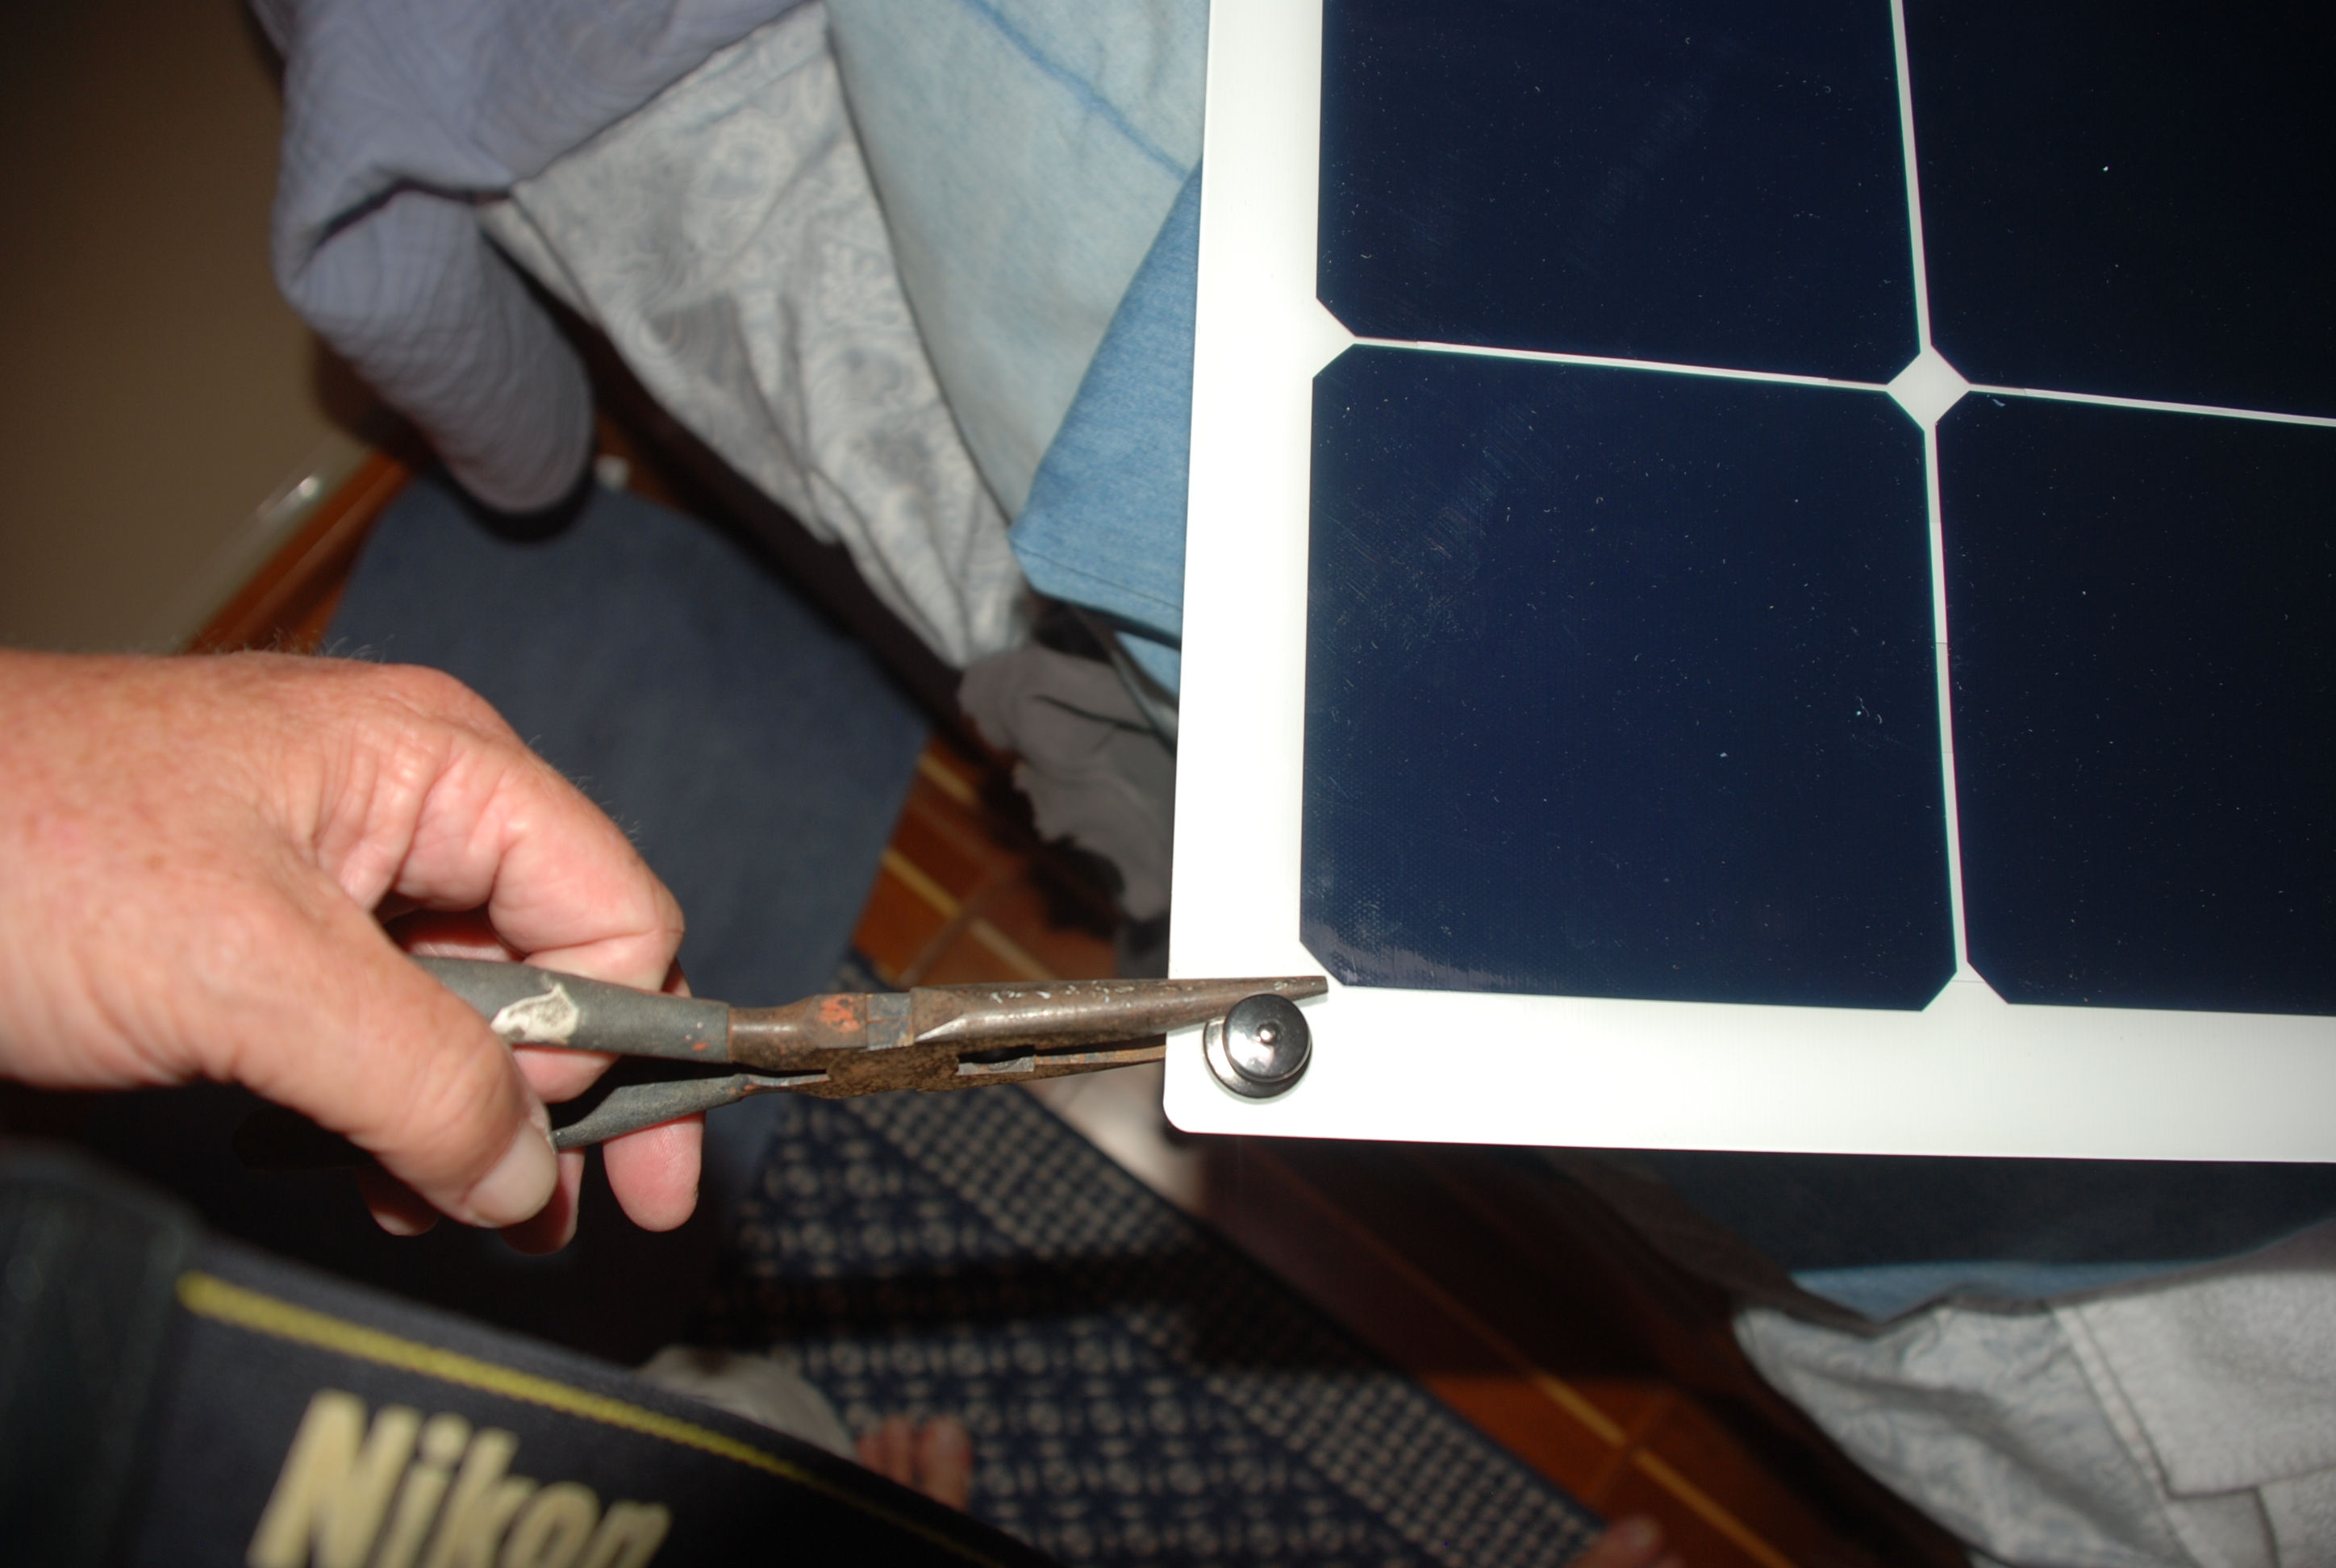
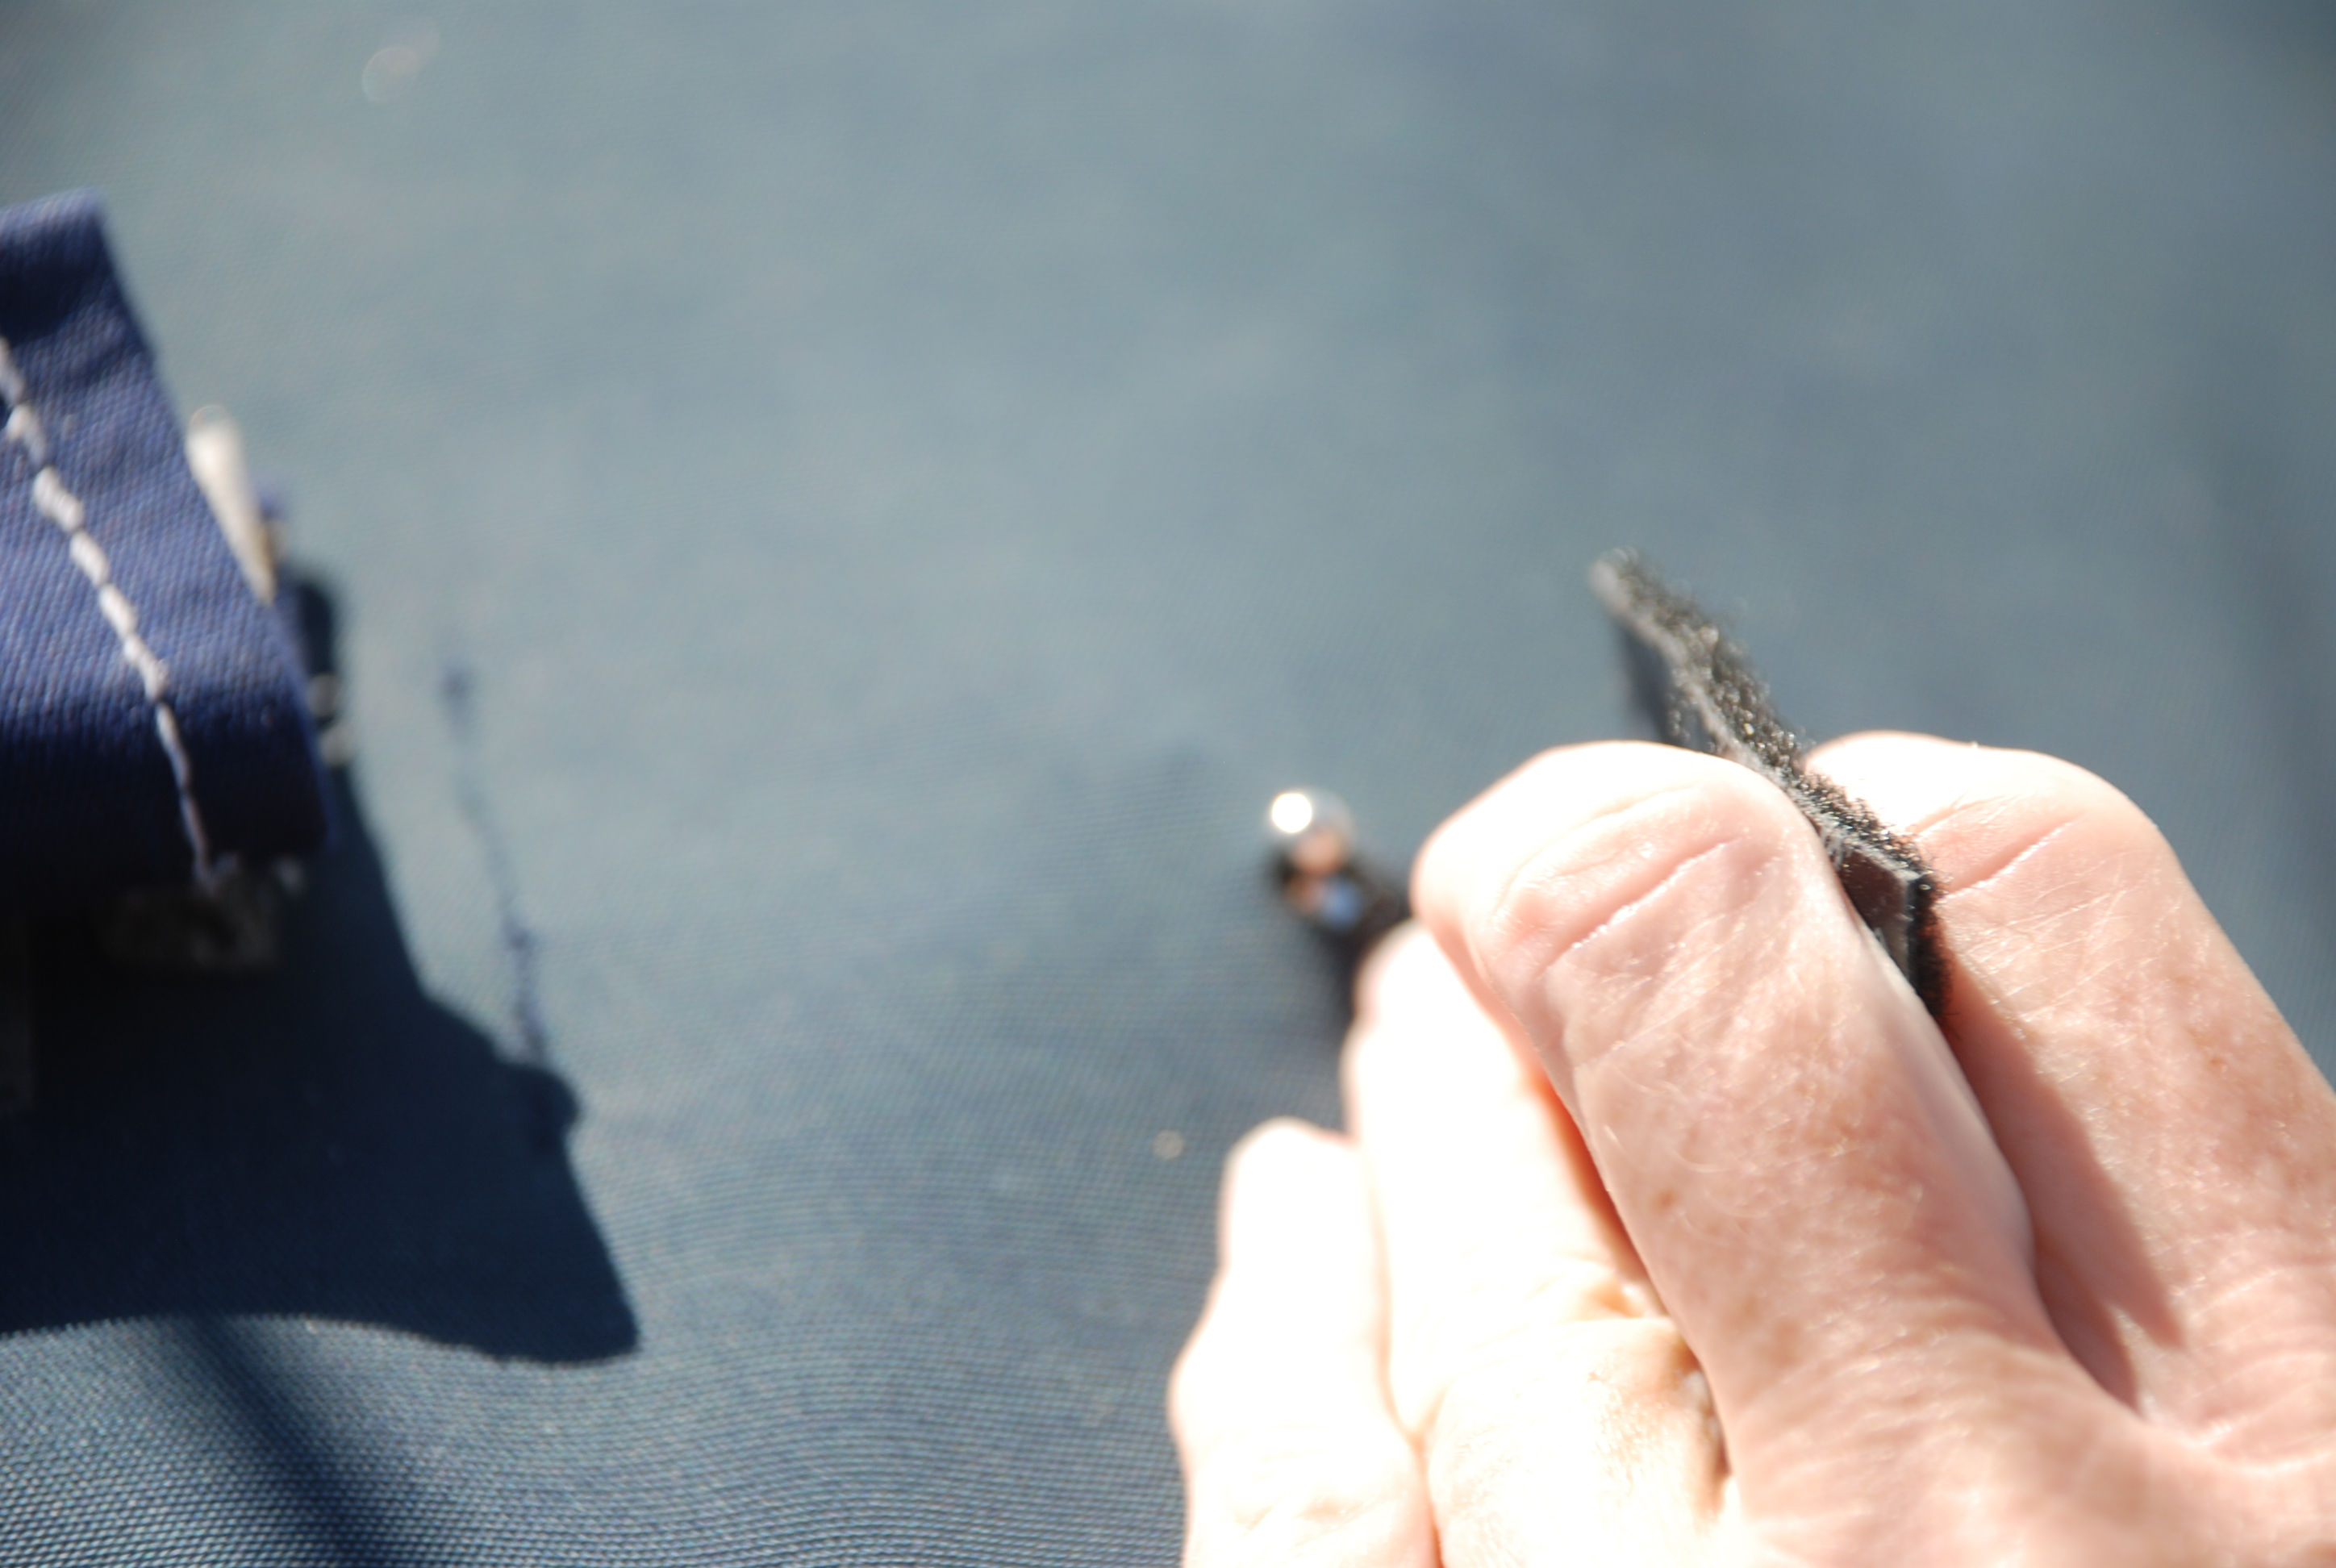
Step 1 – Remove the grommets on the panel. The Loxx would not fit on the panel with the grommets on. We used a wire cutter tool, flipped the panel over, and worked the cutter tool under the grommet. Working all the way around the grommet and squeezing the grommet allowed us to form it to a size smaller than the hole, and then just pull it out the other side.

Step 2 – The holes were still about 1/16th of an inch smaller than the Loxx components, so I used a dremel grinding cone to widen them.
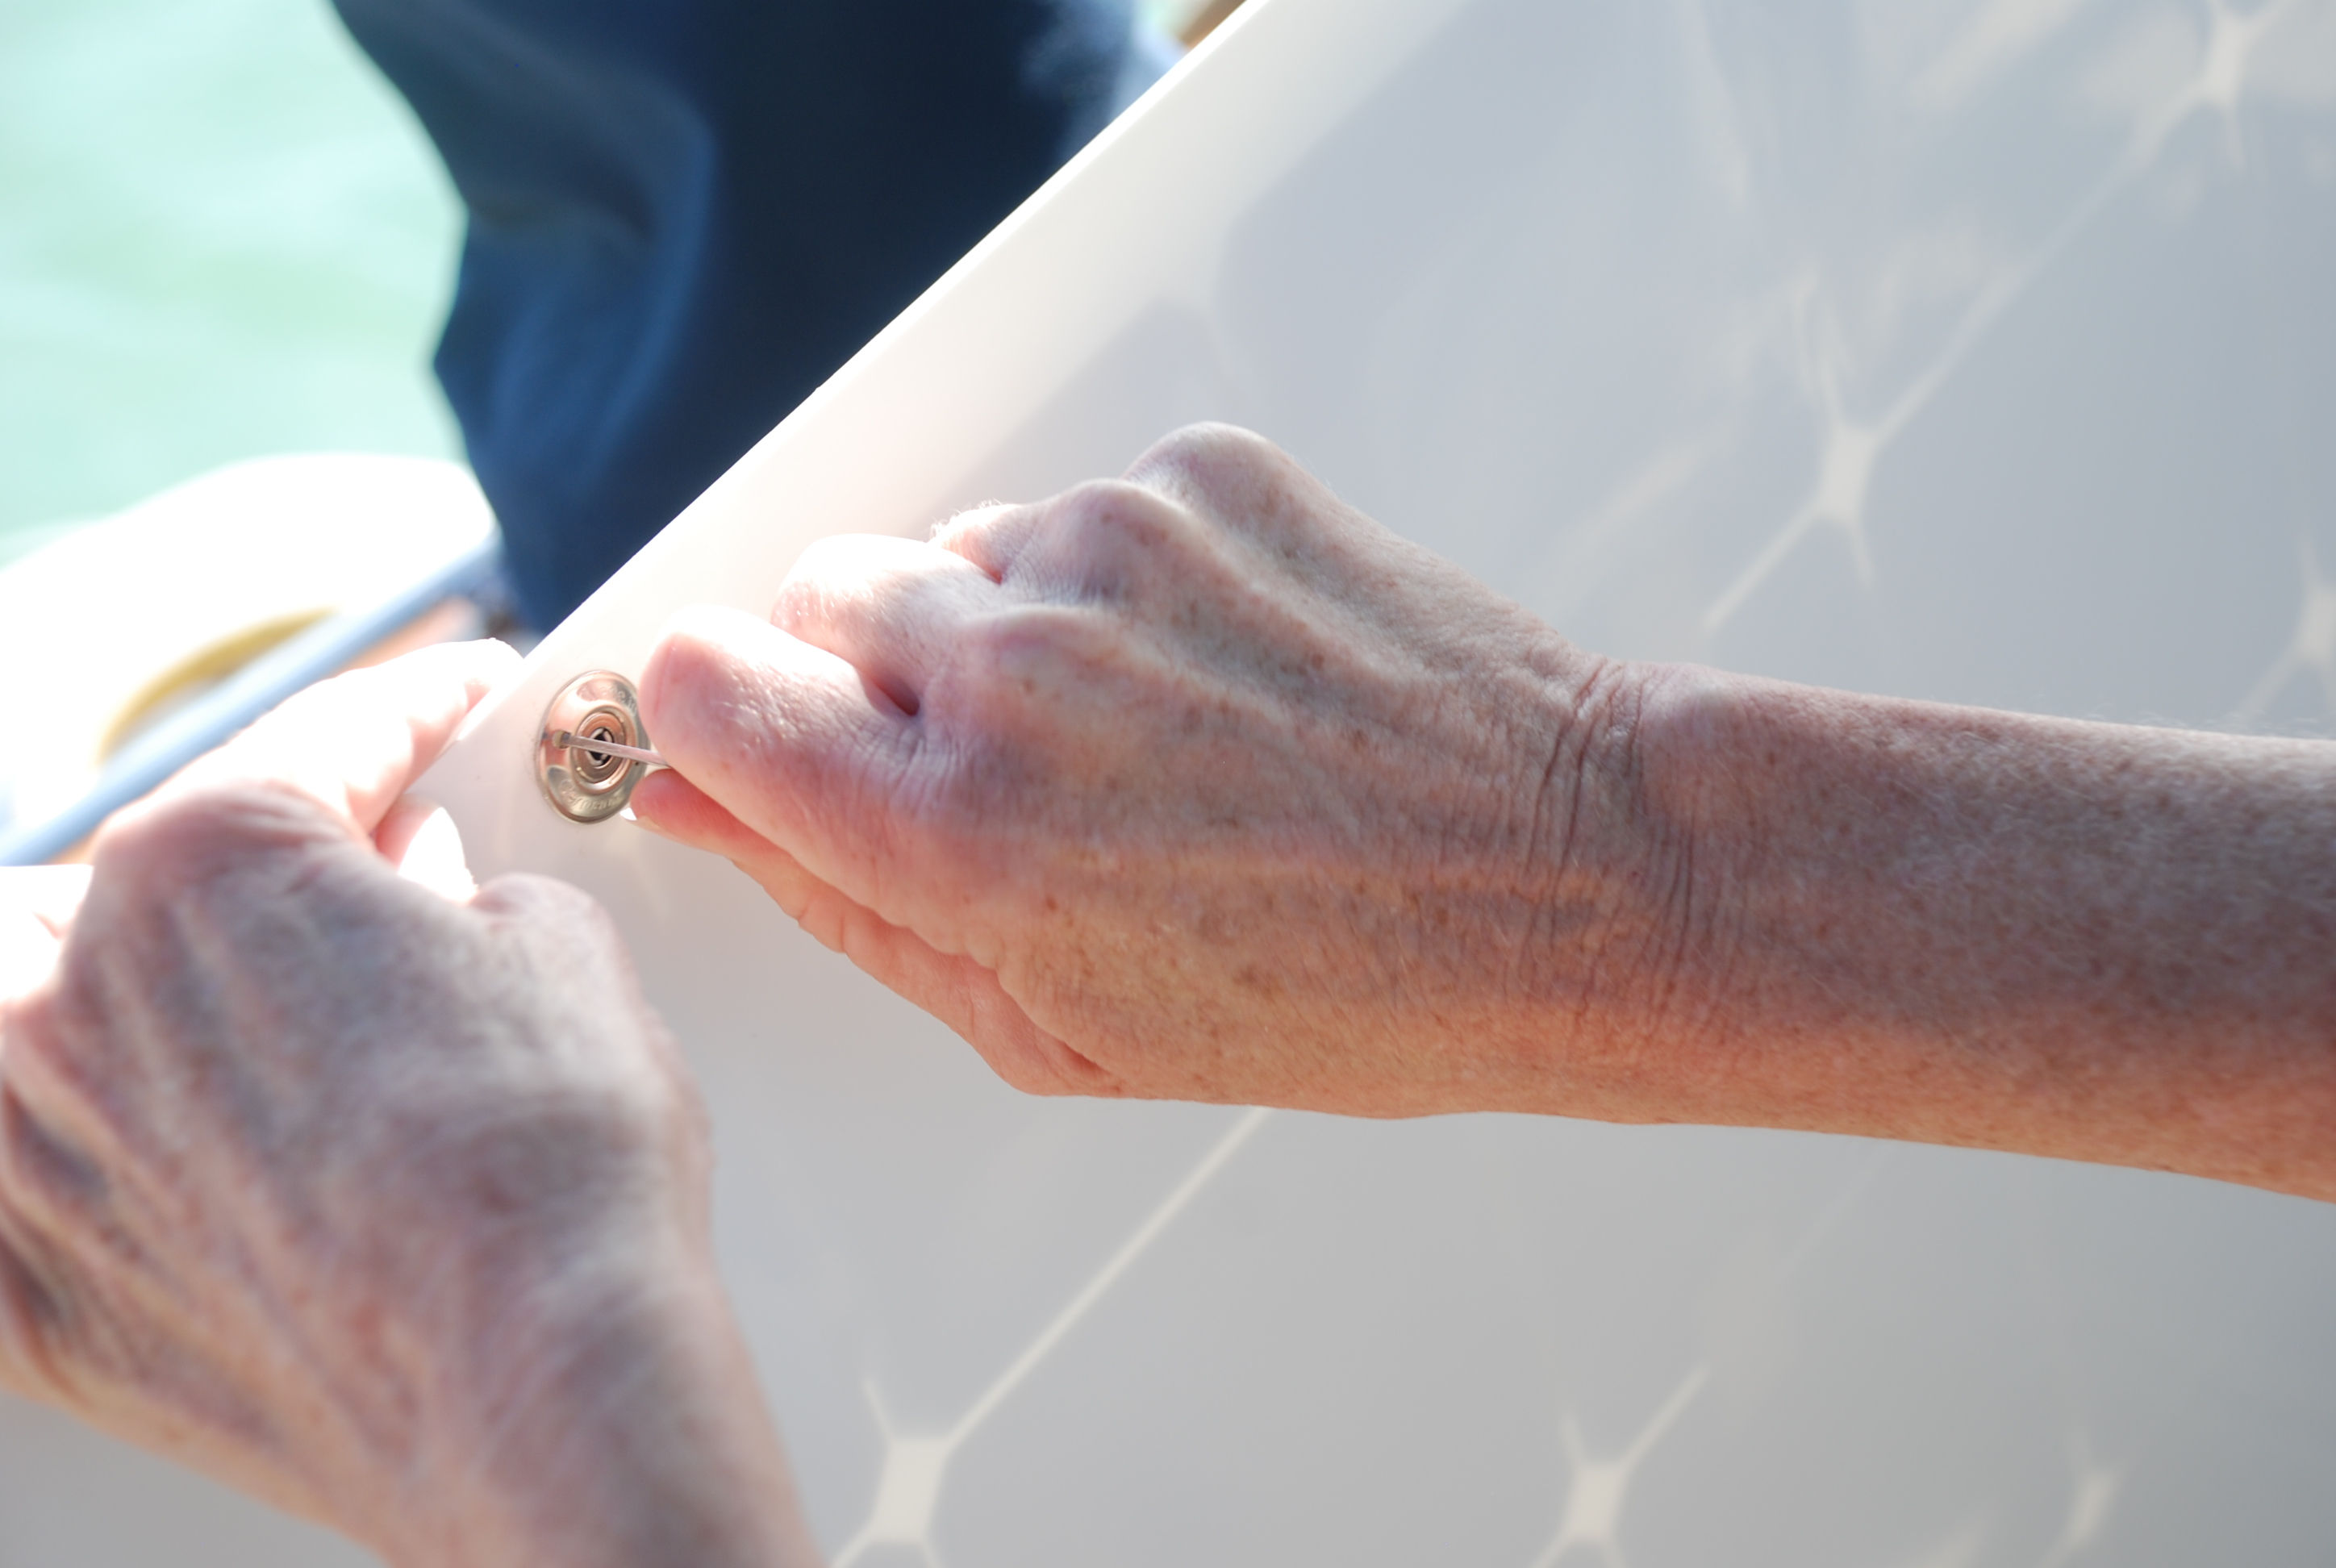
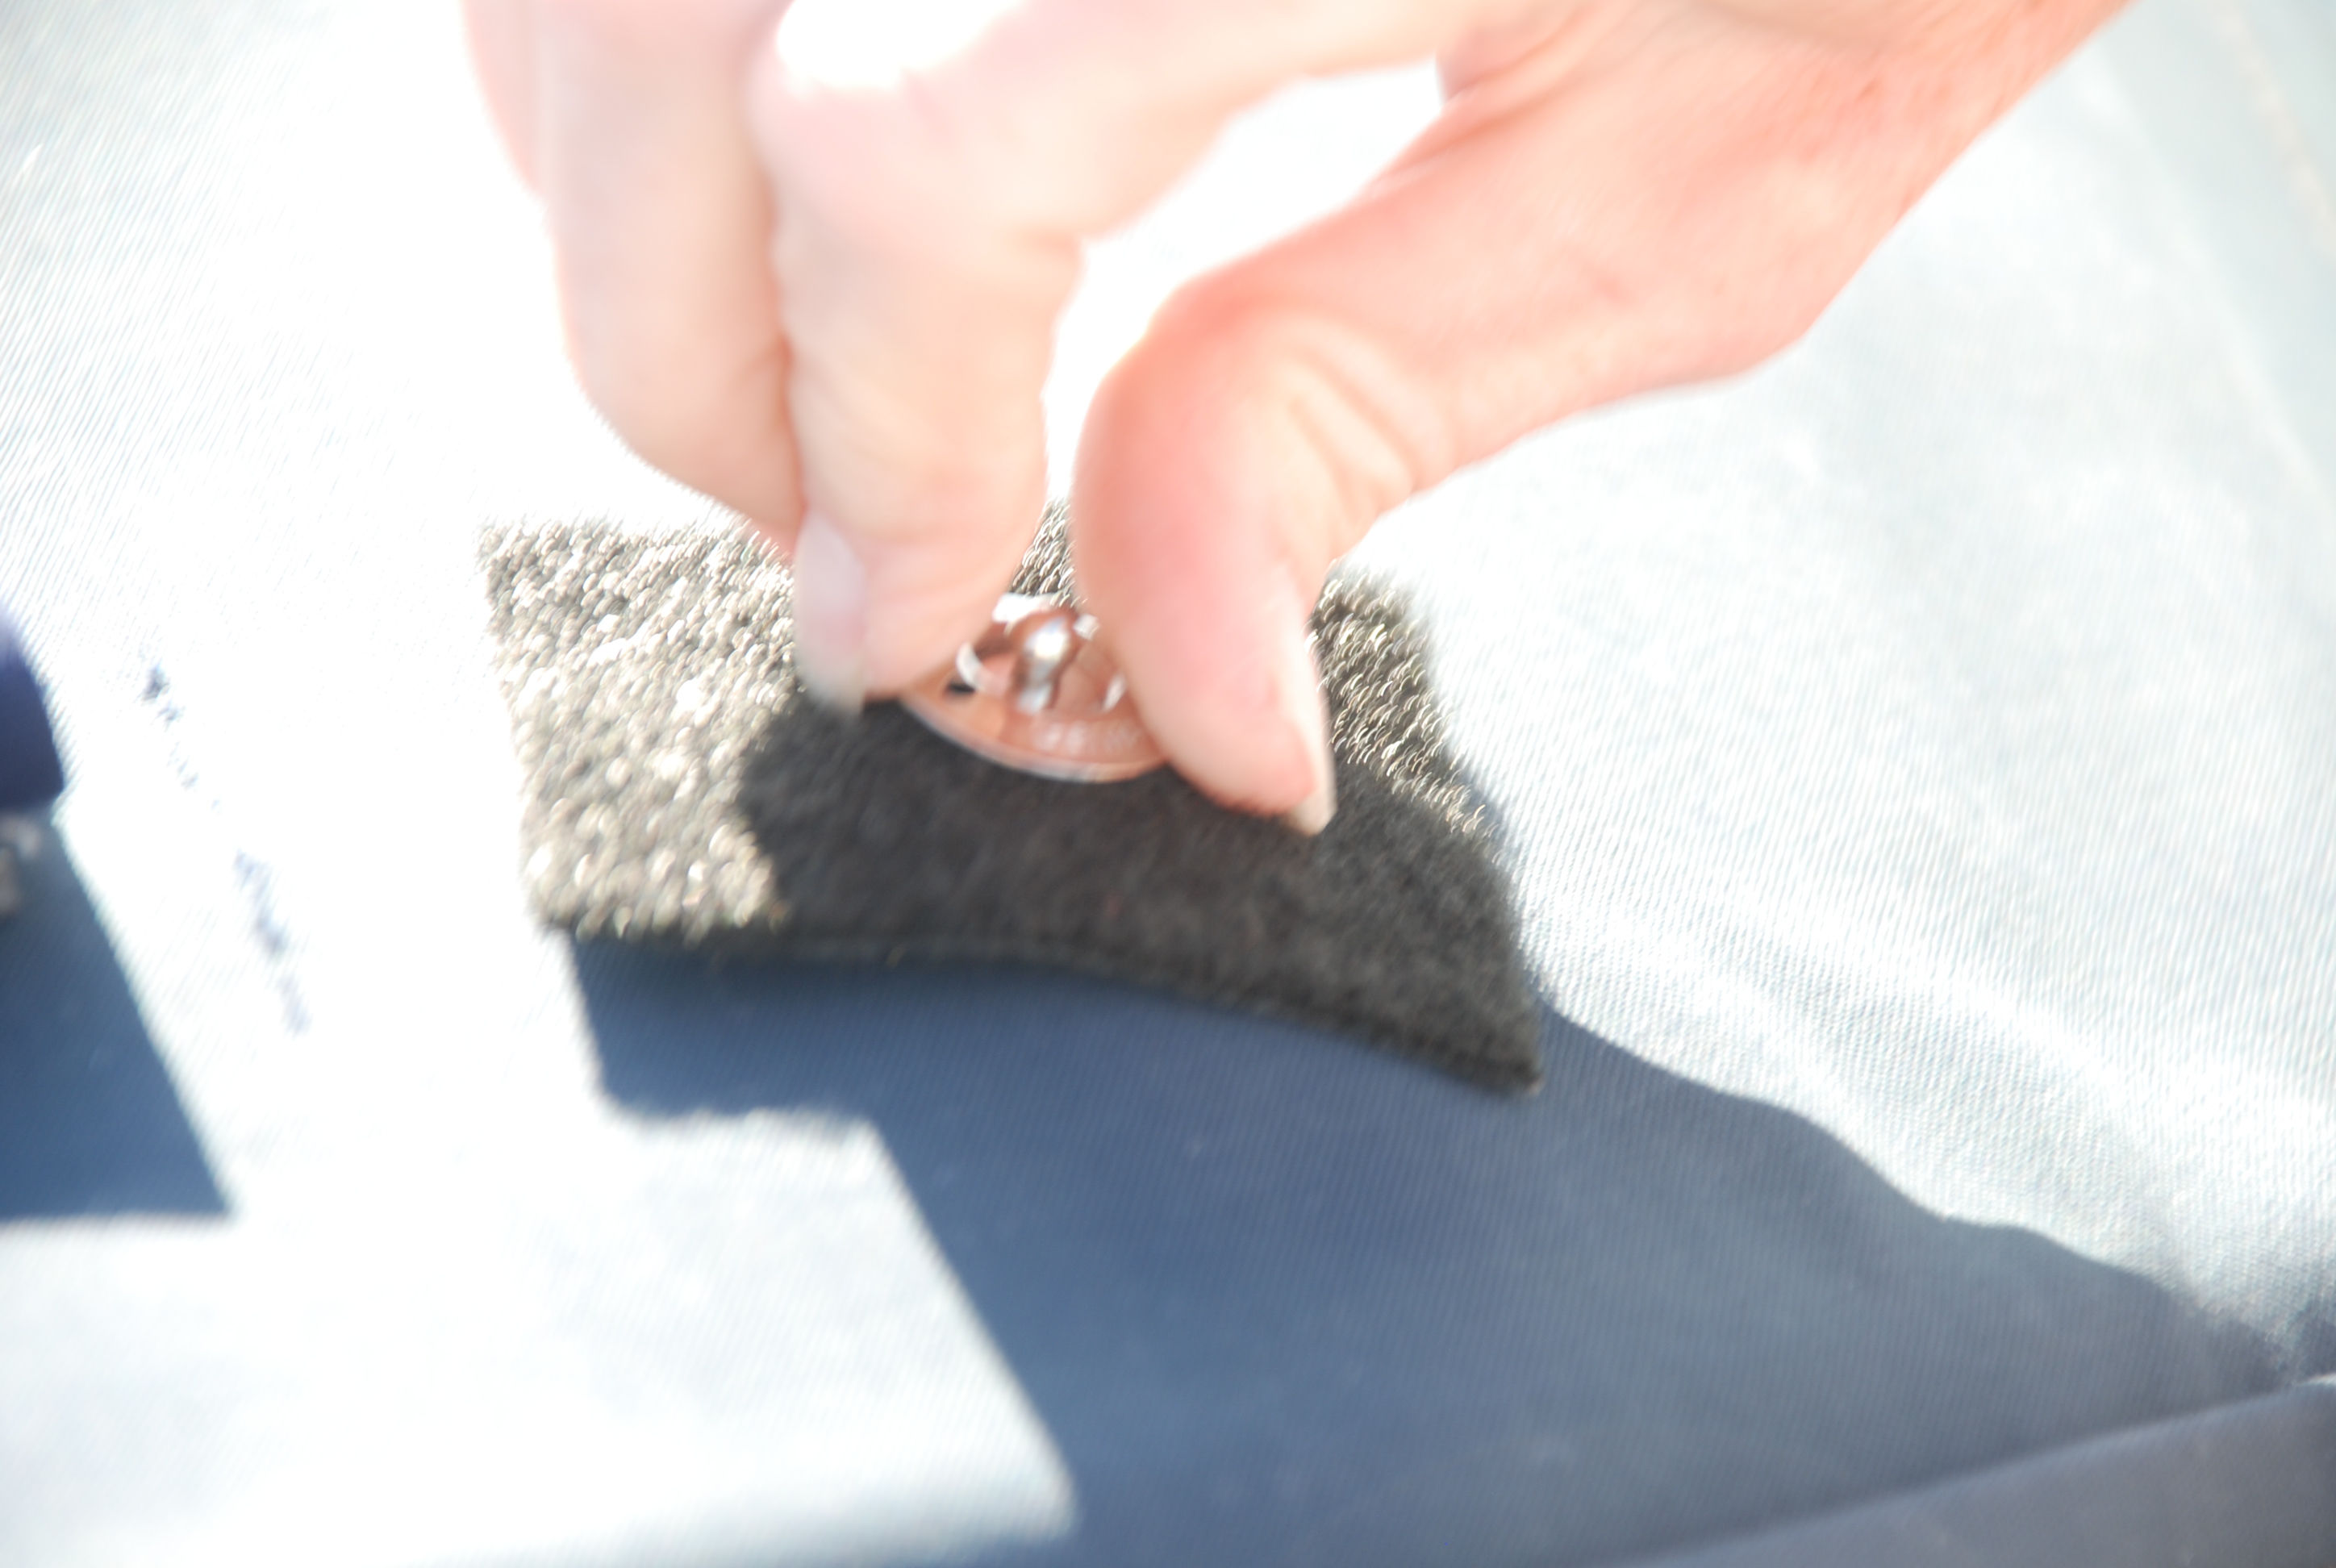
Step 3 – Press the Loxx top component into the hole and use a pair of needle nose pliers to work around the component, pressing the teeth into the panel.
Step 4 – Install the Loxx ring and use their special tool to tighten the ring snuggly.
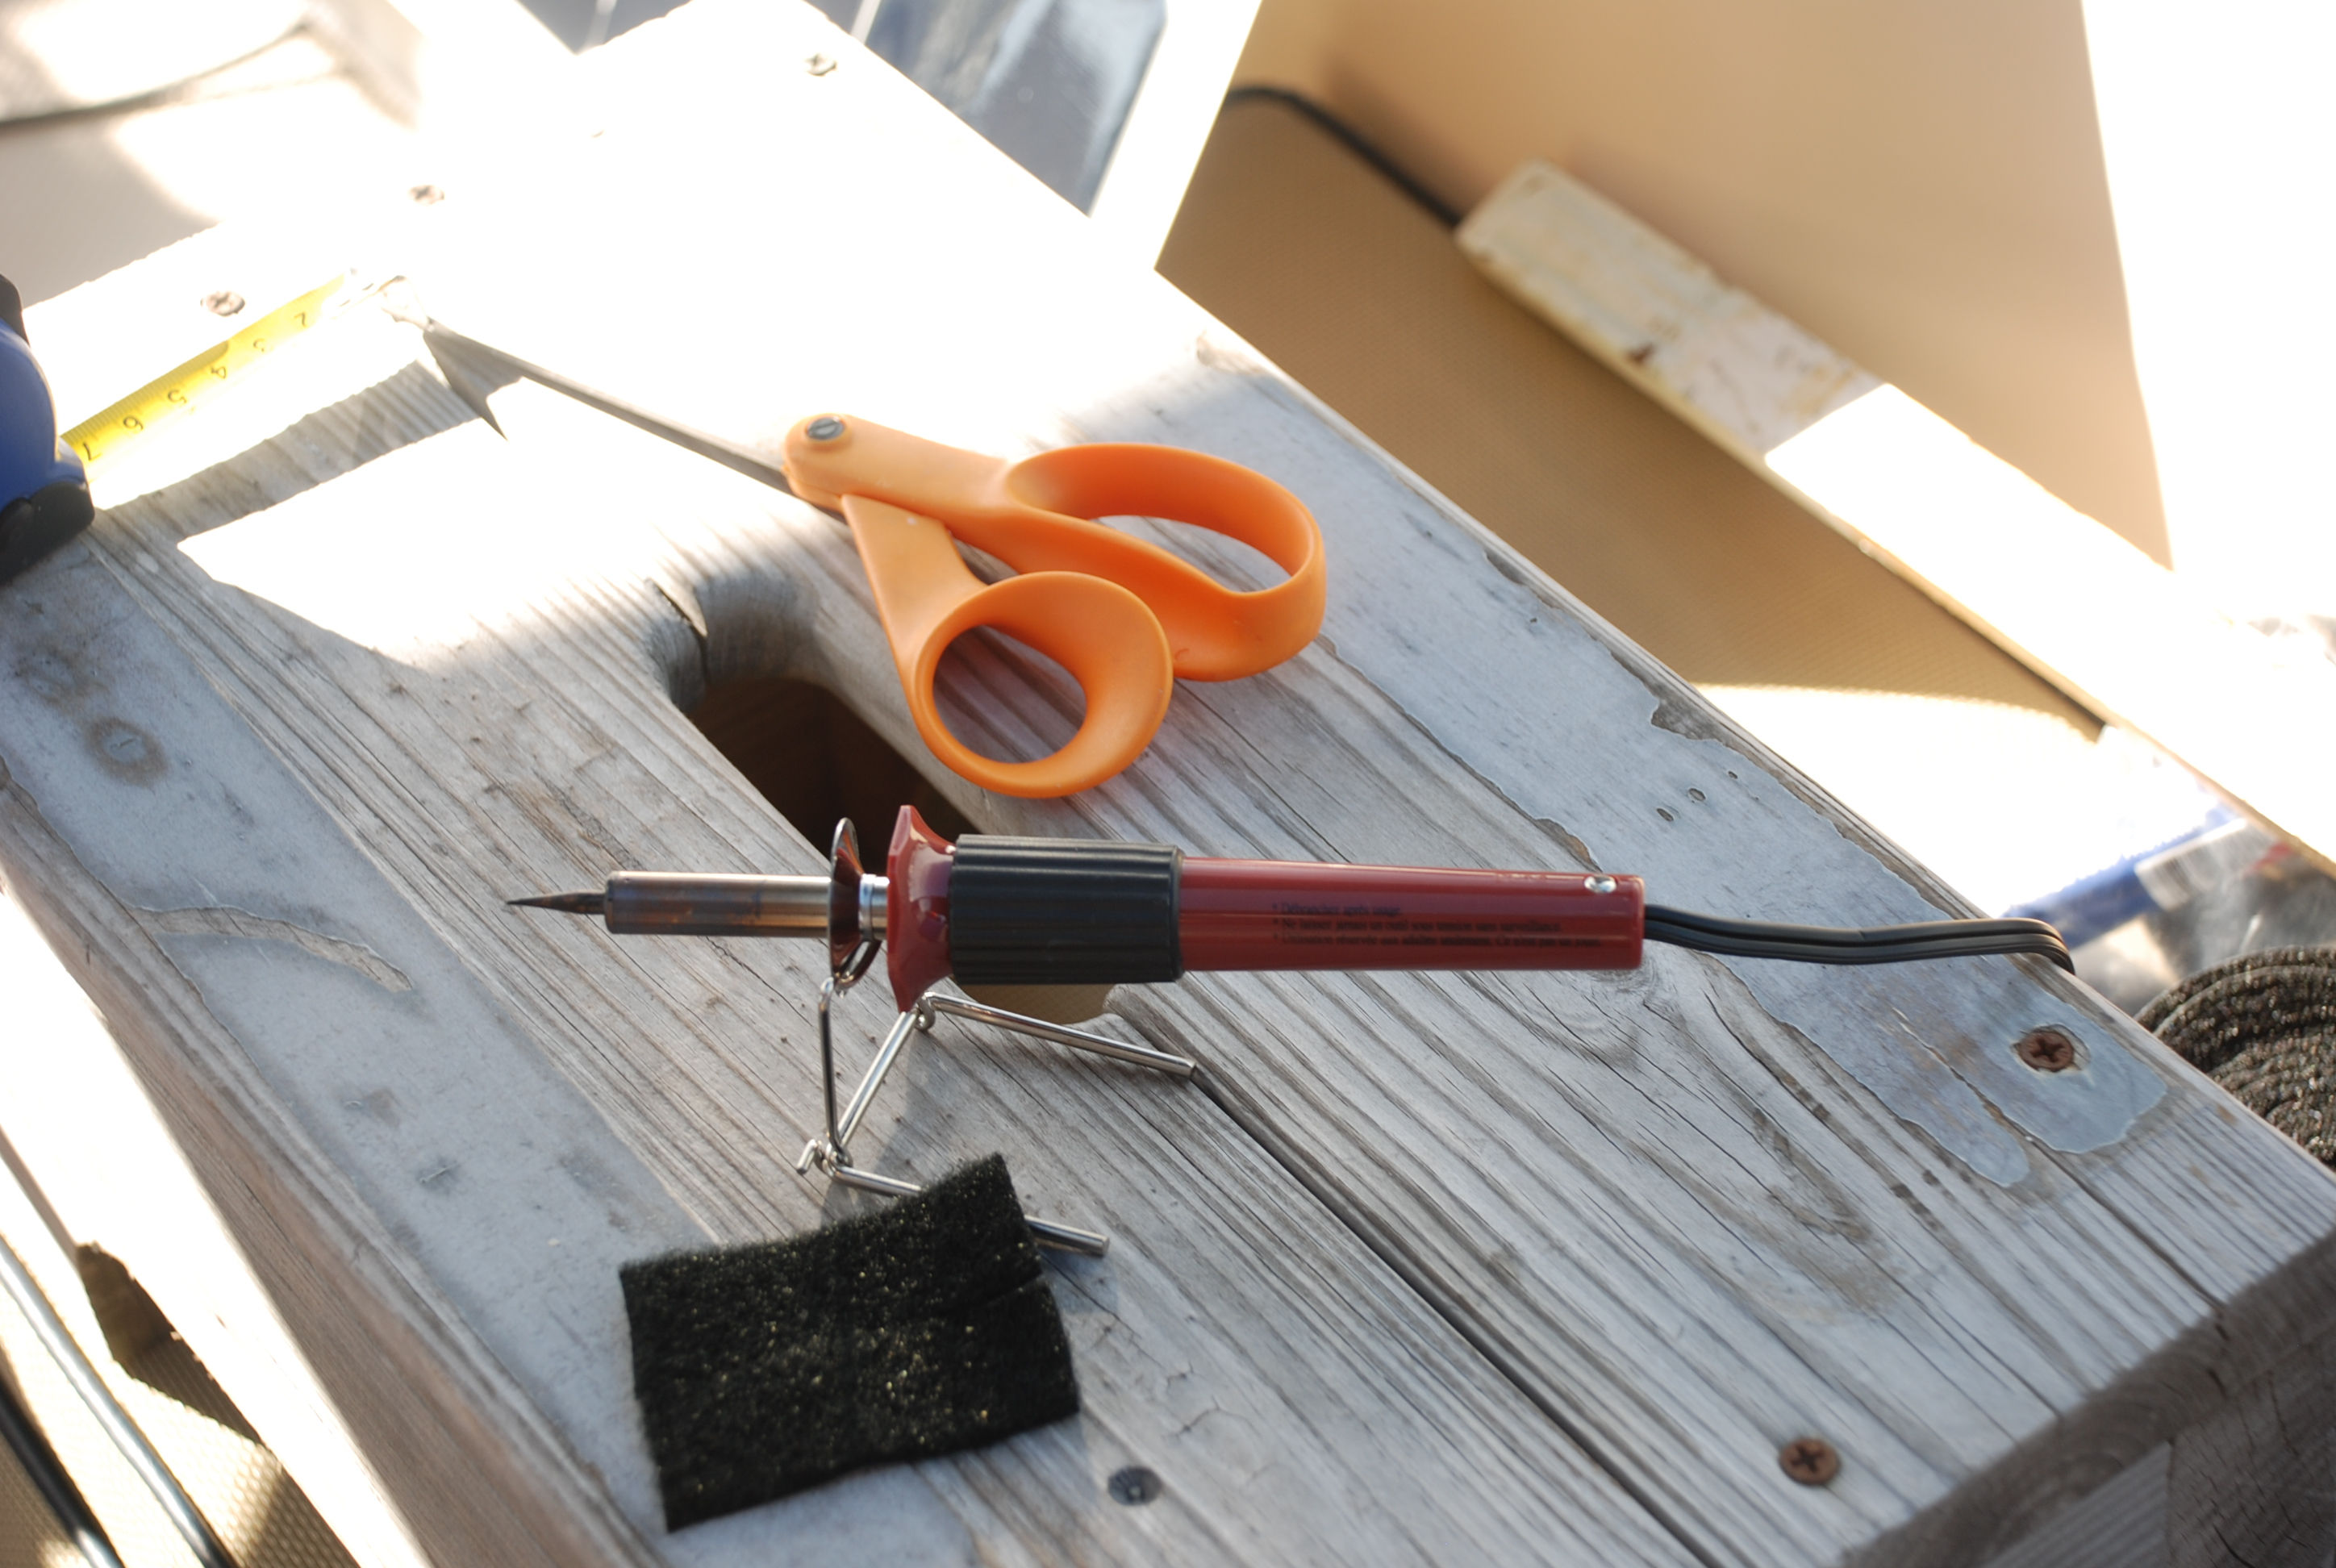
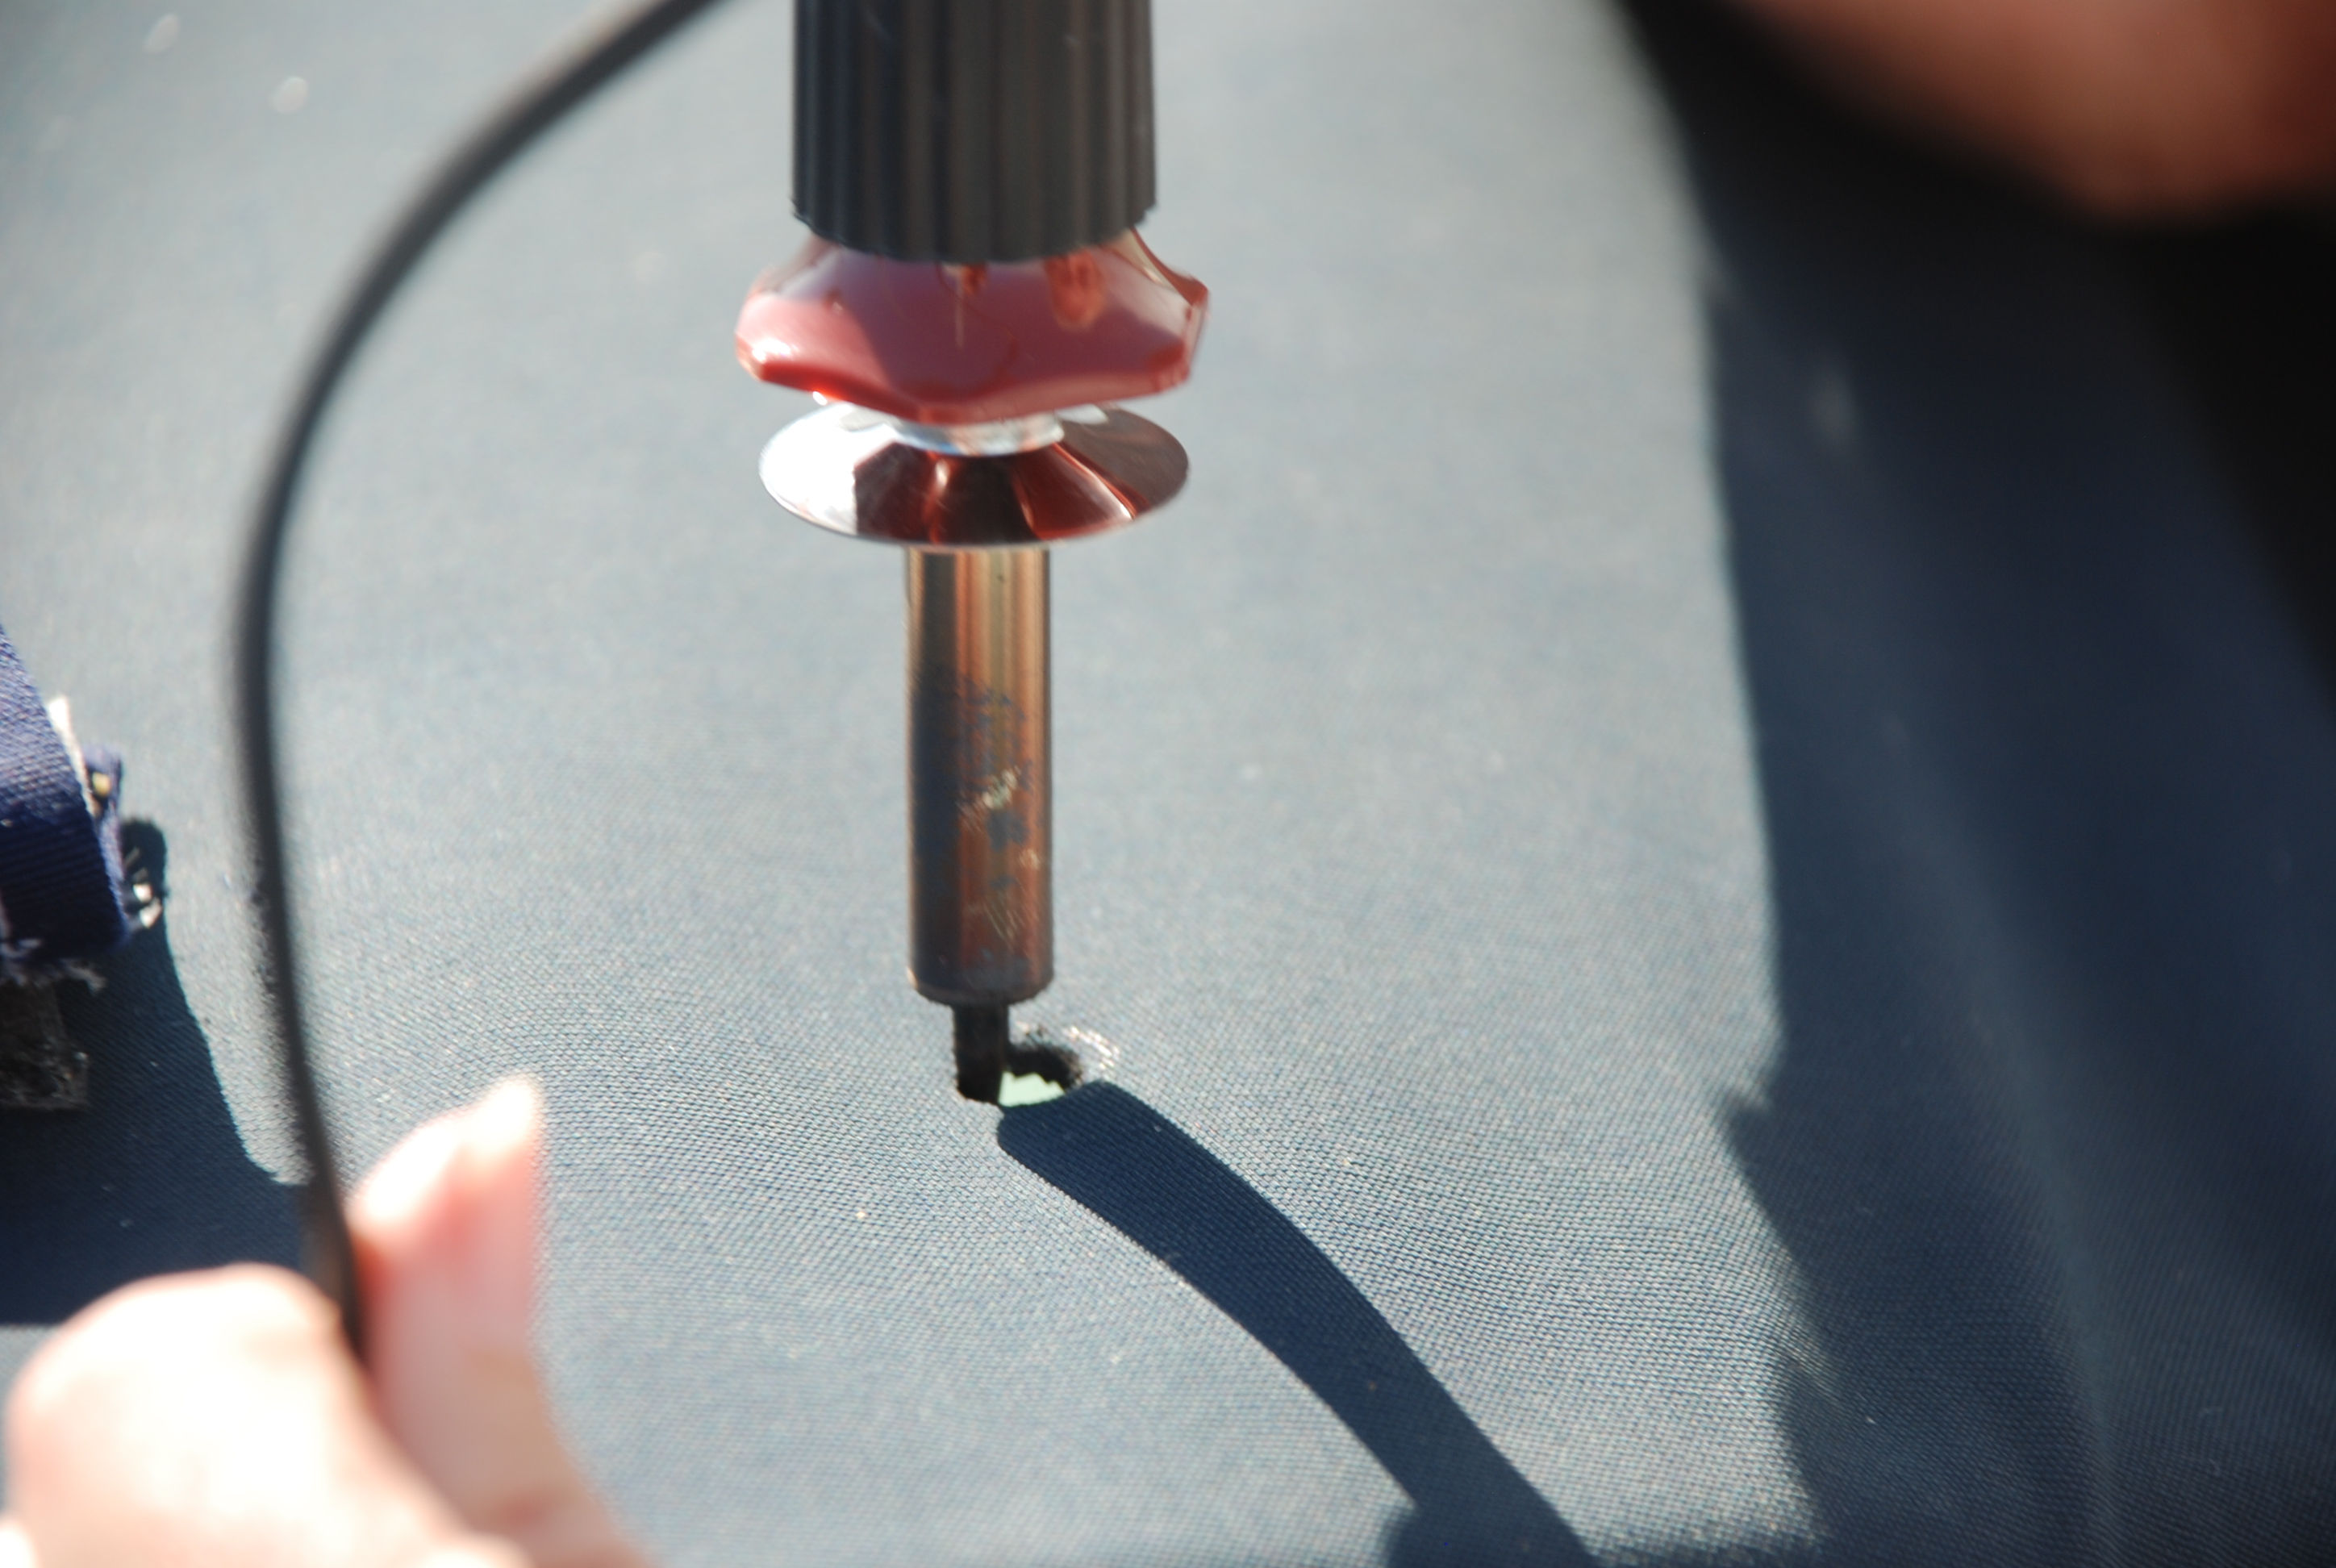
Step 5 – Create a hole in the bimini to put the Loxx base component. We used a hot knife tool to cut the holes. It turned out that the barrel of the hot knife was the perfect size for the Loxx component.
Step 6 – Insert the base component into the canvas and screw on the ring on the top side of the canvas, using the special tool to tighten.
Step 7 – Install the panel on to the base and measure for the next hole.
Step 8 through X – Repeat the process for all six holes and for the other panels.
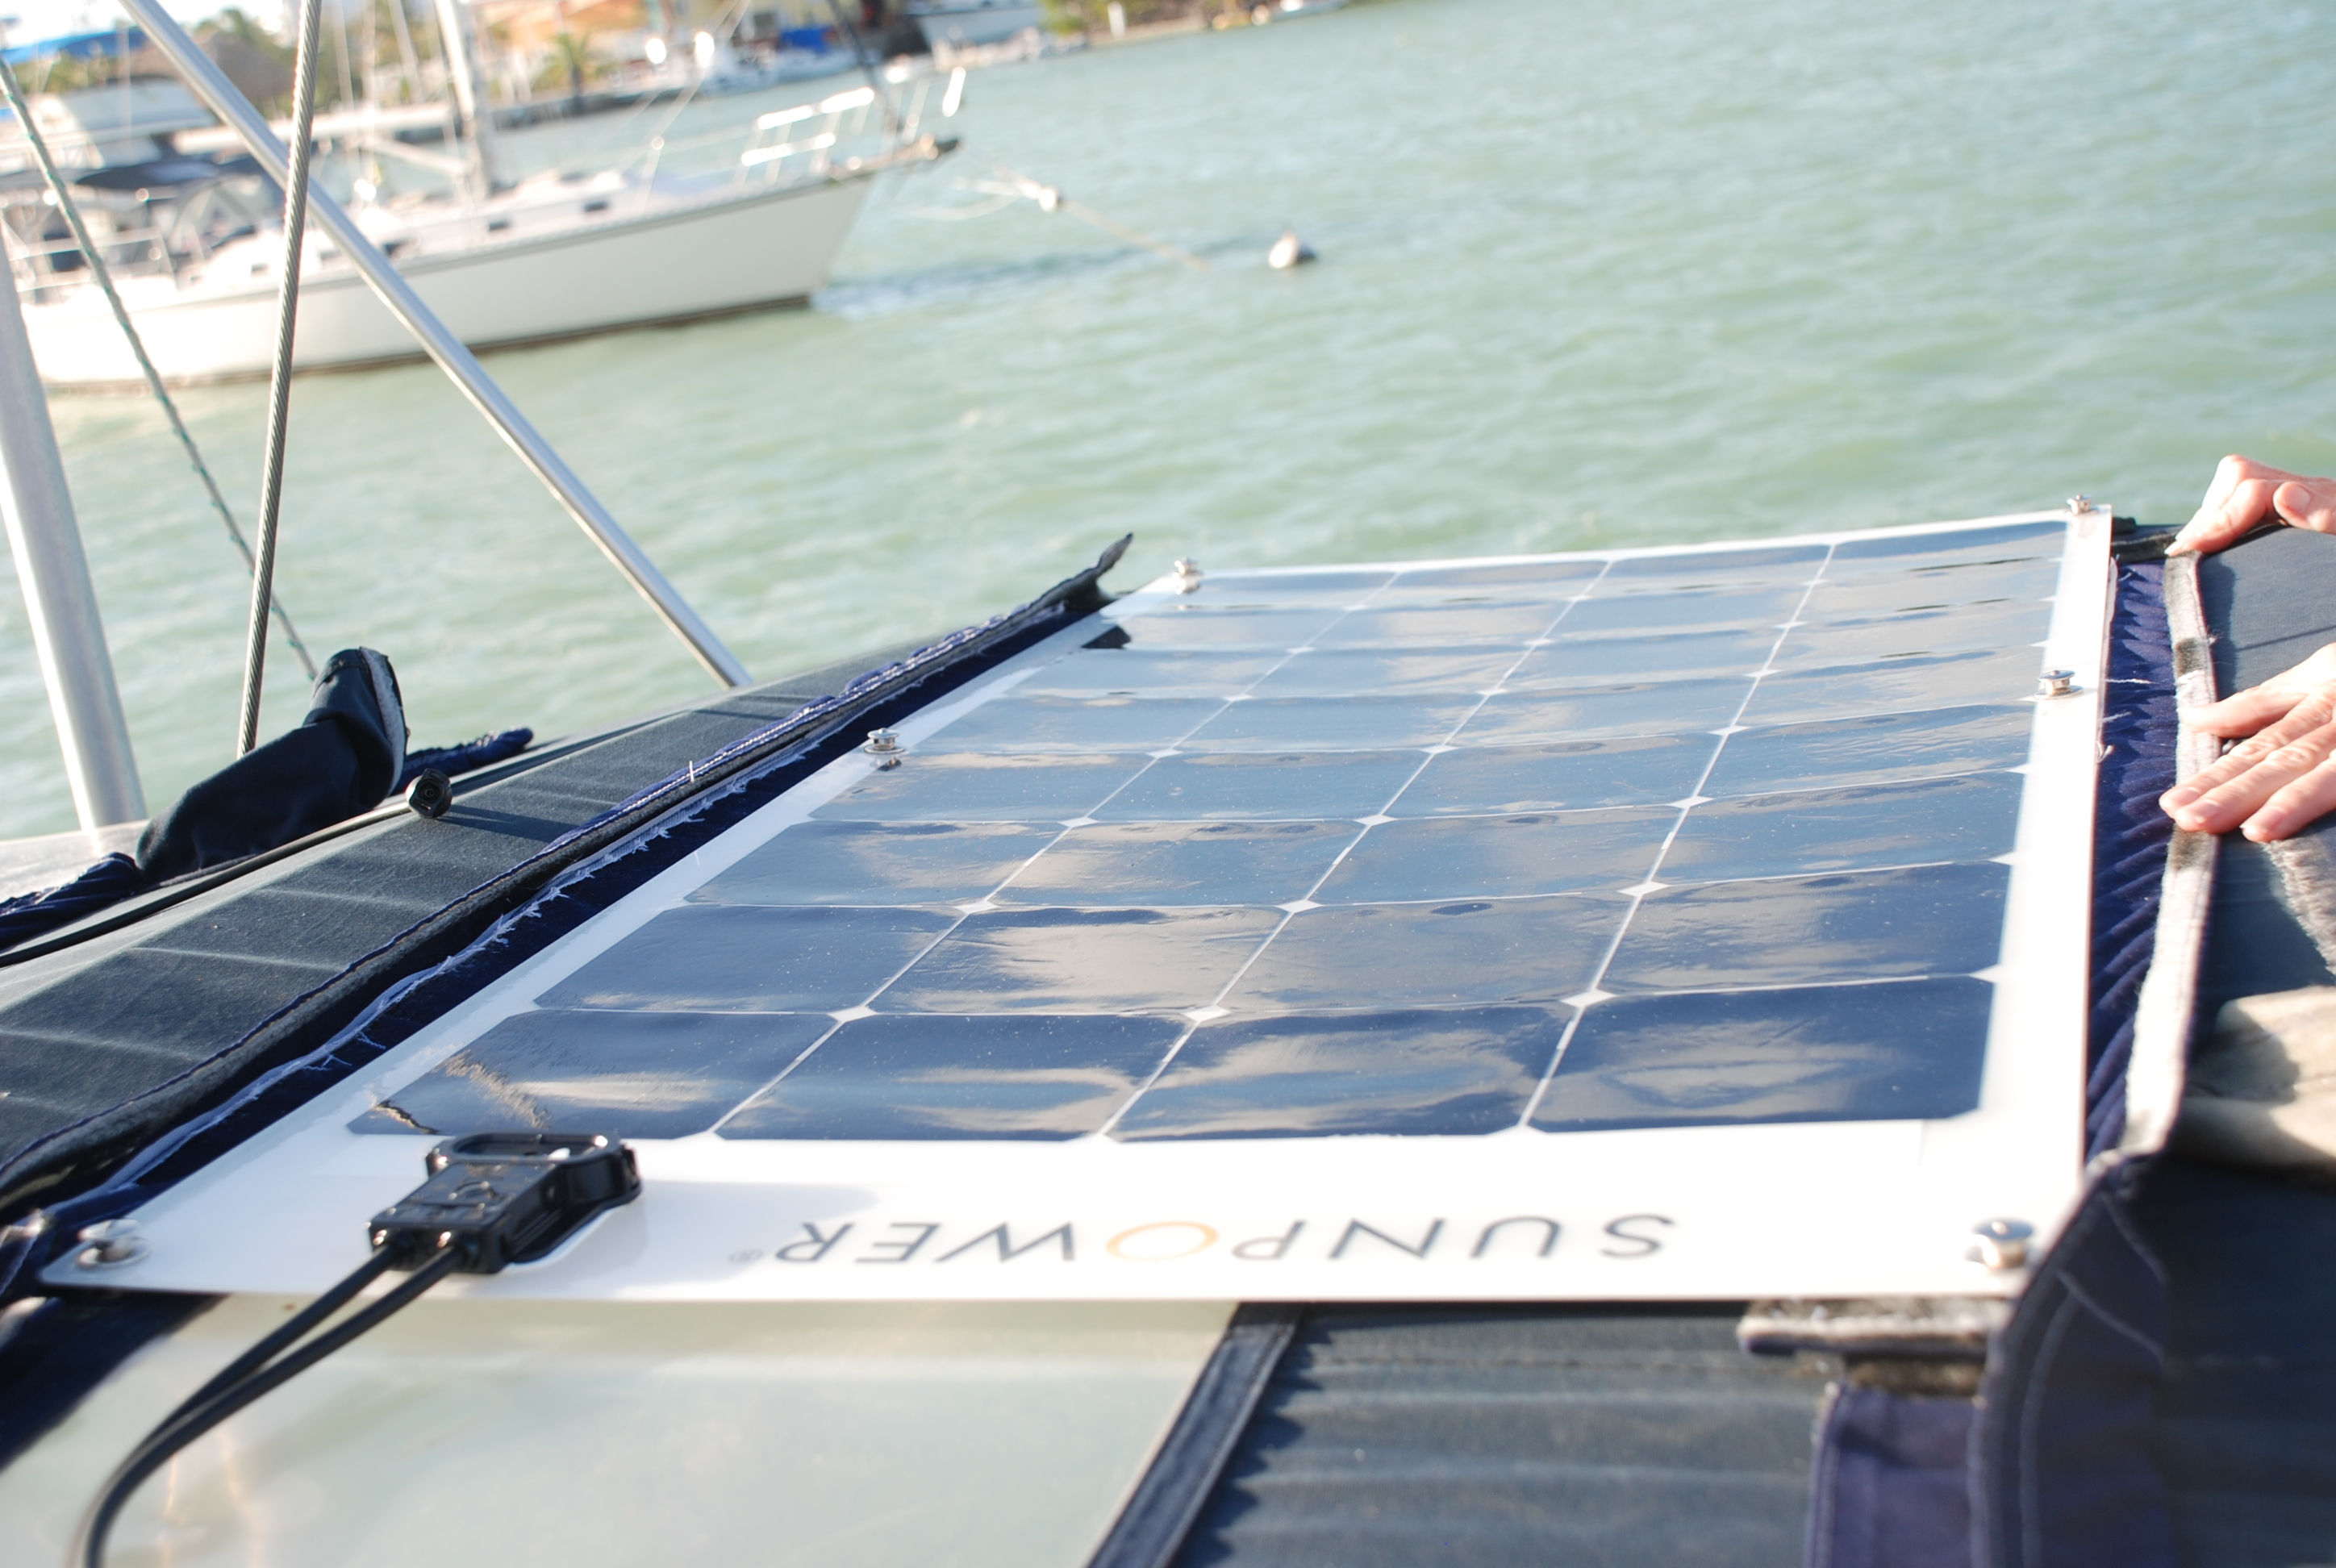
Here is the top view of the installed panel:
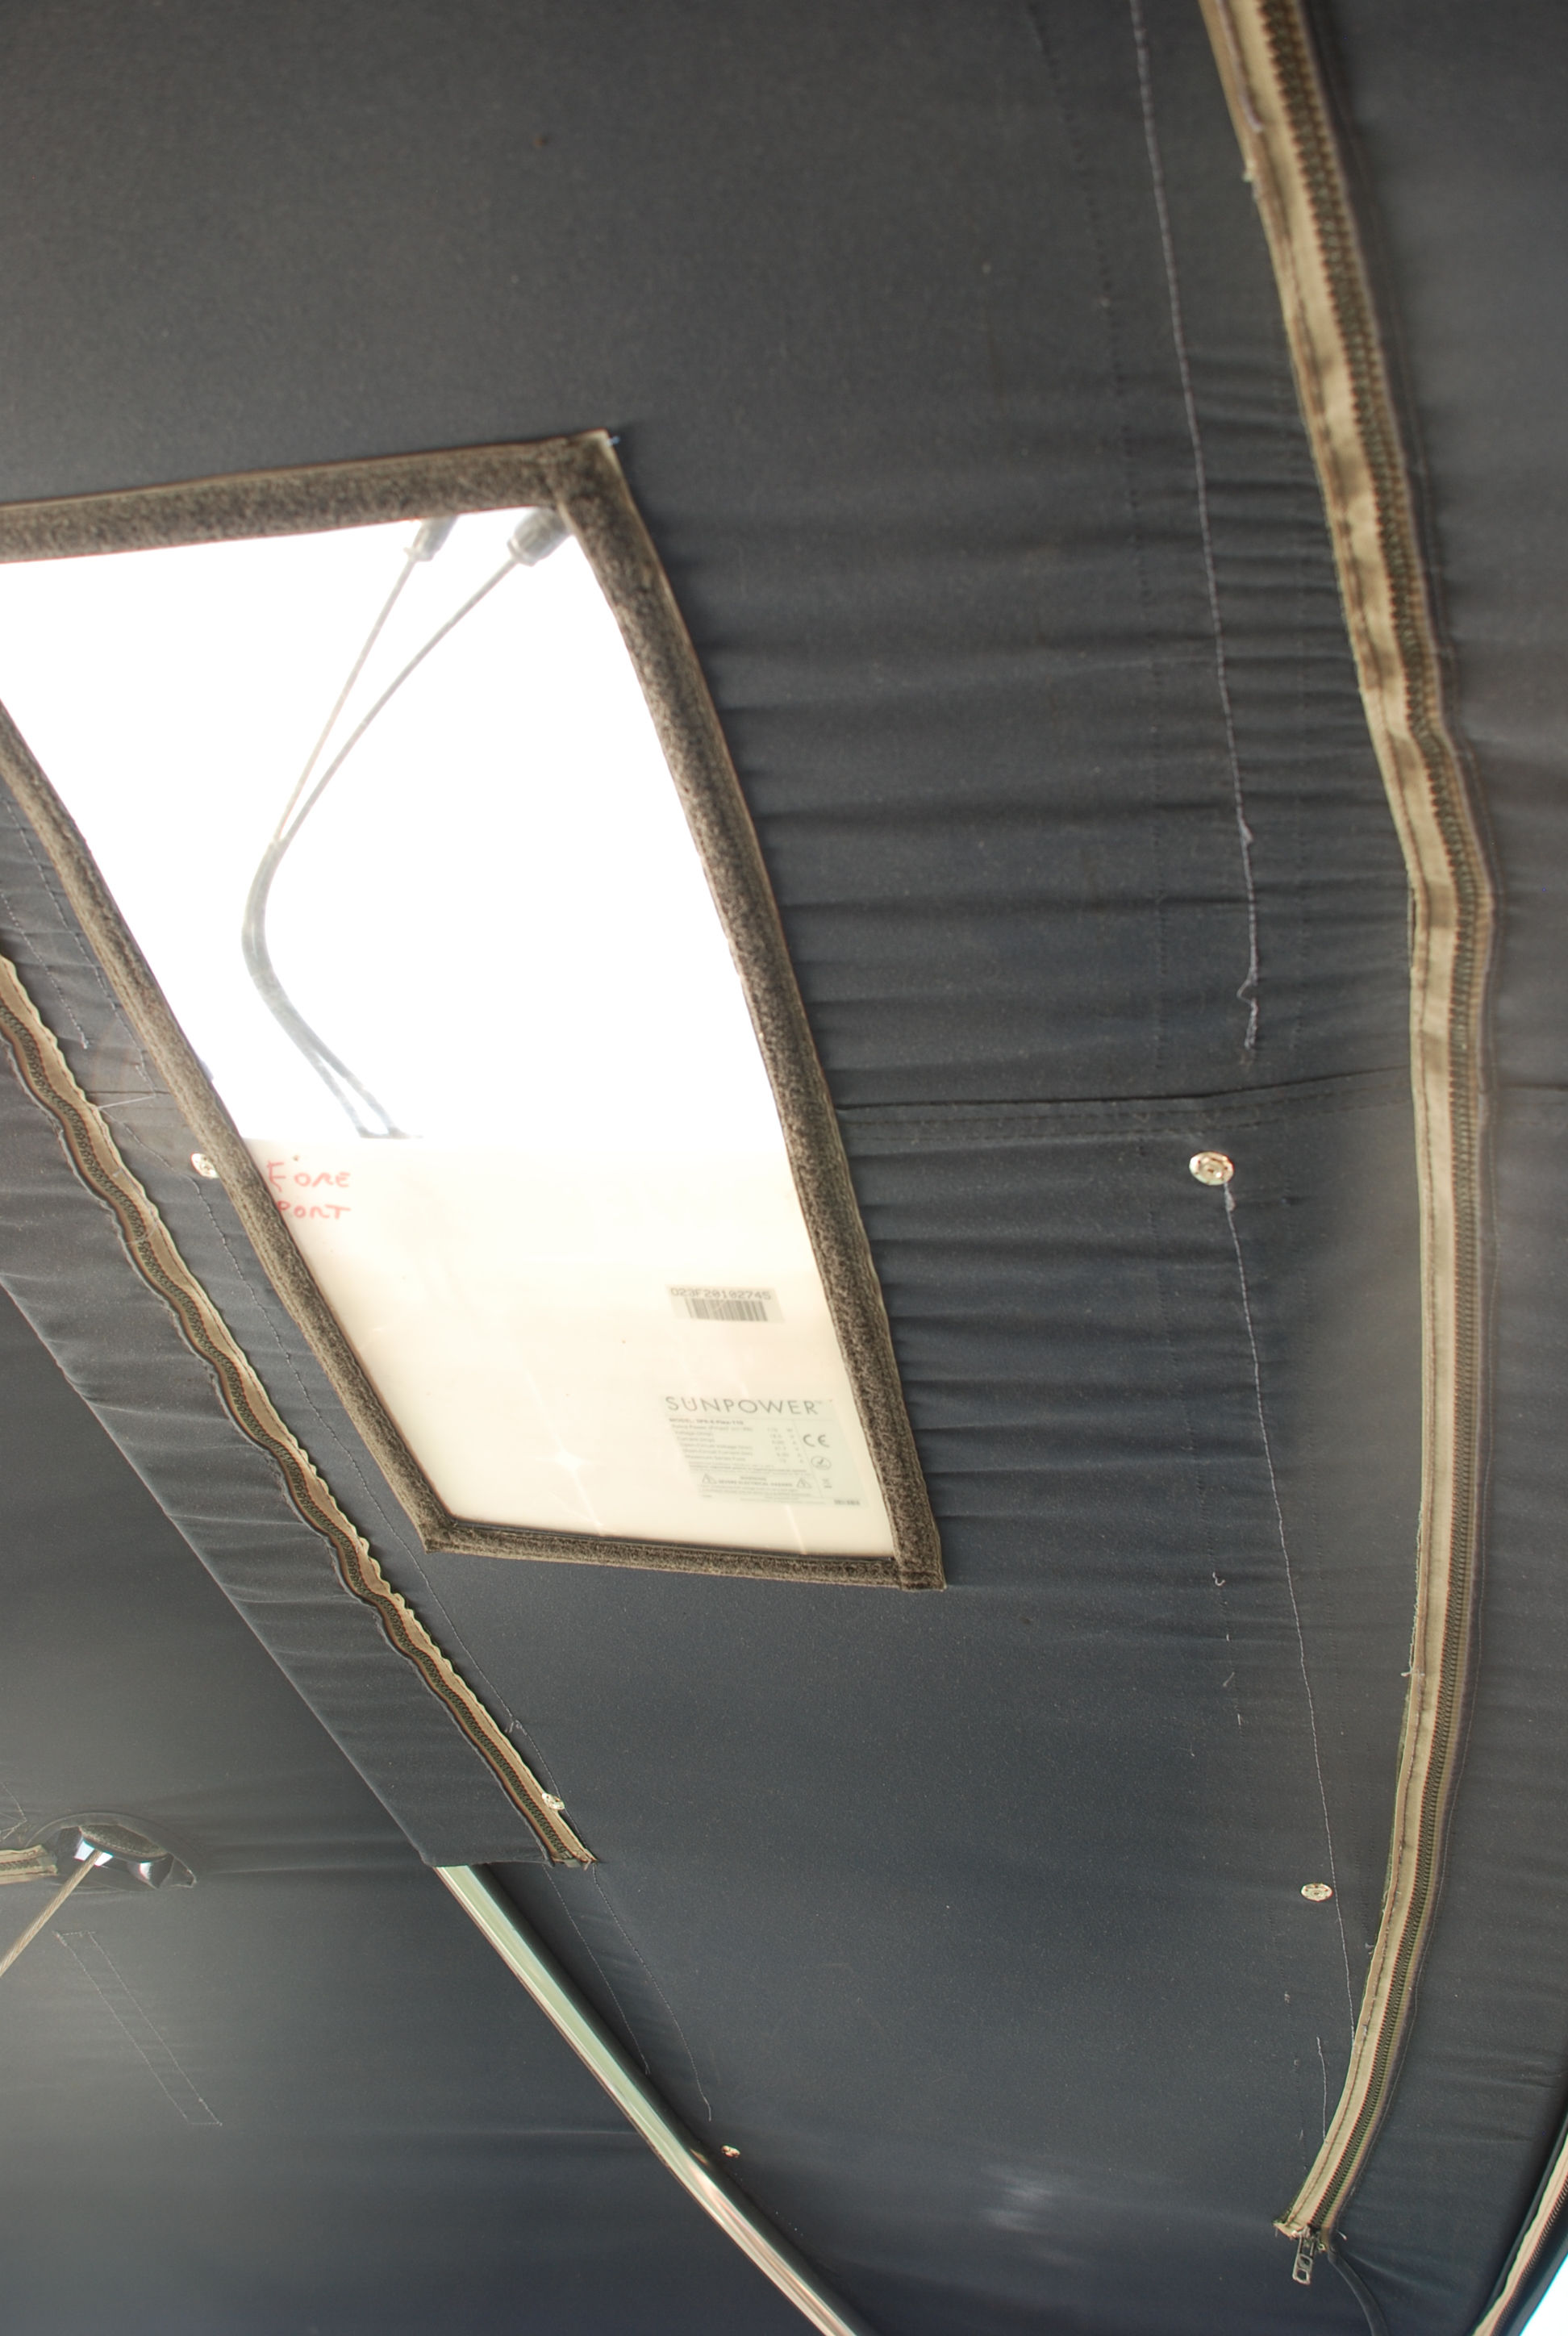
And the underside:
We connected the wires in series and found that we needed an extension cable for one of the connections. The wires on the new panels were shorter than the old ones. We had the company we bought the panels from make us a 2 foot extension and we are making power with wild abandon.
We thought the Loxx base would leak water, but they have not. If we weren’t getting new canvas this summer, we would have opted to install the bases on a patch of canvas that would then be sewn into the bimini, which would not create holes and would provide support for the bimini canvas. We highly recommend the Loxx fasteners!