
9/20/15
Southport NC
Posted by Bill
The heat finally broke and we started to attack the to-do list in preparation for our trek south. One of the biggest to-dos was to install a new autopilot. The old one, a Raymarine ST7000 is of 1995 vintage. The autopilot is a really nice instrument. You engage it, telling it to keep the current course, or steer to a direction based on the wind (i.e. 45 degrees off of the wind direction), or you can steer to a waypoint via the chart plotter we have (think Garmin map like you have in your car). It is especially nice for long passages to get a break from steering, but we also use it for short periods of time to run and get a drink, or to eat something, or to turn the page on your chart book (maps), you get the idea. The ST7000 started acting up in 2013 when it wouldn’t stay engaged, and flash LOW BATT on the screen, indicating that it wasn’t getting sufficient amperage to operate. After much cursing and troubleshooting, I found a loose ground wire, promptly fixed it, and viola…Otto (what we nicknamed the autopilot) is working again! The people at Raymarine told me that there was no way to repair this unit because it was so old that there are no longer repair parts, so I kept watching for a deal on a new one, knowing it was just a matter of time. I found a great deal months later, which included a Seatalk conversion kit (more on that in a minute) and a free wireless remote, so I grabbed it and stashed it away, trying to get every last bit of time out of the ST7000.
Seatalk is a proprietary network for Raymarine electronics, essentially the language that all of the devices speak when they are connected to something from Raymarine. Our boat electronics are all Raymarine devices: Depth sounder to monitor water depth, speed meter to measure speed through the water, wind to monitor wind speed and direction, GPS (I am sure everyone knows what that is), autopilot, marine VHF radio, chart plotter for electronic maps, and AIS – Automatic Identification System – most ships have this and it shows us on our chart plotter where ships are, how fast they are traveling, the direction they are traveling, and will alert us if we are on a collision course. All of these devices are connected together and share information via Seatalk. The new autopilot is a Raymarine EV200 which uses Seatalk NG (next generation), as do all of the “new evolution” devices on the market today, and of course is not backword compatible with Seatalk. Thus the need for the Seatalk conversion kit.
So on our way back north from Florida in the spring, I put Otto to work one day, and out of nowhere he takes a quick right turn, heading for the river bank. I tried re-calibrating the gyro compass that it uses to know what direction we are going, and it works for a bit, then starts going crazy again. Once we got to Southport, I did more troubleshooting and research, and pinned the problem down to the gyro compass, so it was time to install the new EV200.
I was also putting this “little” project off because I knew the major pain in the ass that it was going to be. I cannot adequately describe the maze of wires that runs through the boat, mostly in inaccessible spaces, to connect and power all of this stuff. Most of it is not labeled. Most of it is tightly bound by zip ties and screwed to bulkheads, making it a real treat to track down what it goes to and what it comes from. I have had to deal with our wiring many times since we got the boat, and it still took a full day to track down the old autopilot connections and plan the new install. To top it off, the area we needed to work in was primarily in the cockpit locker and the quarter berth (guest bedroom…aka – our garage), both packed to the hilt with crap. It took several hours to pull it all out, cockpit locker stuff going up on deck and garage stuff stacked elsewhere inside the boat. Here is a picture to give you the idea:
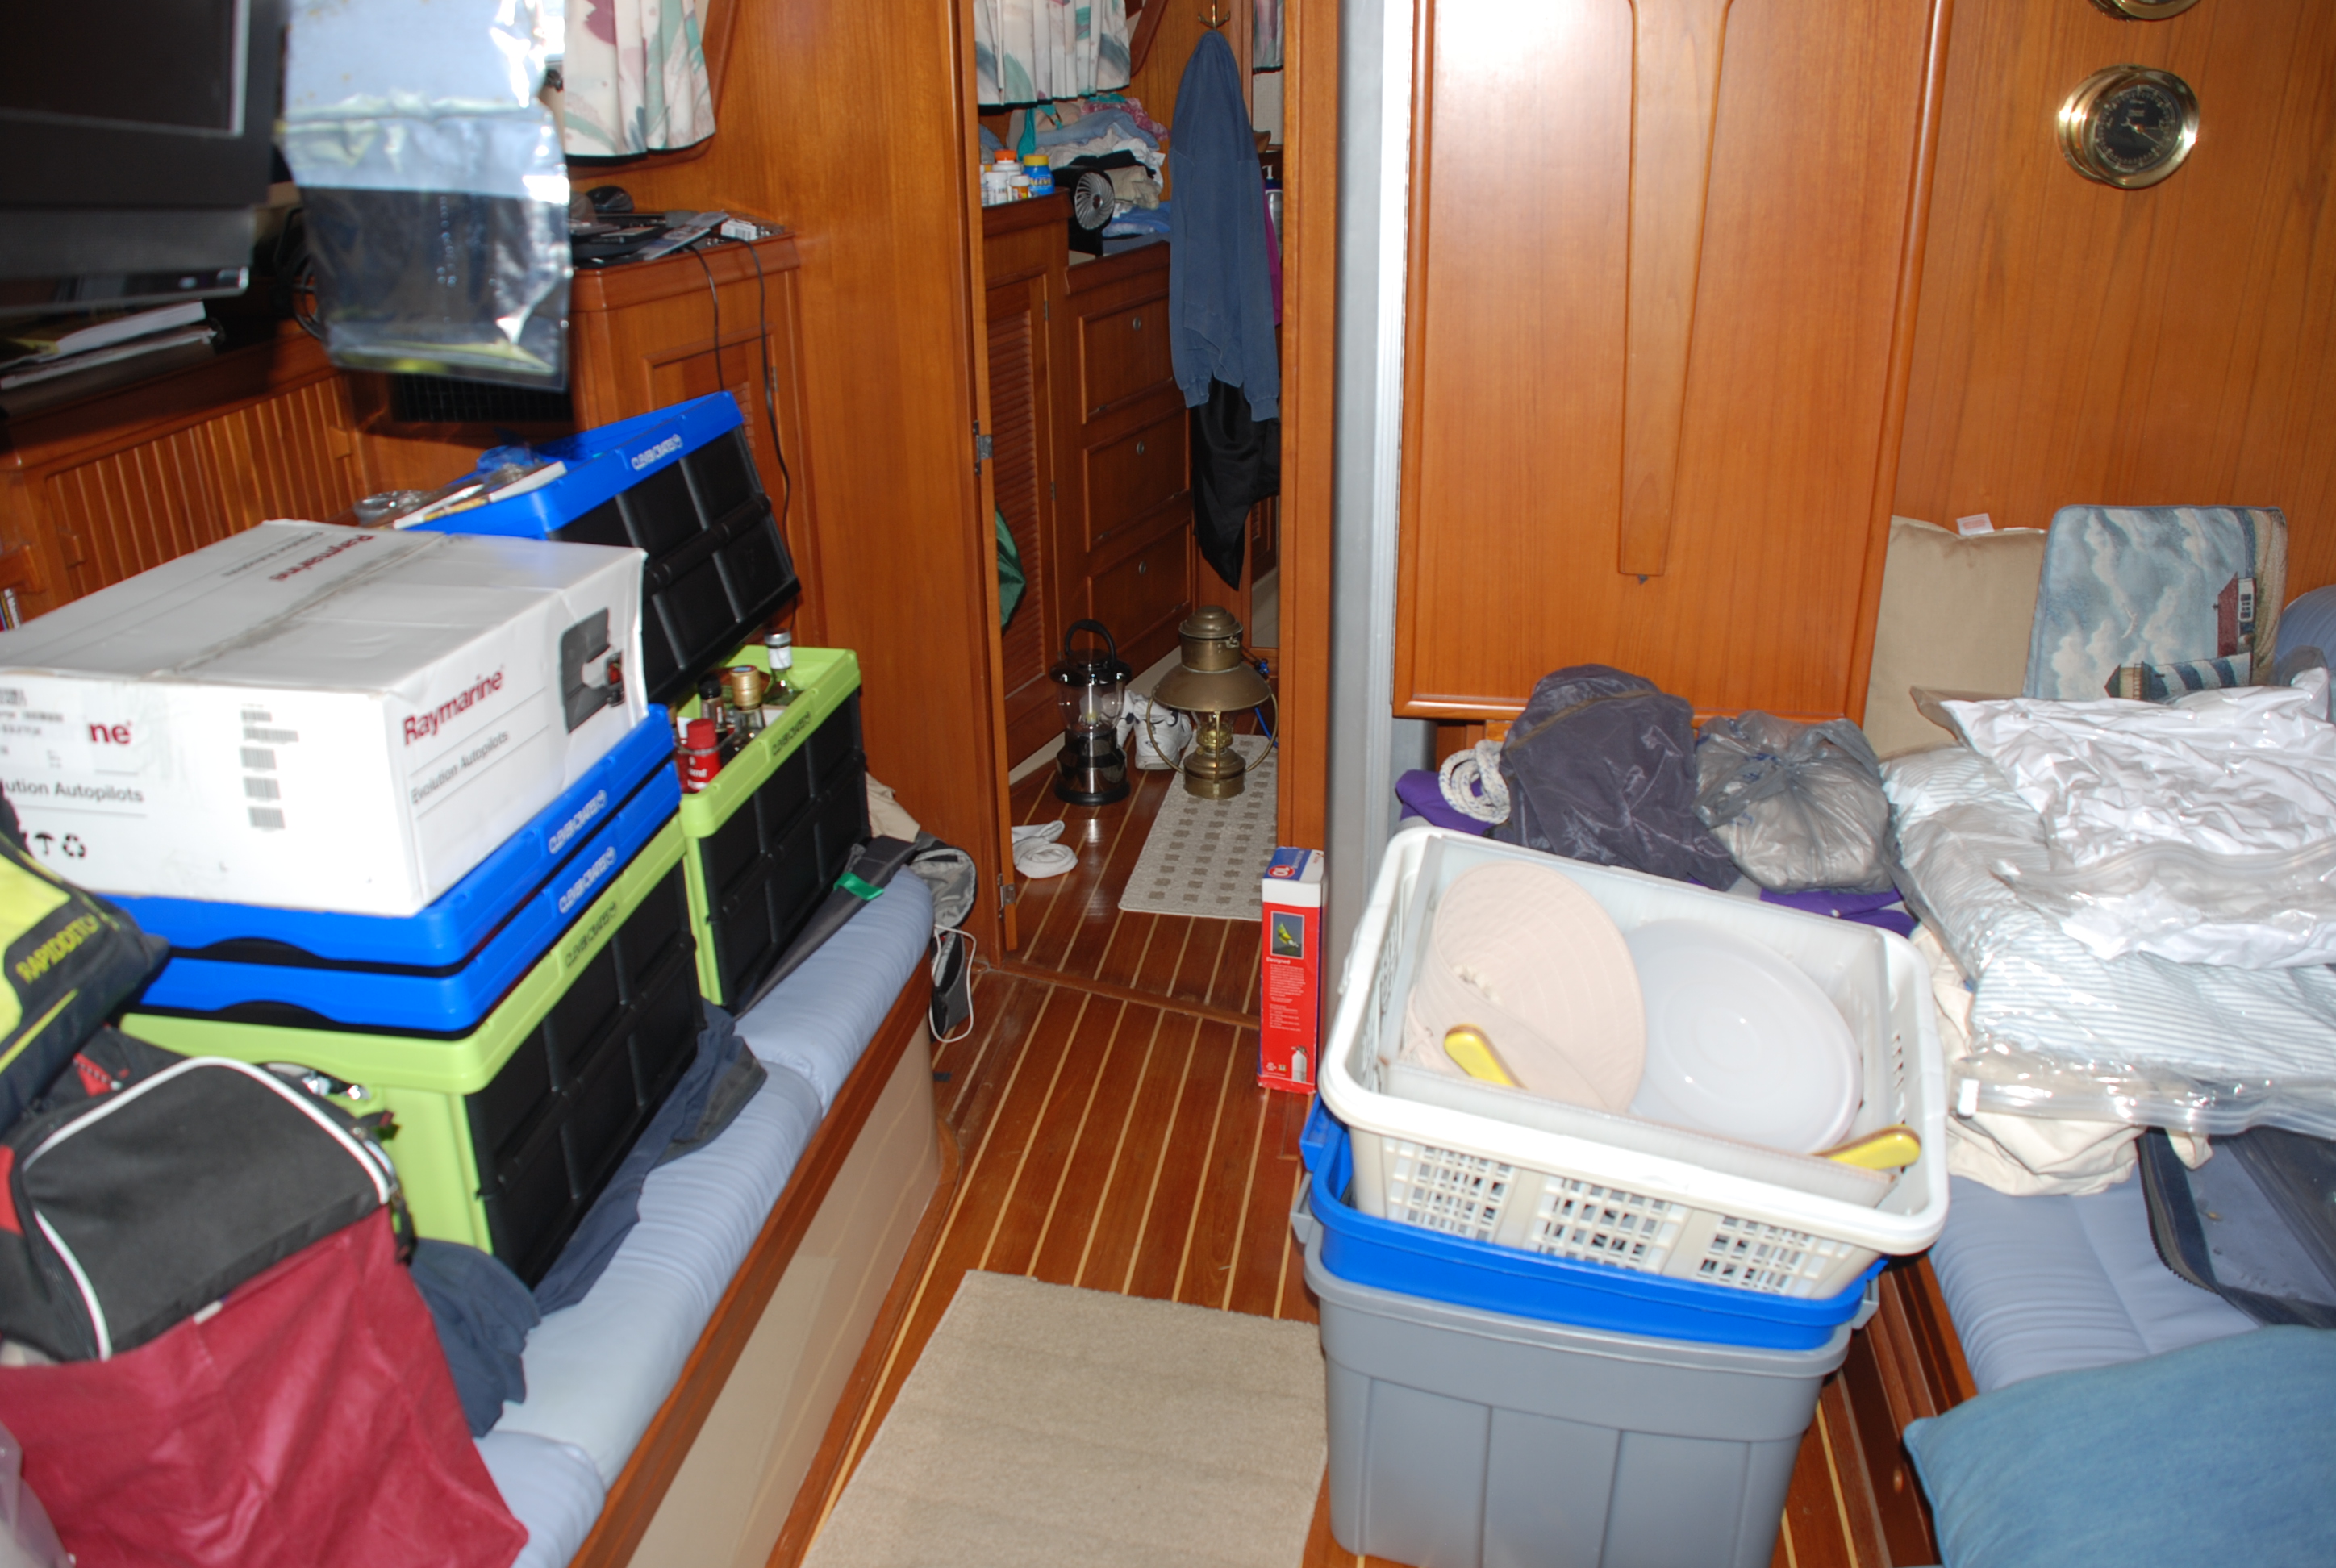
There was more stuff too, and we had to walk around it for 4 days, as if the limited space of a boat isn’t enough.
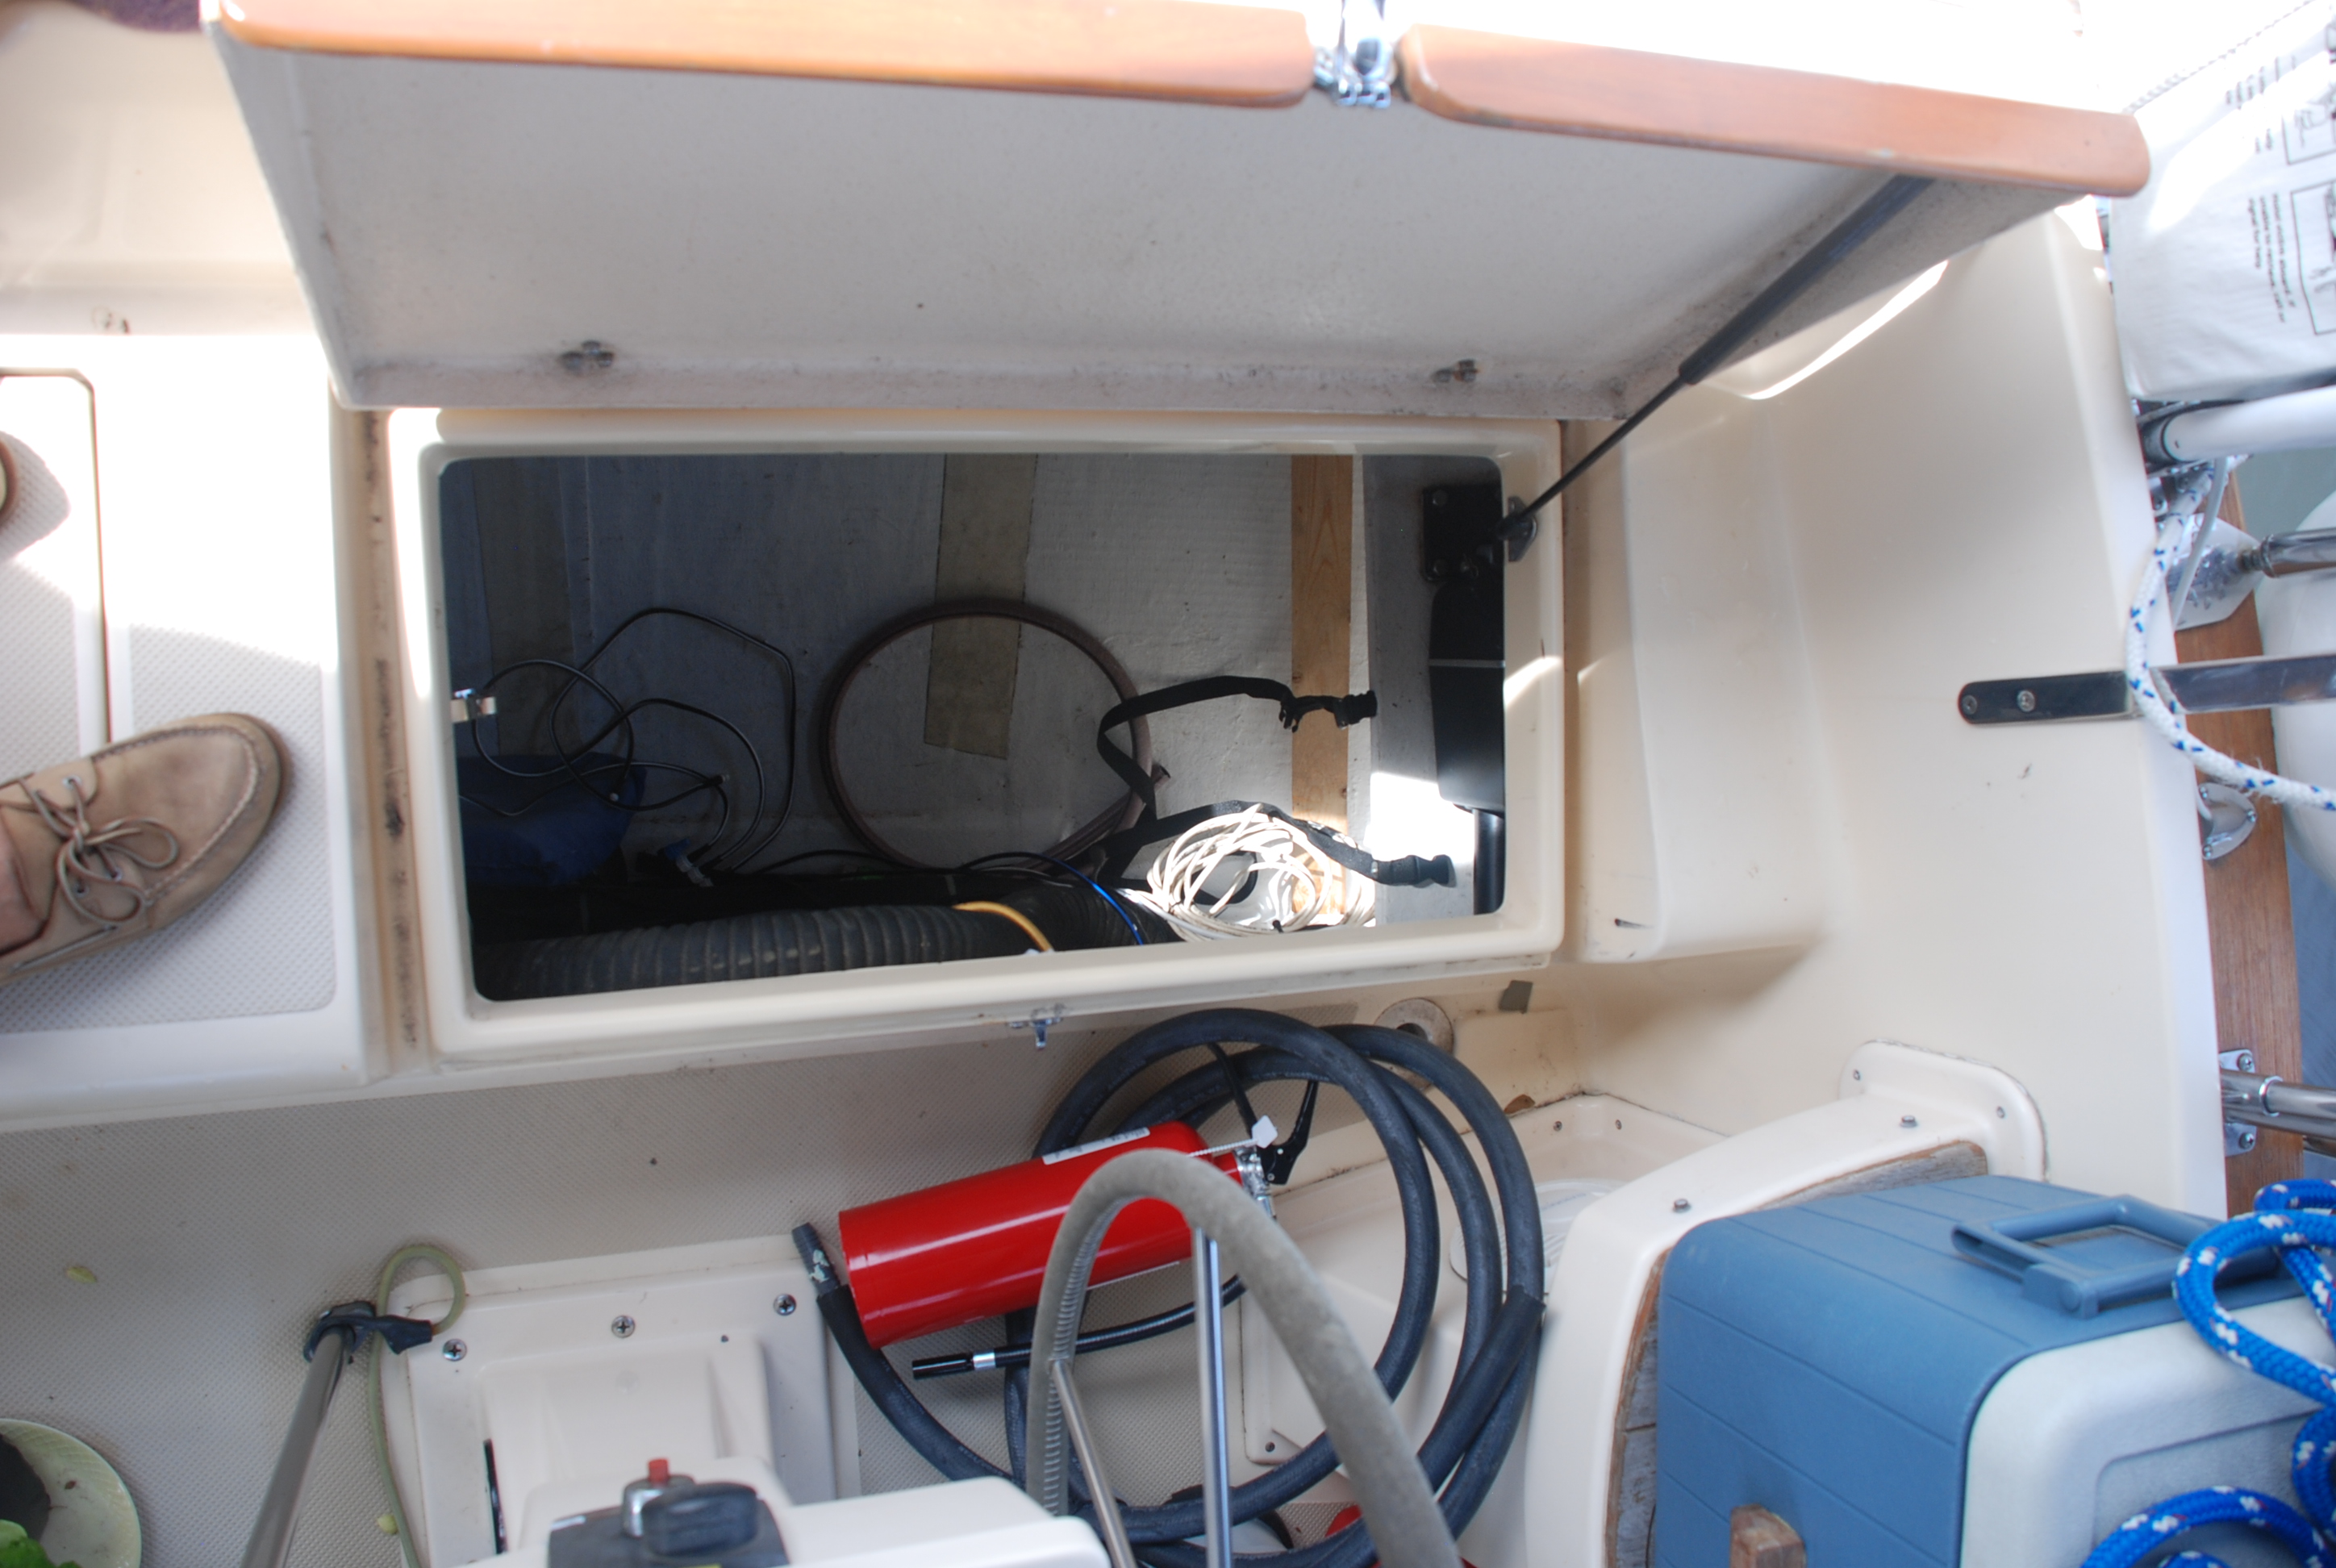
The base stations of the electronics are primarily installed in the cockpit locker on the starboard (right) side of the boat. Here is looking down at the empty locker:
Once inside the locker this is the area I spent most of 4 days in:
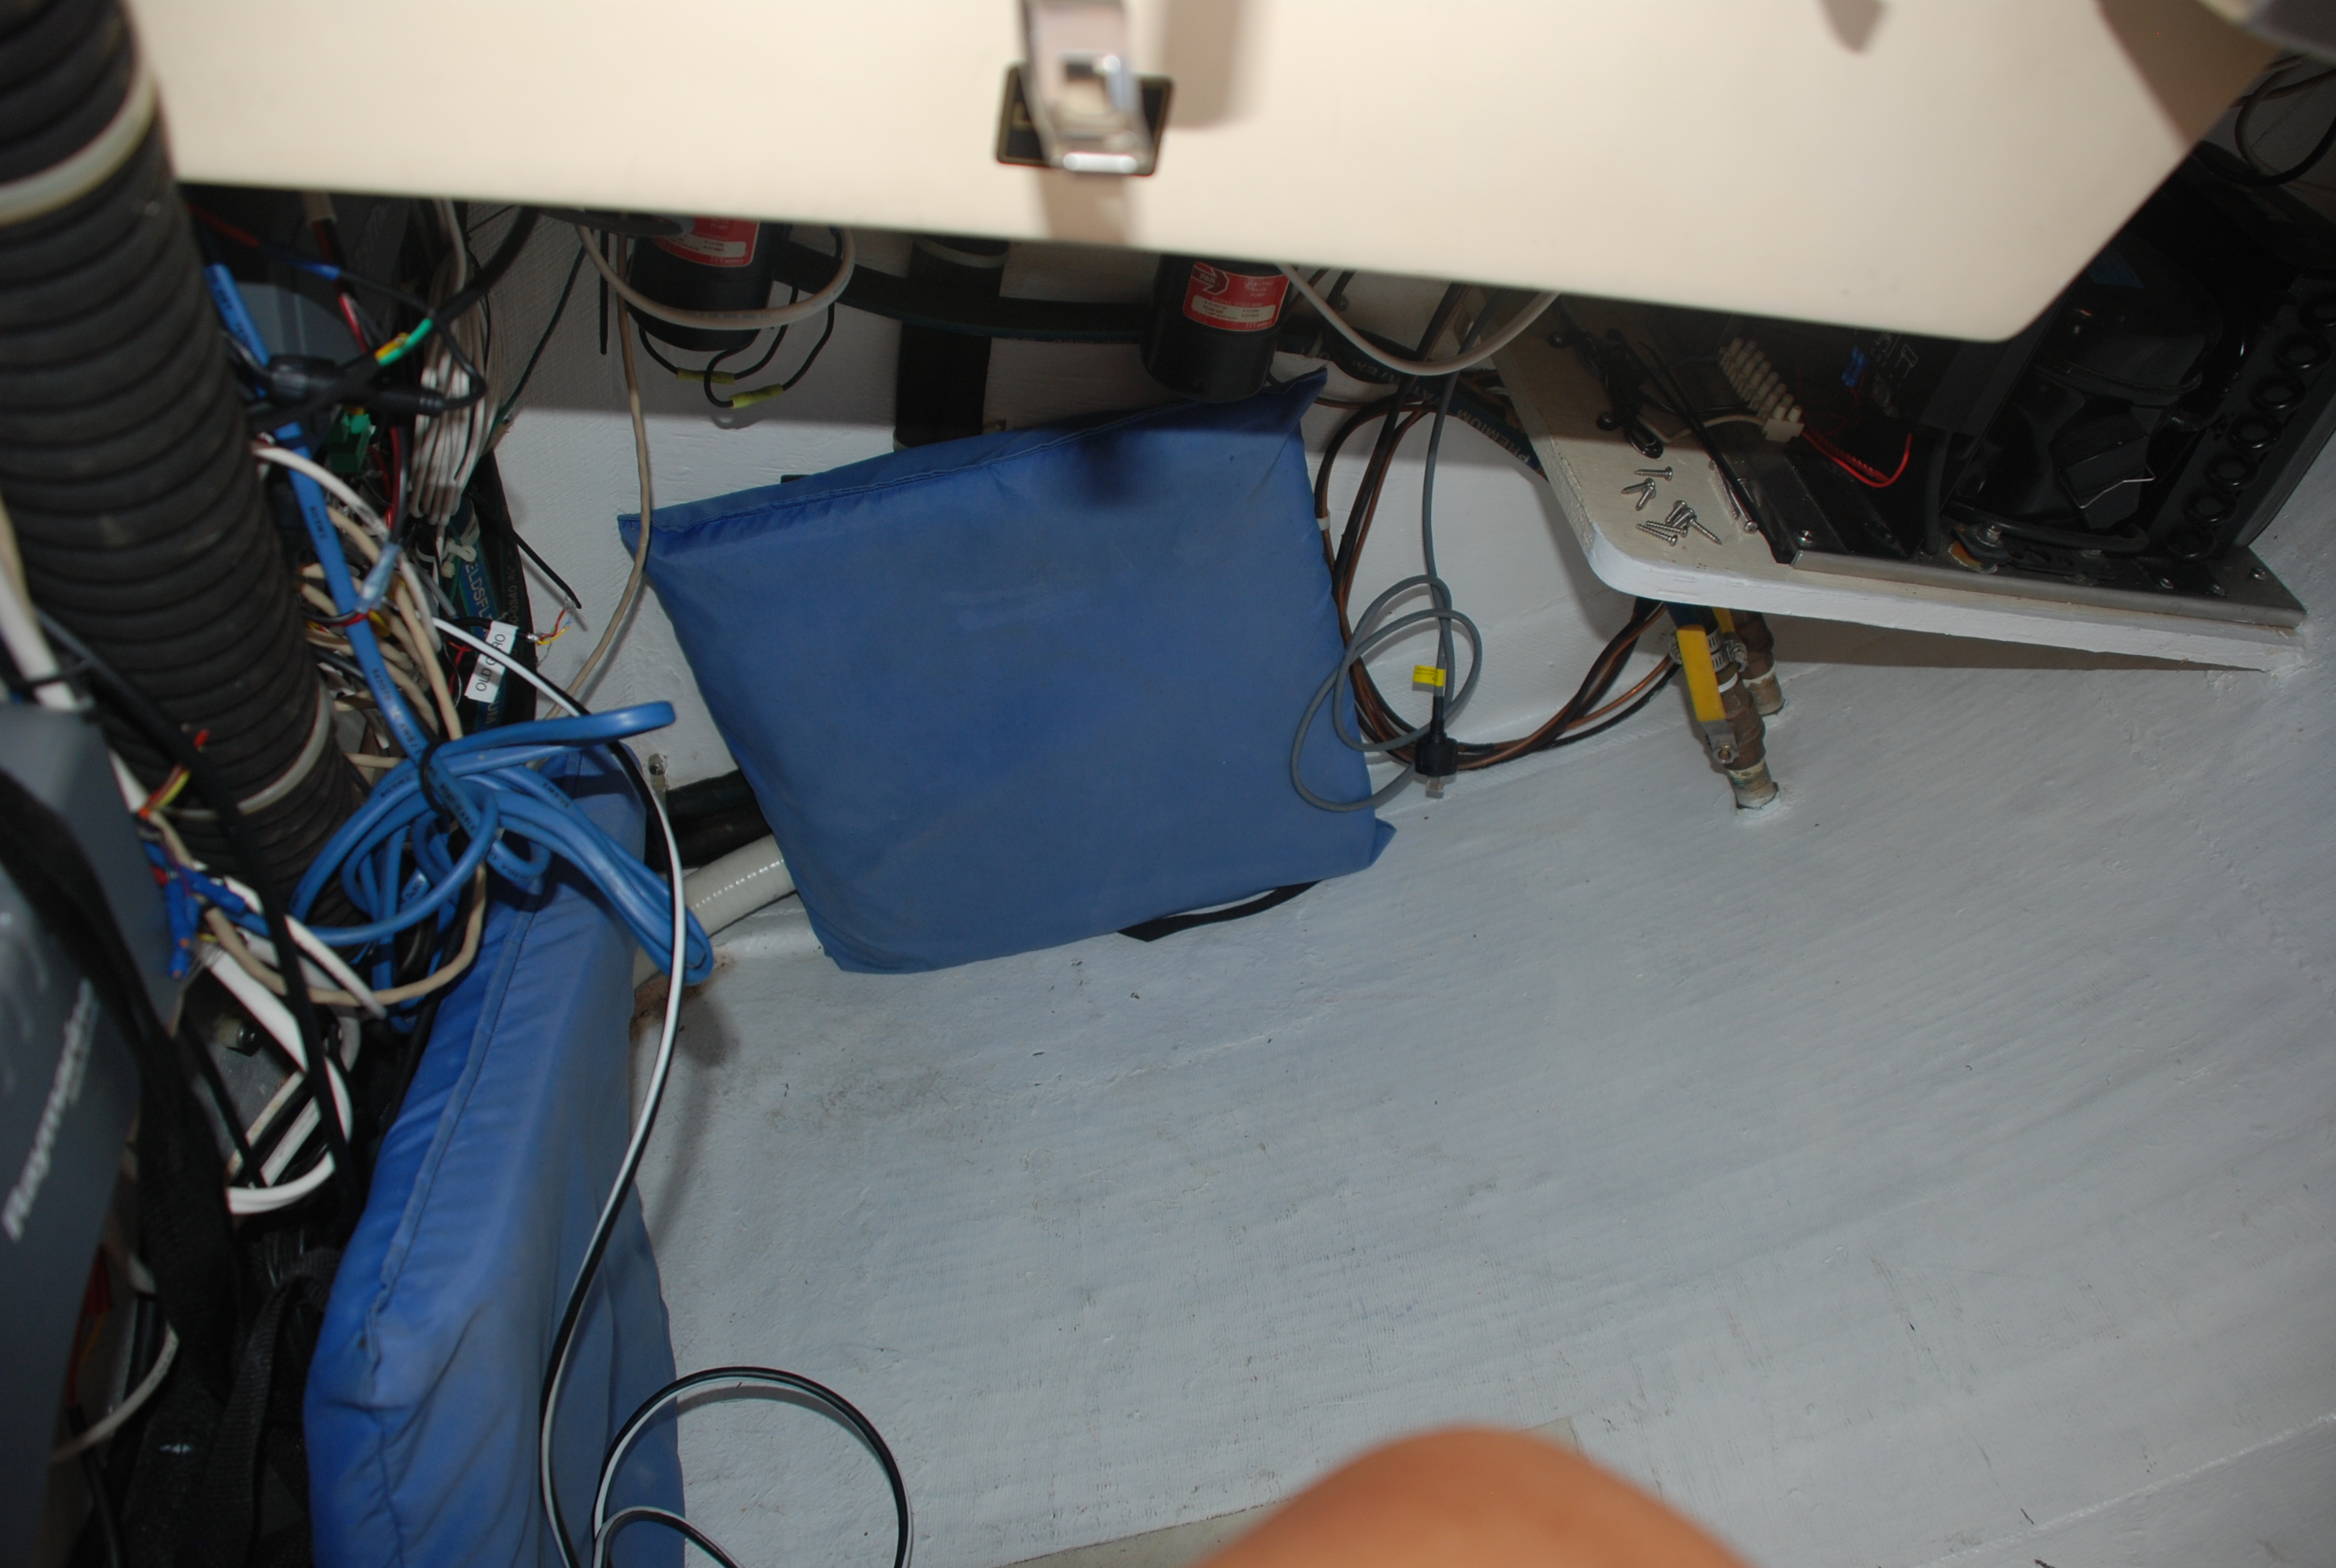
The new autopilot base station is the last one on the right:
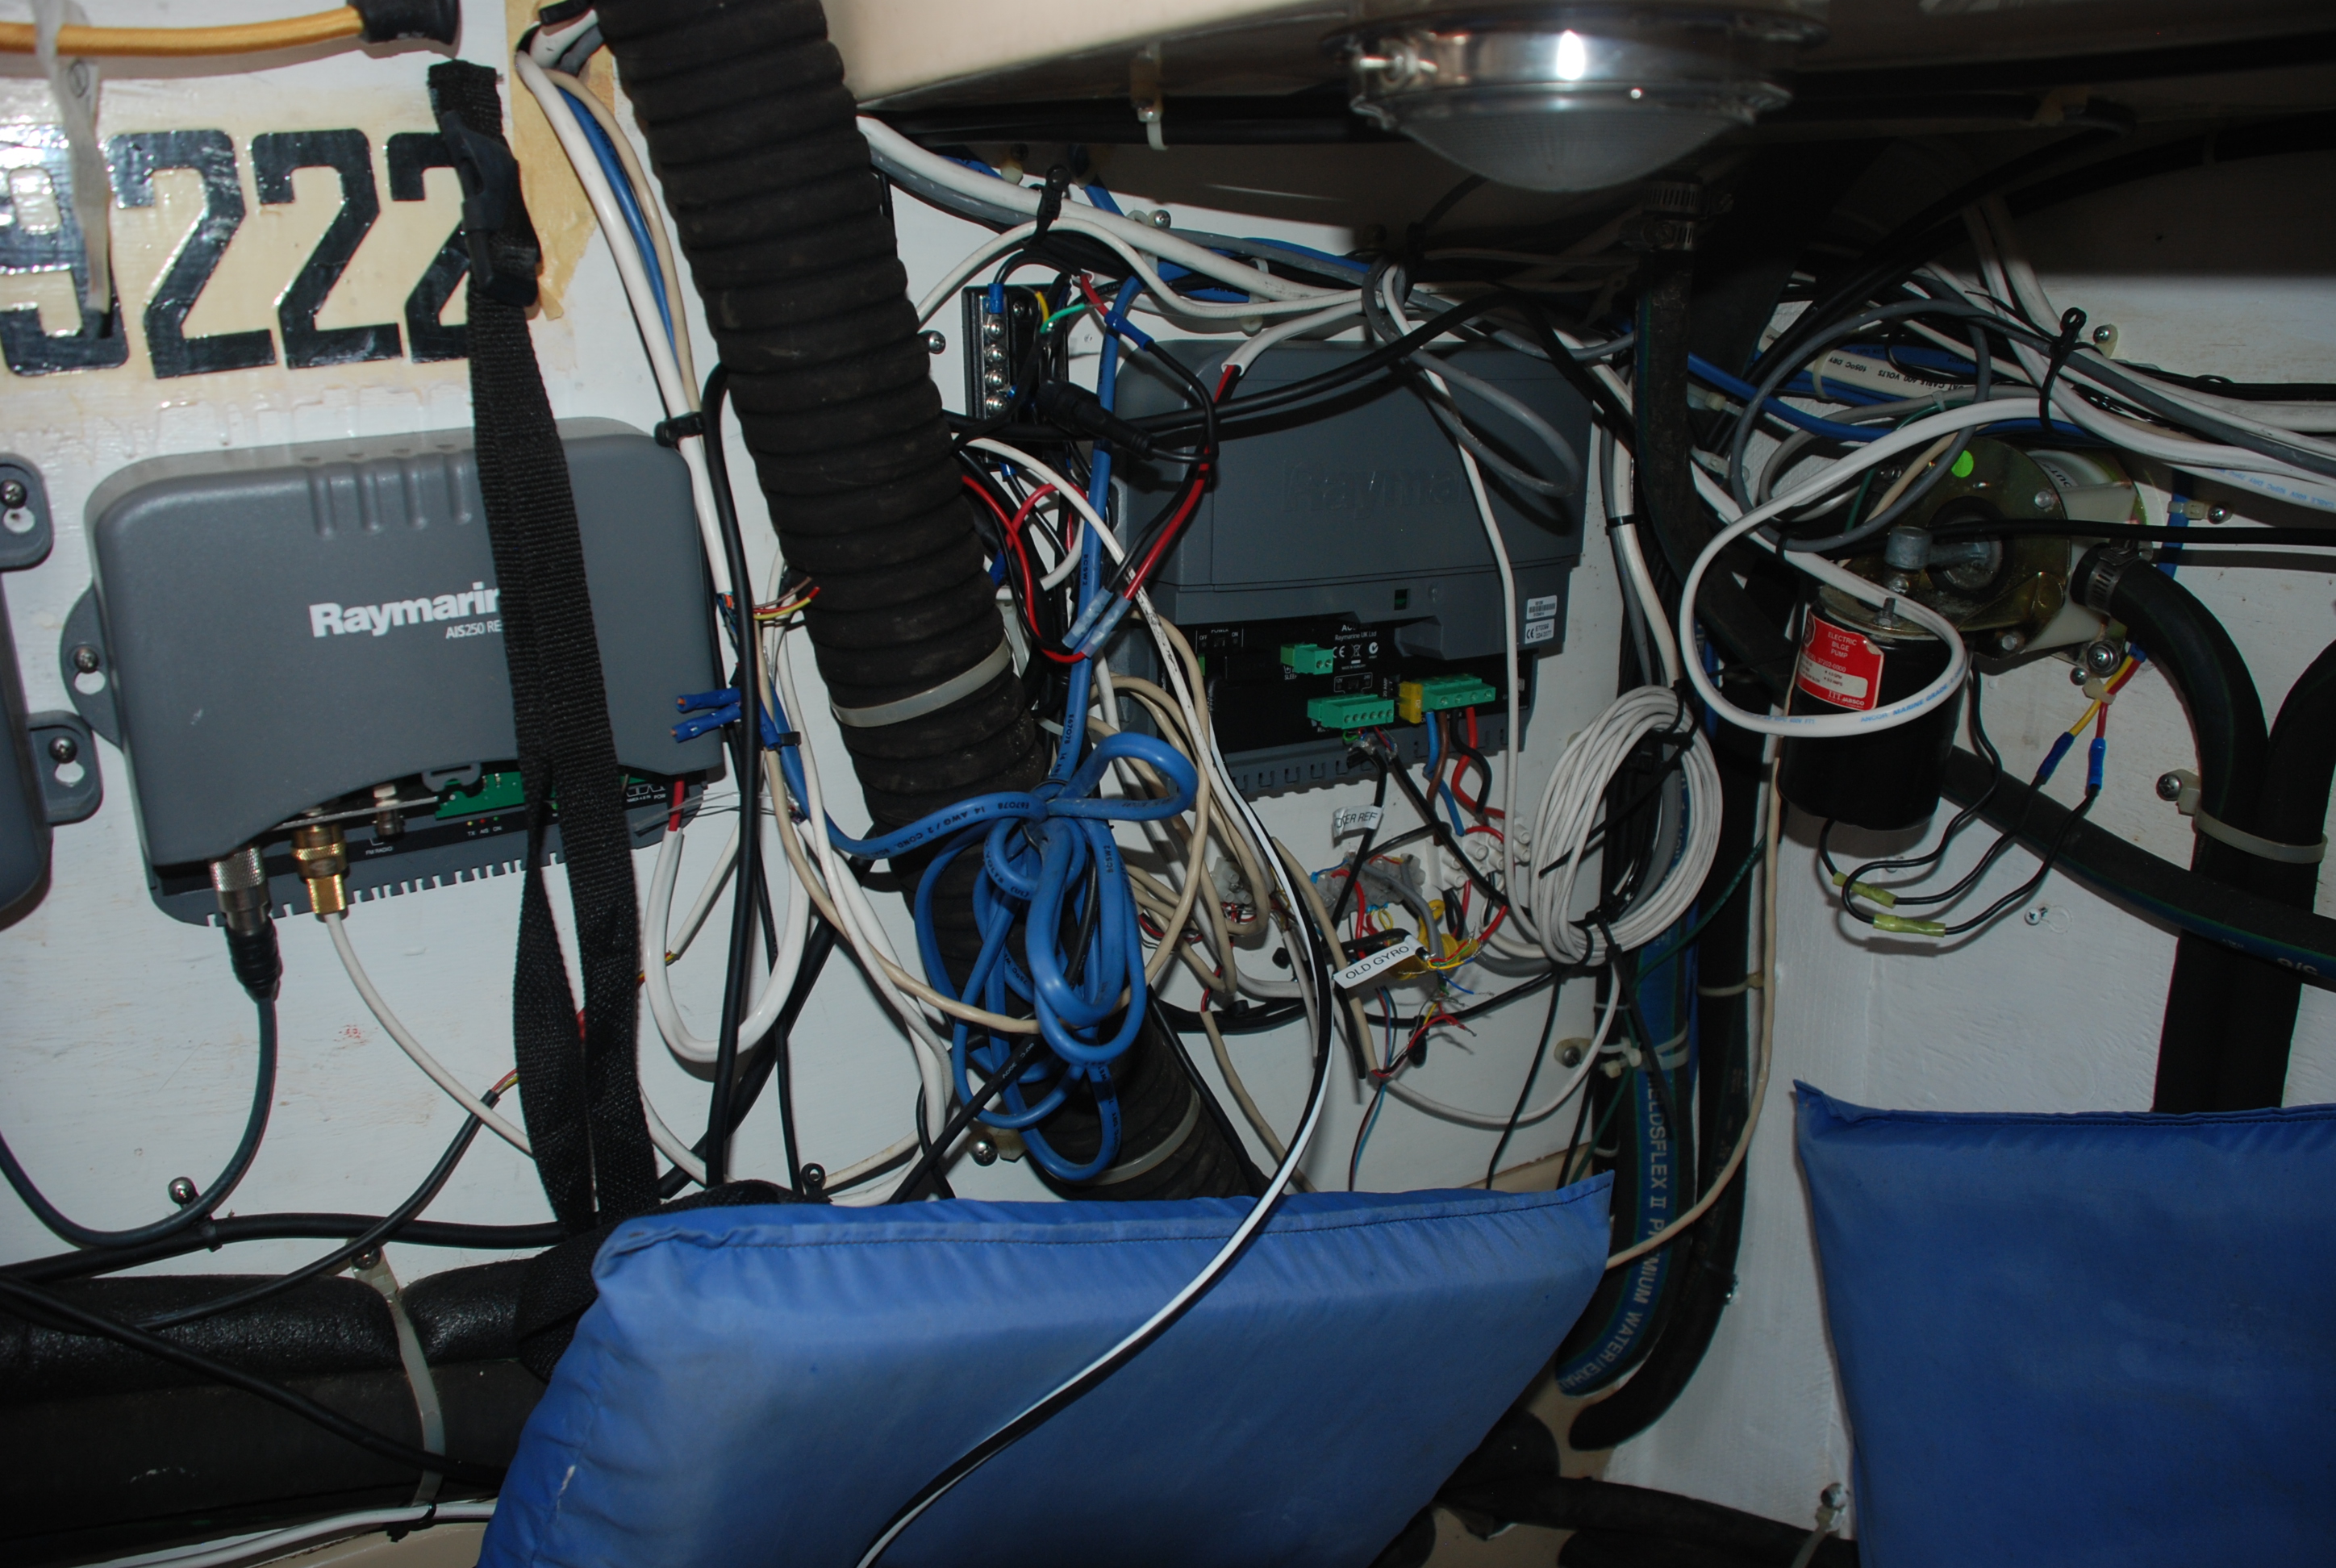
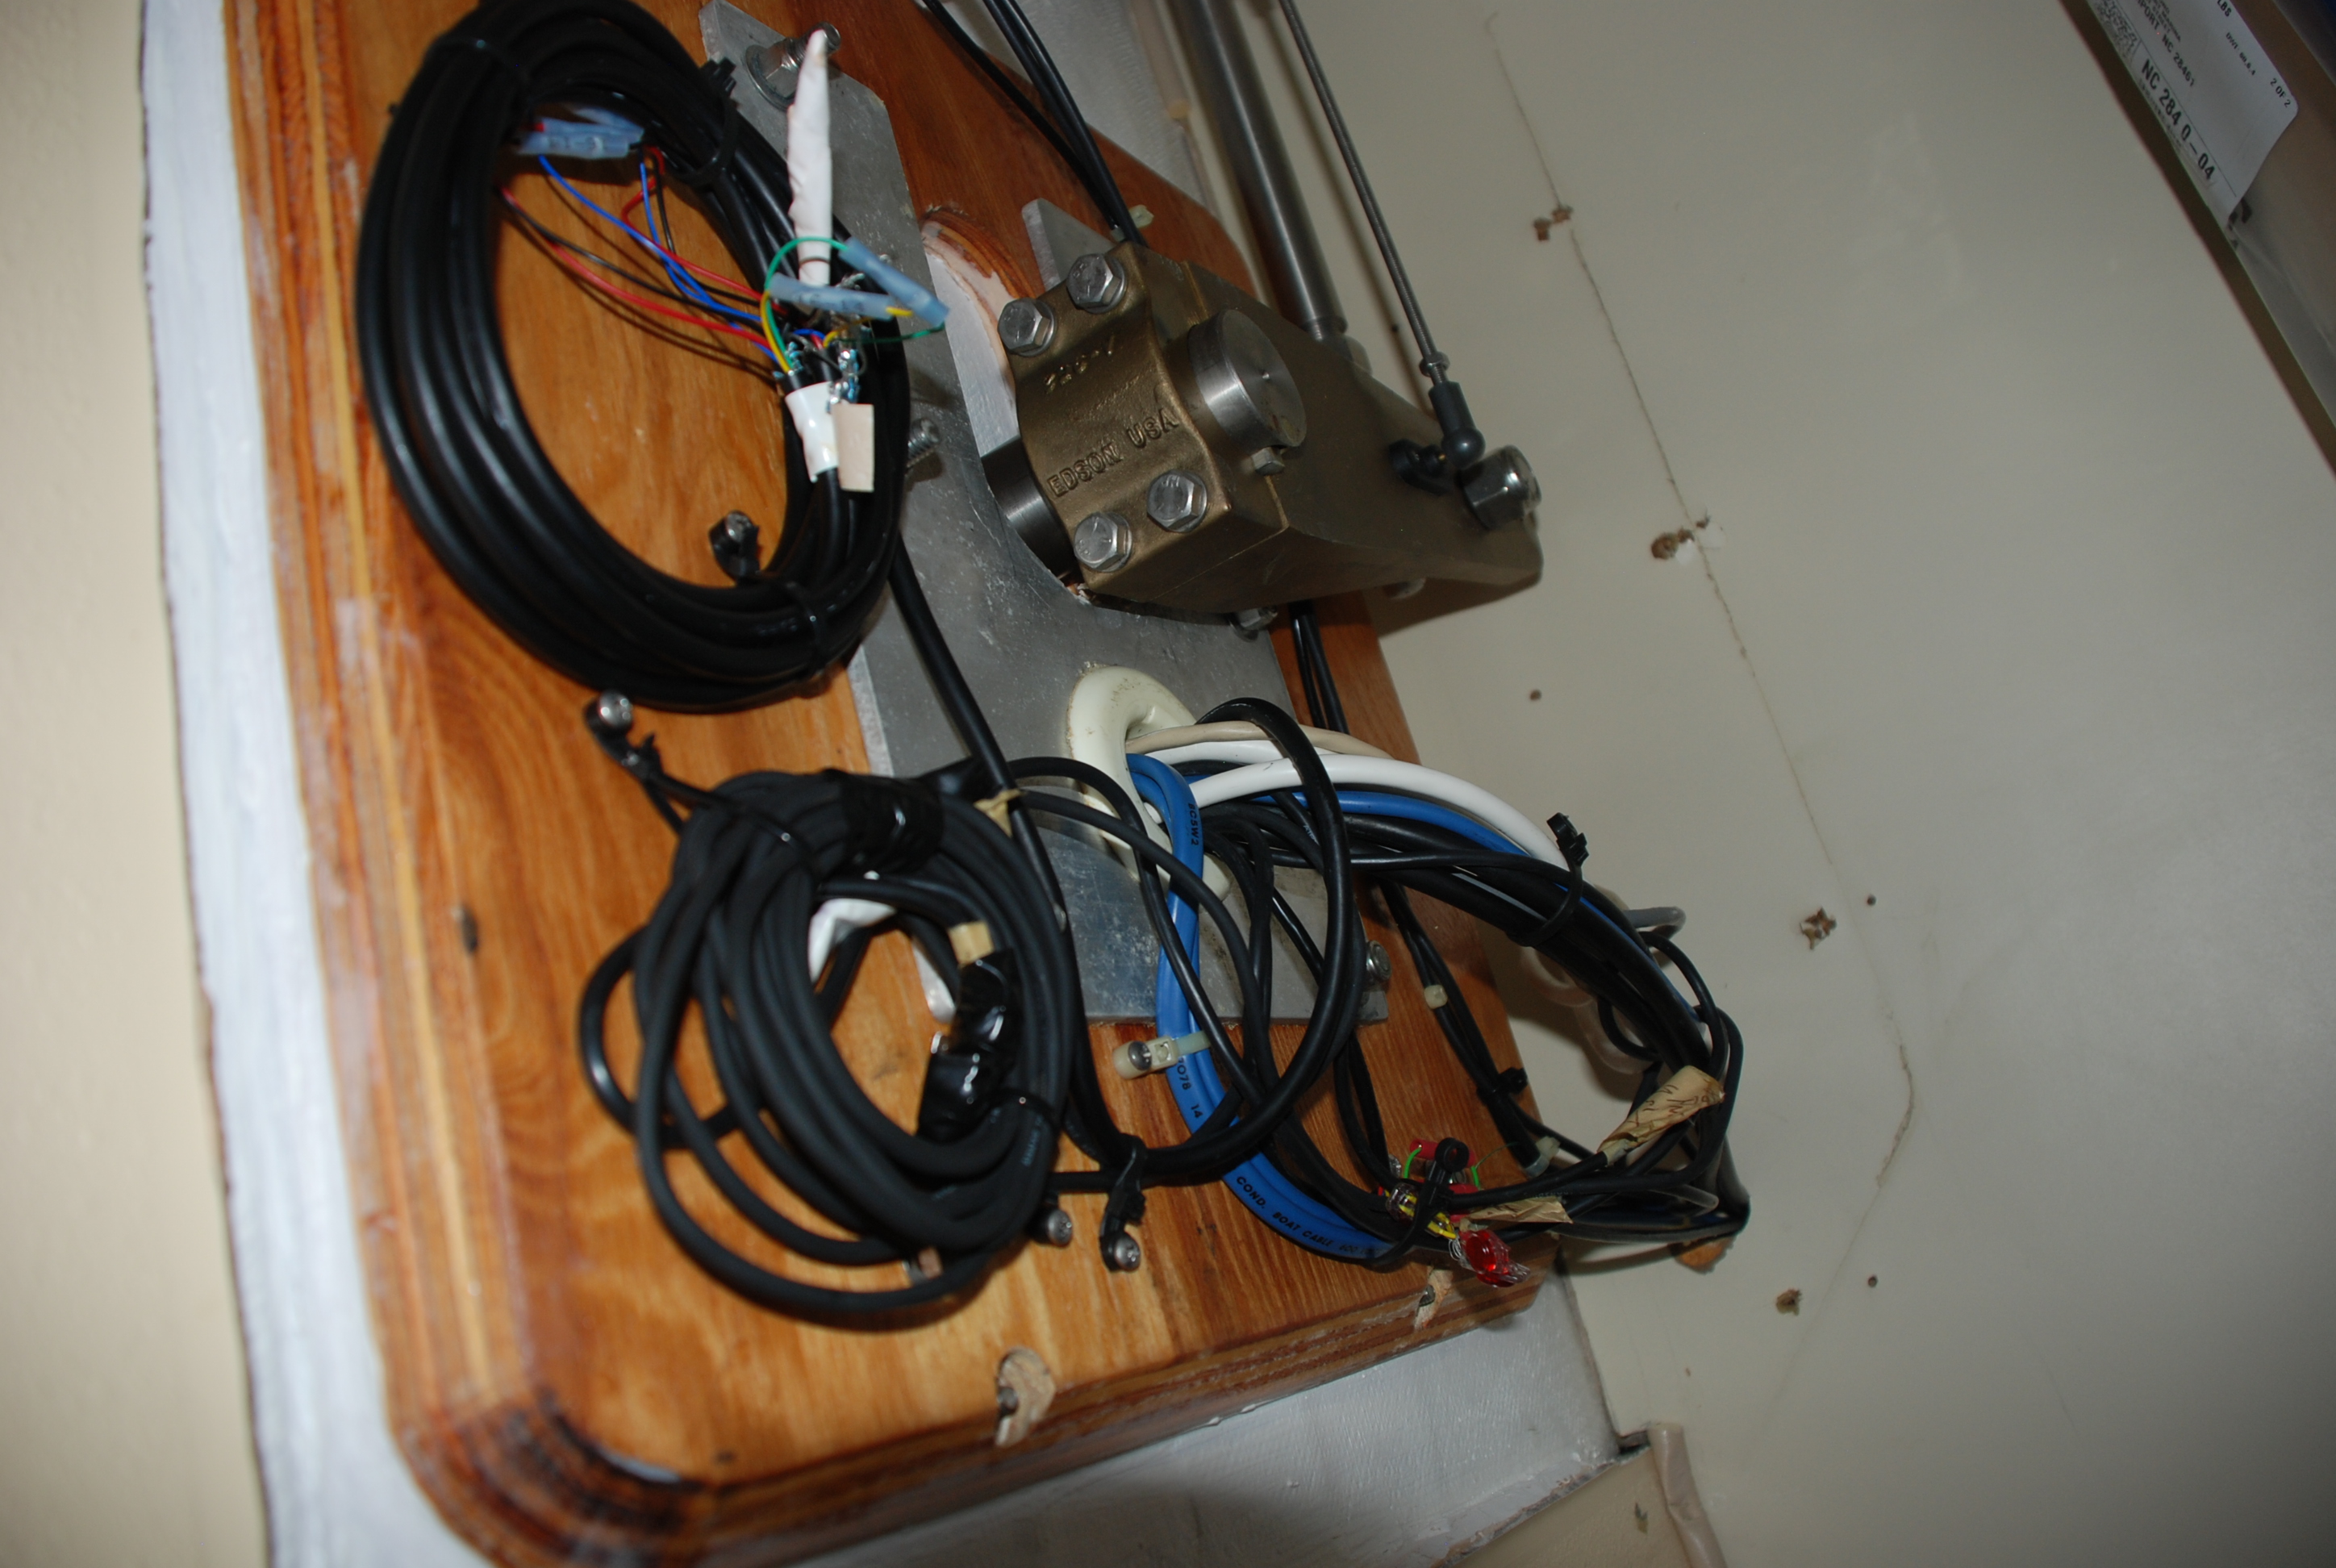
The display portion of the electronics are installed on the steering pedestal or in the cabin at the nav station, but the autopilot is next to the helm (where you steer the boat) on the port (left) side of the boat. Back in the “garage” we took off the fiberglass cover that goes over the steering and pedestal mounts, so that we could get to the wiring area:
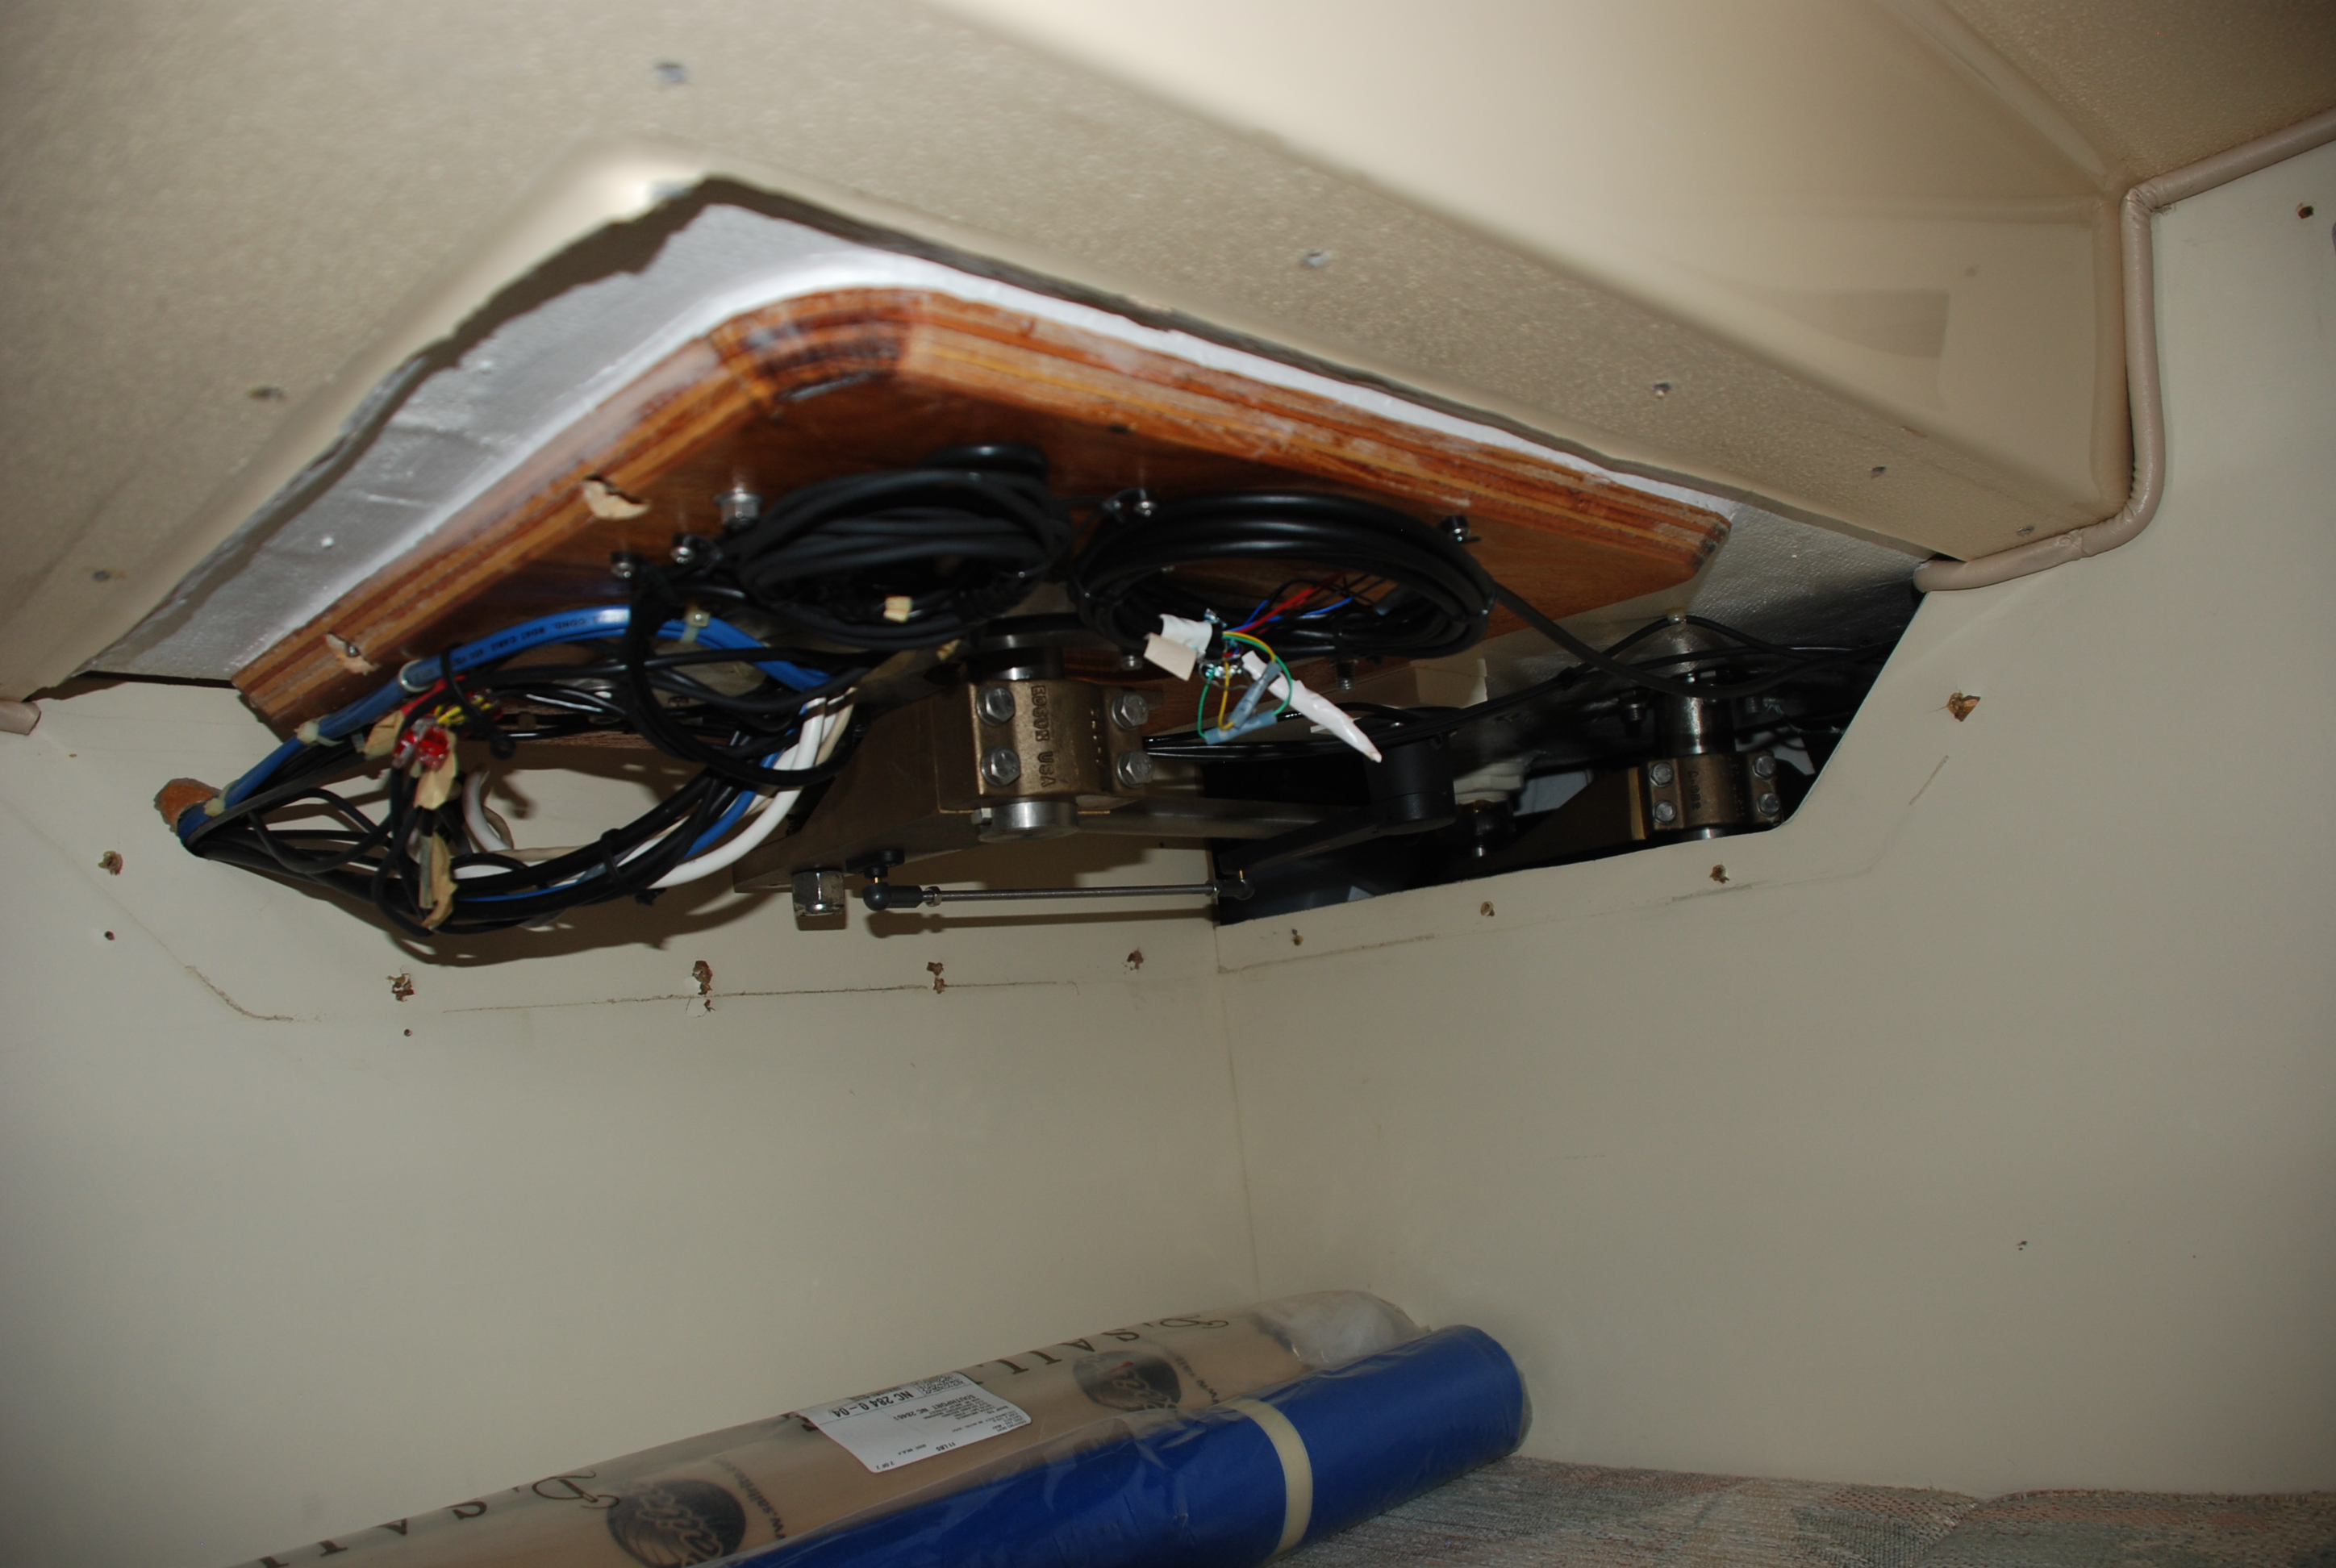
Isn’t this lovely:
The components that needed to be installed and networked together are: base station, display unit, rudder reference transducer, gyro compass, Seatalk conversion kit, and wireless base station. Of course, the Seatalk cables that come with the package aren’t long enough to install the system the way you want to, so there was much analysis (and cursing) involved to determine how to install them with the cable you get. The display unit wouldn’t fit in the hole where the old display unit was installed, so we needed to borrow a hole saw and drill a bigger hole over top of the old hole. Based on that, I decided to install the base station and network all of the components to test them out before we installed them permanently. They all worked great, so the next step was to install the Seatalk conversion kit and see if the autopilot could talk to everything else.
Having been responsible for information technology in my previous life (management…so I don’t know how to fix your computer…before you ask), experience has taught me that communications protocol conversions never work as stated, and usually take most of allotted time on a project. I expected the Seatalk conversion kit to be the same, and was dreading this part the most. The connector that plugs into the old Seatalk network was not compatible with our network, so I had to cut and splice some wires, but other than that…it worked like a champ and everything talked like it should…ah, but wait…the AIS is not communicating to the chart plotter! That is not even part of the new system so I must have broken something during the de-install of the old Otto. So I thought. After some research, I used a troubleshooting function on the chart plotter and AIS started working again! We then installed all of the new components in their permanent locations. Tricia was a huge help through the whole thing, especially the part where you have to stick your arm through a 3 x 4 inch access, make a right turn, feel around blindly for mounting hardware, and unscrew the nuts. My arm was too big to fit!
4 days later…new Otto, and everything is back to normal on Island Bound. Now we need to do a test run at sea.
After finishing the autopilot install, we changed the oil in the transmission and cleaned the filters on the shower sump pump, both of which require the garage to be cleared out. Cocktails where served at the end of the dock by 5:00. I am exhausted!